


簡単なiPhone向け3Dゲームを作ろう
iPhone向けの3Dゲーム制作の練習シリーズです。
アンリアルエンジンでiPhone向けの3Dゲーム制作方法をまとめていきます。
細かな数値設定などの説明をしない場合もありますので、ご参考程度で確認ください。
※作業環境:UEバージョン5.5.1 Macbook Pro 2019年モデル iPhone11
私の使用したMacの性能だと、作業中の処理落ち、遅延が頻繁に発生しました。
もし同じような端末を使用する場合は、細目に保存することをお勧めします。
実機テスト
本記事は、私がこのときに作業してきた内容をまとめたものになります。
UE5を使う前は、Swift言語でアプリをリリースしていましたので、そのときに行った作業や設定については、ここでは触れていません。
なので、説明不足な部分が多々ありますが、ご了承ください。
iPhone11 Pro端末を使用して実機テストを行っていきます。
iOSモバイルゲームを実機テストするには、Apple公式の有料メンバーシップ「Apple Developer Program」への加入が必要になります。
費用は年額「$99」です。
私は既に加入した状態から作業しているため、説明を省かせていただきます。
詳しく説明してくれているサイトを参考にしてください。
提出資料を作成する
ざっくりですが、説明していきます。
「Apple Developer」サイトを開いて、「アカウント」を選択します。
サインイン画面になるので、IDとパスワードを入力してサインインします。

サインインすると下の写真のような画面になります。
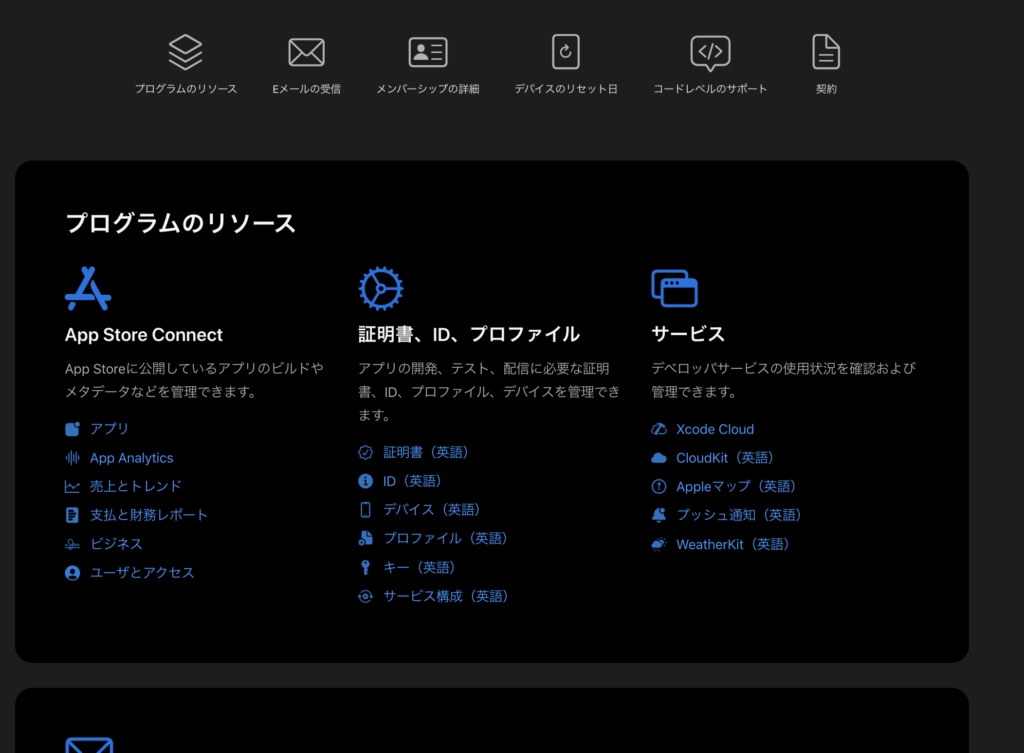
「App Store Connect」の「アプリ」をクリックします。

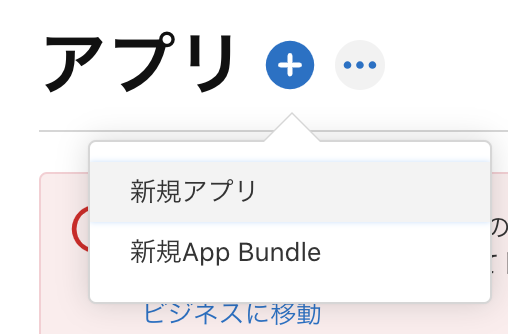
画面が切り替わったら、アプリ横の「+」ボタンをクリックして、新規アプリを選択します。
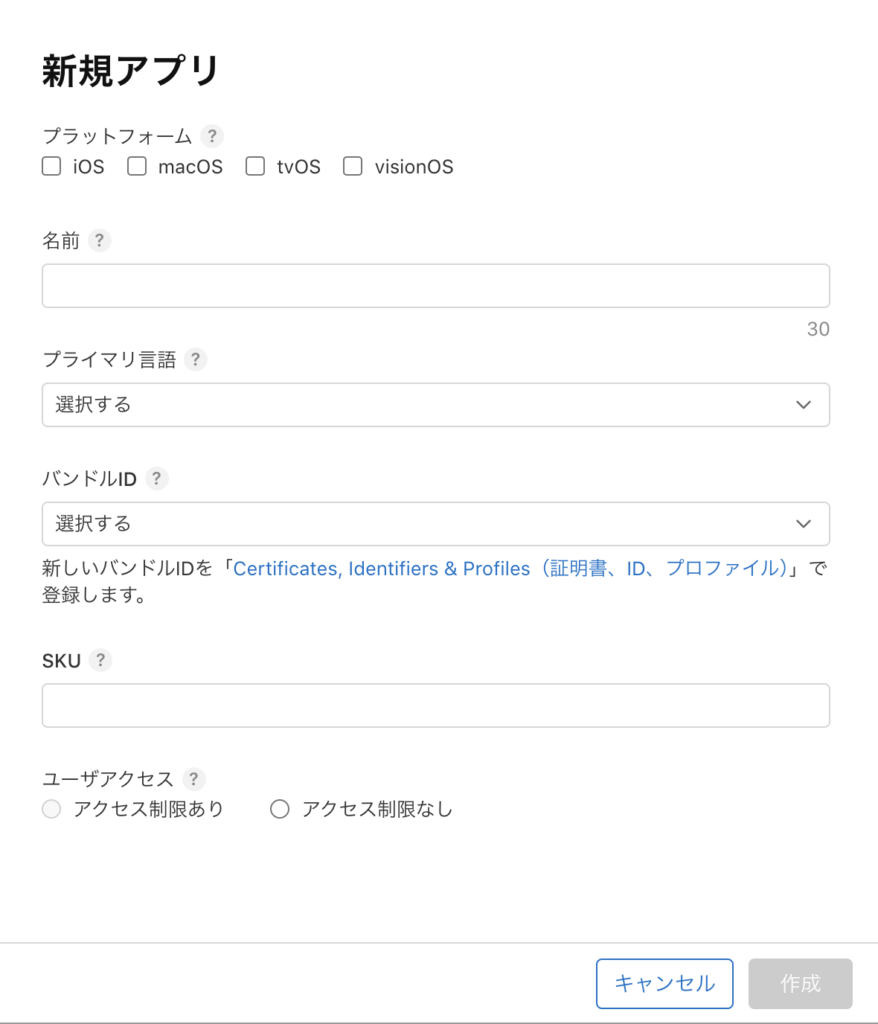
新規アプリを提出するための設定項目が表示されます。
まずは「バンドルID」の設定から始めます。
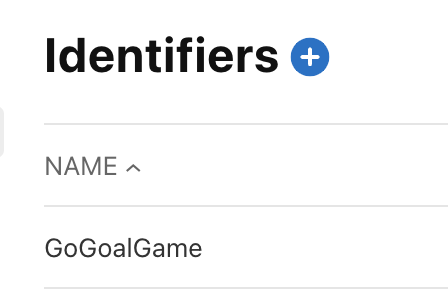
「Certificates, Identifiers & Profiles (証明書、ID、プロファイル)」をクリックして画面を切り替えます。

「Identifiers」を作成します。
「Identifiers」作成手順は省略します。
「Certificates」を作成します。
「Certificates」作成手順は省略します。

「ue5 iphone」や「swift アプリリリース」などと検索すると、作業方法を説明してくれているサイトが出てきますので、参考にしてみてください。
設定できたら「アプリ」の「新規アプリ」に戻ります。
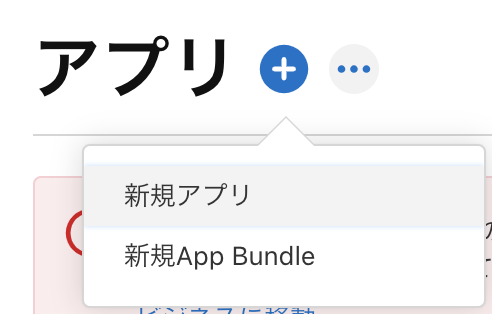
上から項目を埋めていきます。
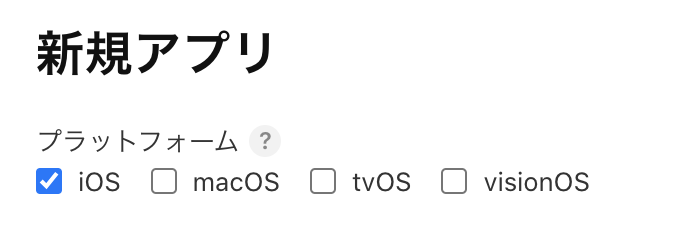
プラットフォームは「iOS」にします。
名前はアプリ名を、プライマリ言語は日本語、バンドルIDは先ほど作成したものを選択します。
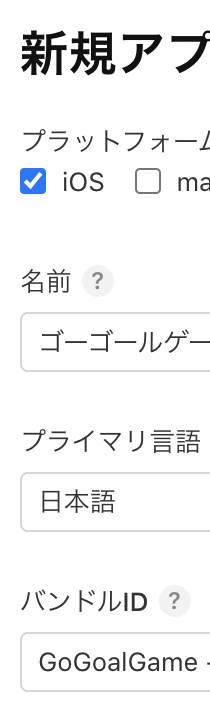
「SKU」の項目はアプリを判別しやすいもので良いみたいです。
「ユーザーアクセス」は「アクセス制限なし」を選択します。

作成をクリックすると下のような画面に切り替わります。

アプリを提出する際は、この画面に必要な情報を記入していきます。
「TestFlight」を使用することでも、テスト用アプリを実機に転送することが出来ます。
これについては、ゲーム作成後に記事にします。
参考サイト
日本語ではありませんが参考サイトです。
サイト内の動画を確認すると分かりやすいと思います。
プロジェクト設定を変更する
必要なIDの設定が完了したので、UEエディタ上でプロジェクト設定を変更していきます。
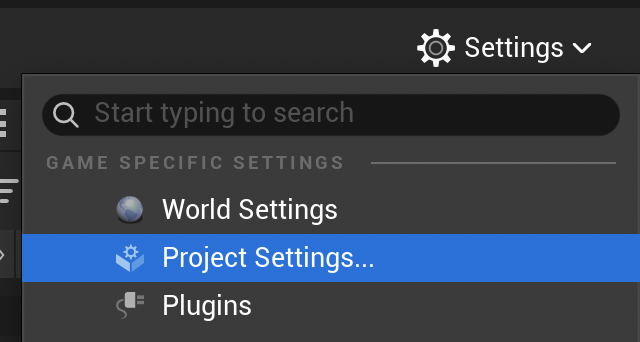
「Settings」の「Project Settings…」を選択します。
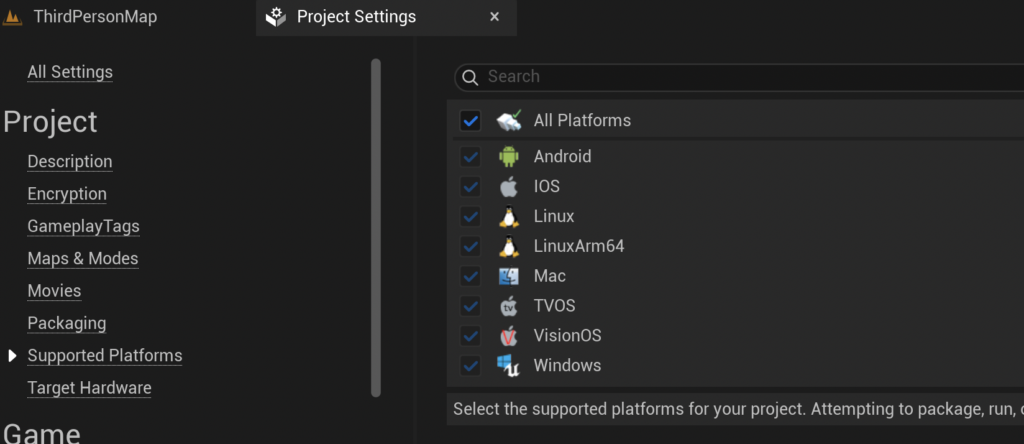
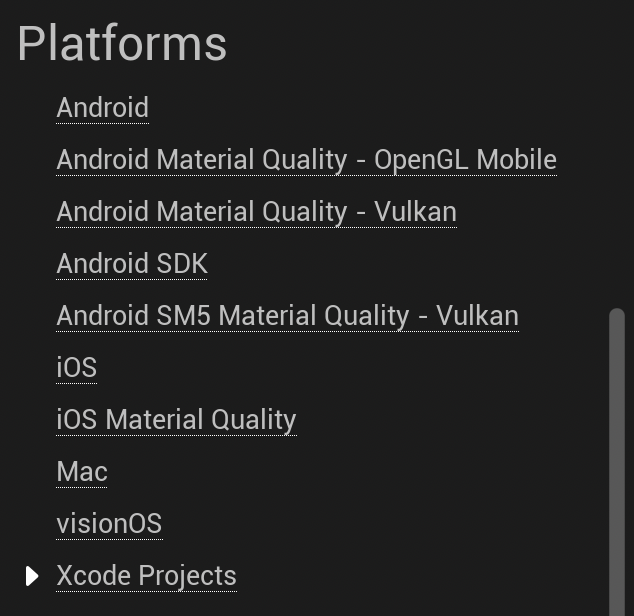
「Project」の「Supported Platforms」を確認すると、すべてのプラットフォームが対象になっているので、必要な分のみにしていきます。
下の写真のようにチェックを外します。
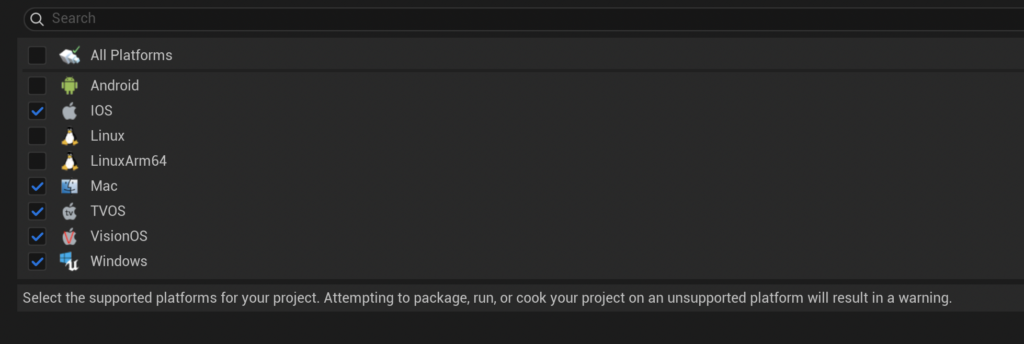
「TVOS」、「VisionOS」、「Windows」の項目もチェックを外して問題ないと思いますが、一応チェックを入れたままにしています。
次に「Platforms」の「Xcode Projects」を選択します。
「Apple Dev Account Team ID」と「Bundle ID」を設定します。
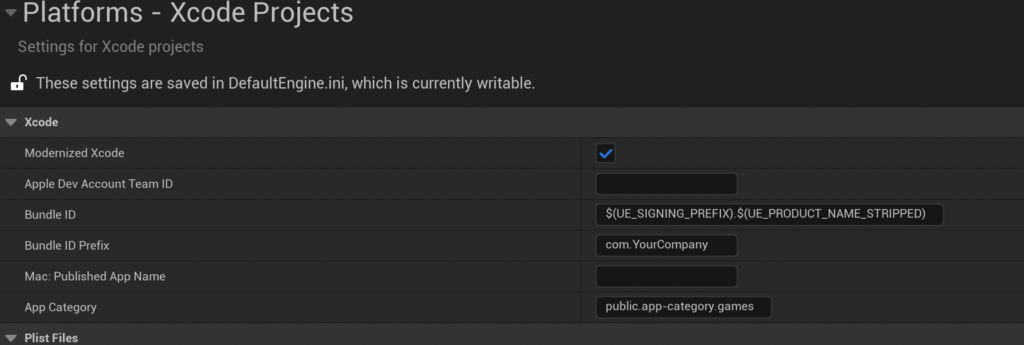
これでプロジェクト設定は完了です。
Xcode用ファイルを作成する
XcodeでUEプロジェクトを開くには、Xcode用の作業環境を作成する必要があります。
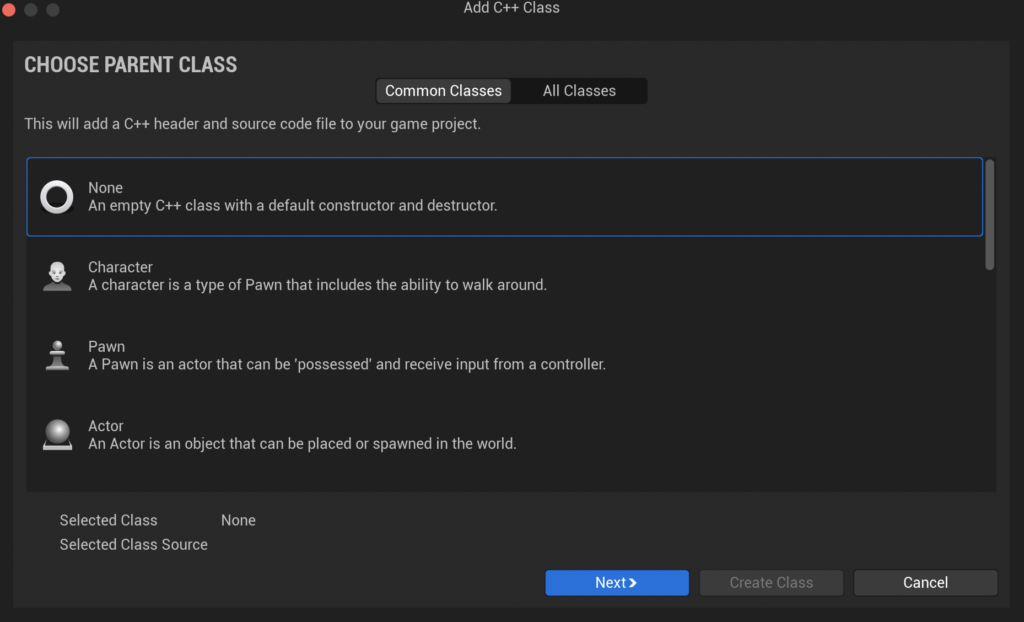
UEエディタ上の「Tools」の「New C++ Class…」を選択します。

「Add C++ Class」画面になるので、「None」を選択し、「Next」をクリックします。
「Name」は初期値のままでも良いのですが、今回は「MyTest」にしました。
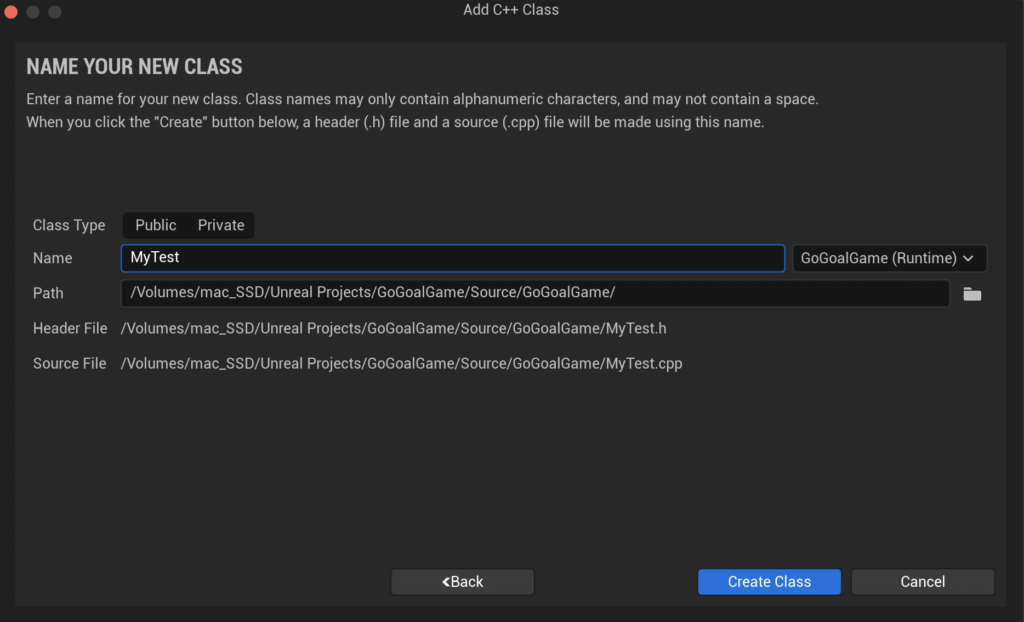
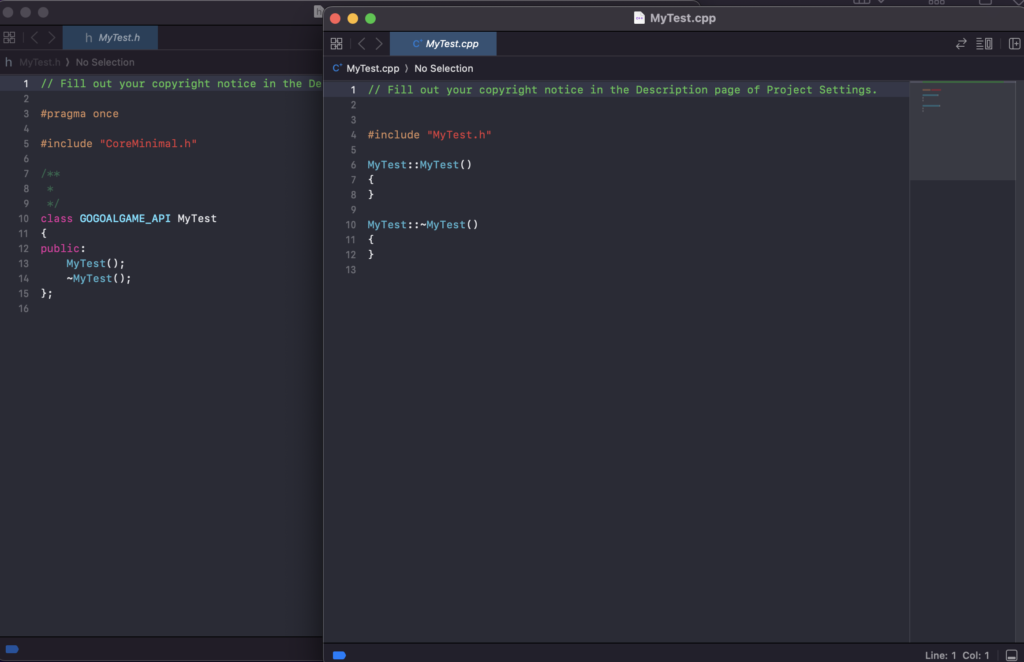
これで「Create Class」をクリックします。
処理が完了すると、コードファイルが開かれるので、これを閉じます。
UEエディタの「Tools」の「Generate Xcode Project」を選択します。

プロジェクトが保管されているファルダに移動して、中身を確認すると「~.xcworkspace」のファイルが作成されています。
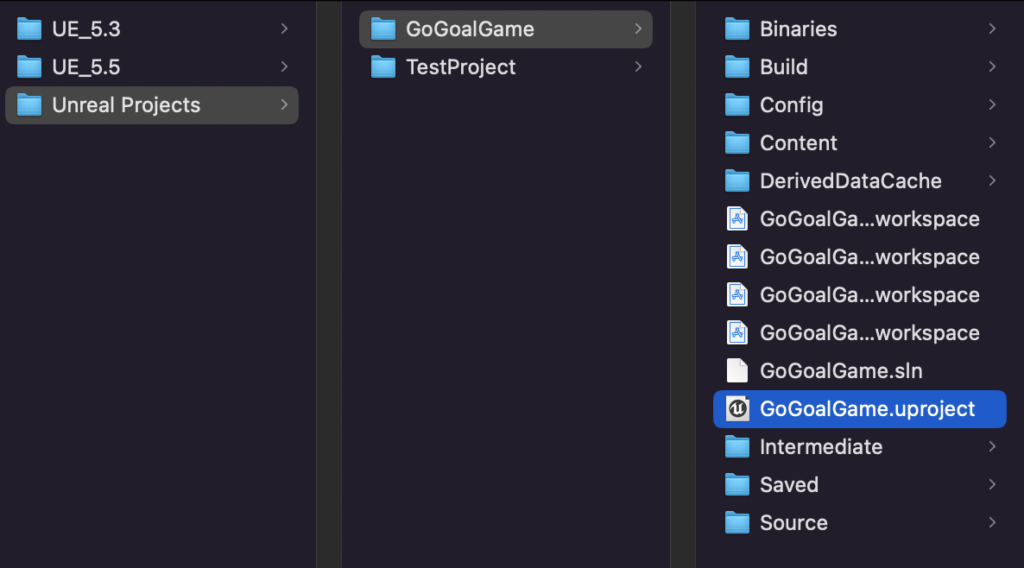
全部表示するとこんな感じです。

今回はIOS用のファイルを開きます。
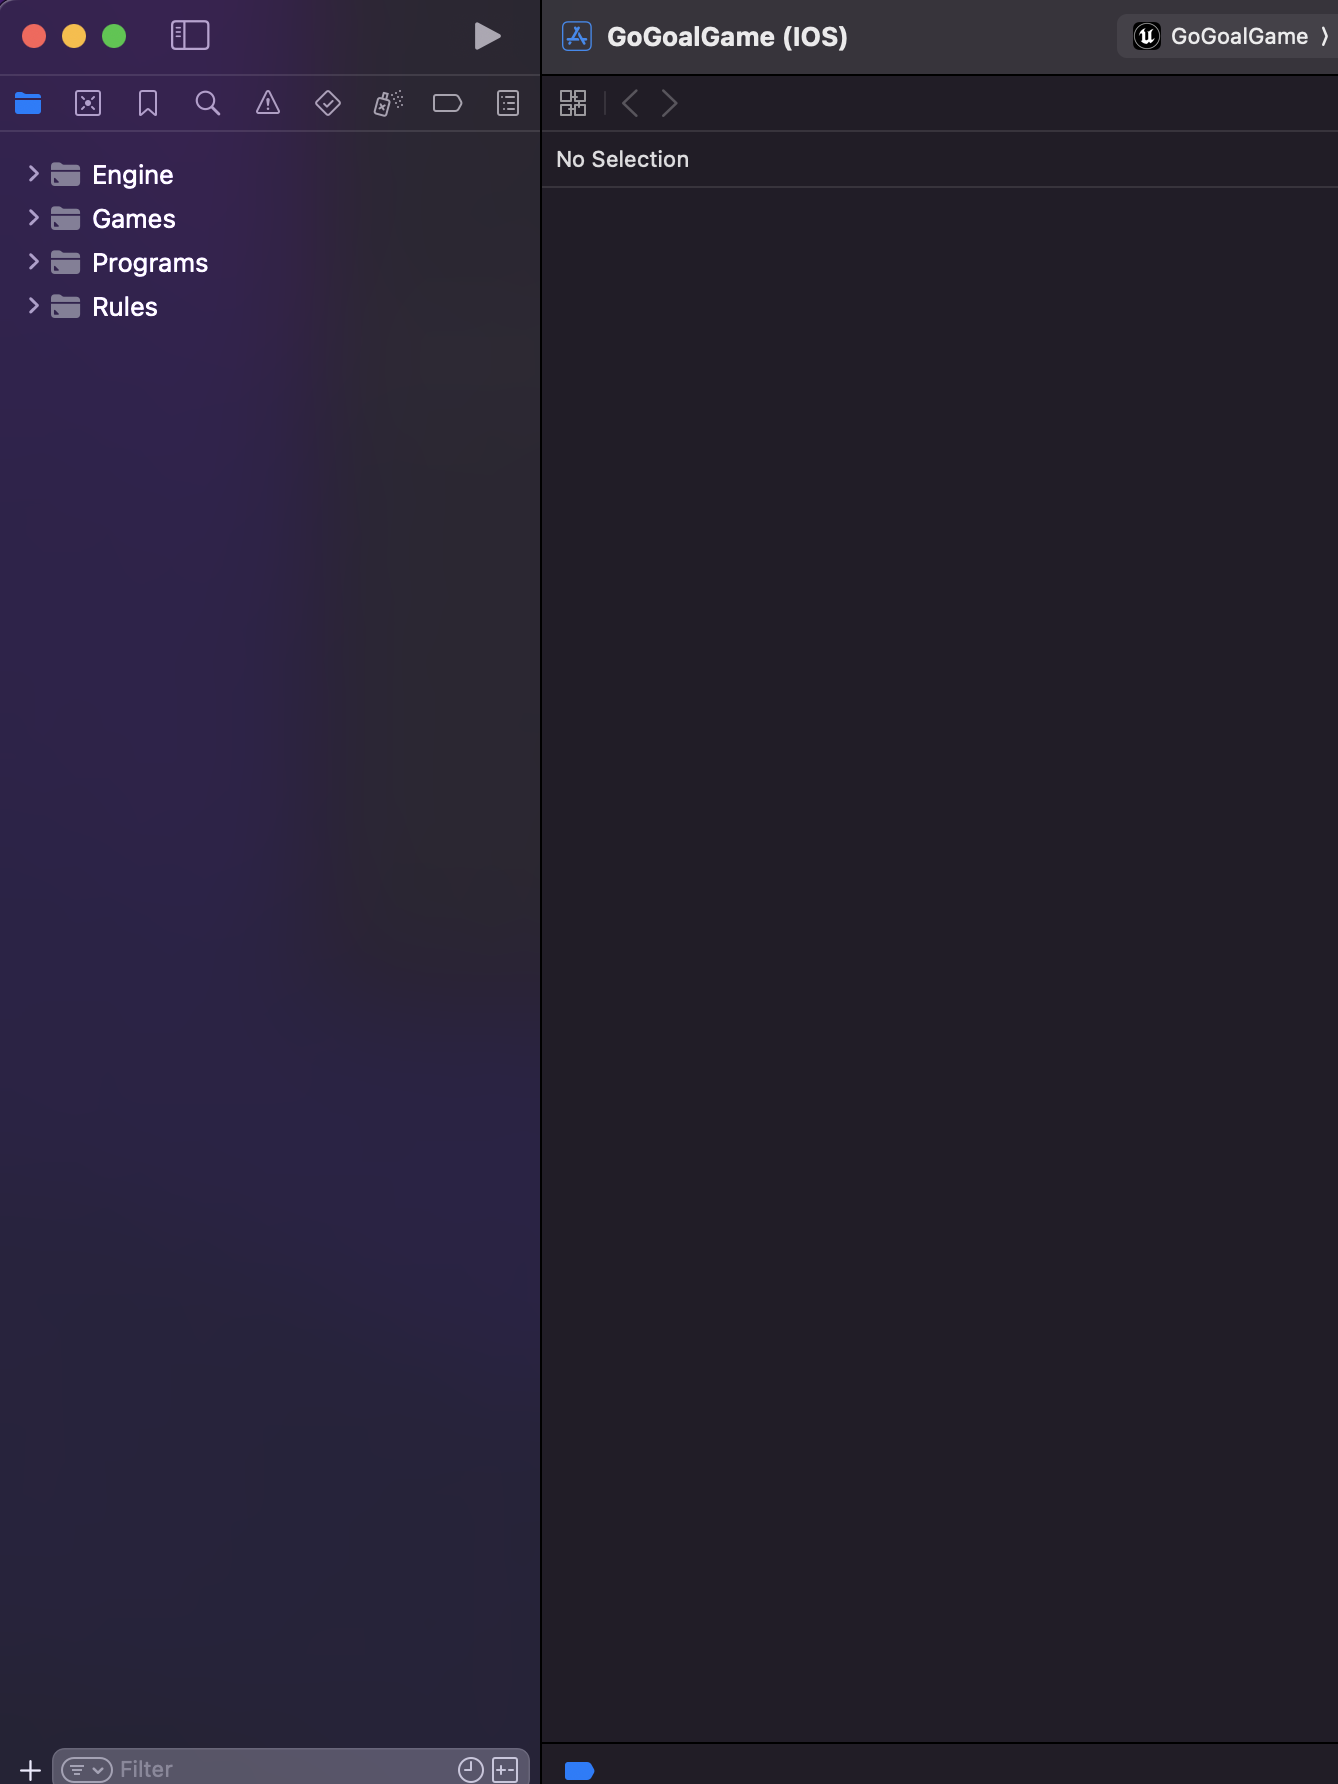
画面左側の「Games」を開きます。

プロジェクト名が記載されたファイルがあるので選択すると、右側の画面が切り替わります。
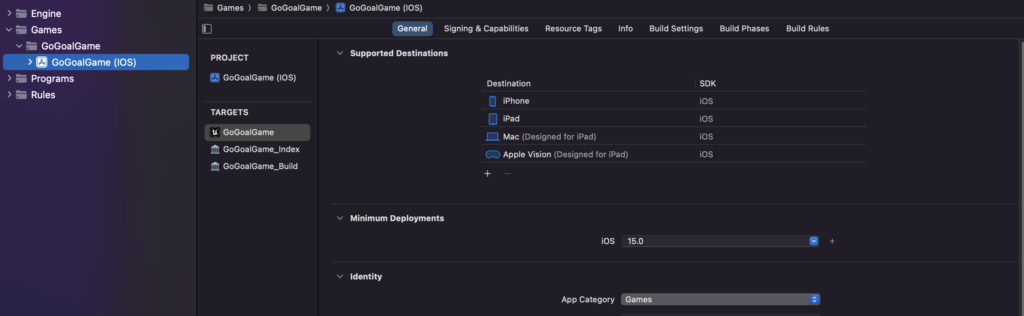
ここの「Minimum Deployments」と「Identity」項目を設定します。
「Minimum Deployments」は実機端末バージョンに合ったものを選択します。
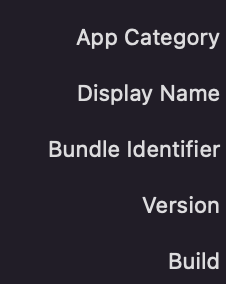
「Identity」項目はこんな感じです。
次に現在選択している項目の右側に「Signing & Capabilities」があるので、これを選択します。
選択すると以下のような画面になるので、「Add Account…」をクリックします。

下の写真のような画面になるので、自分のアップルIDを入力します。
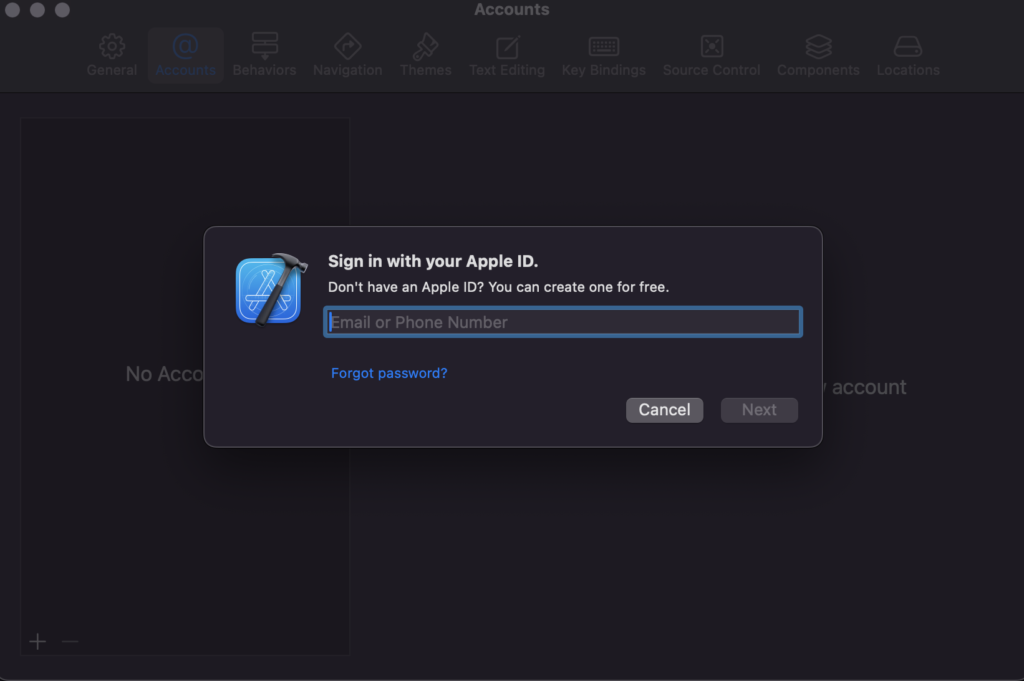
設定が成功すると、「Accounts」に自分のアップルIDの情報が表示されます。

「Signing & Capabilities」画面に戻って、「Team」が選択できるようになるので、「None」を変更します。

これでXcodeの設定は完了です。
実機にゲームを転送する
UEエディタを起動し直し、実機端末をMacに繋げます。
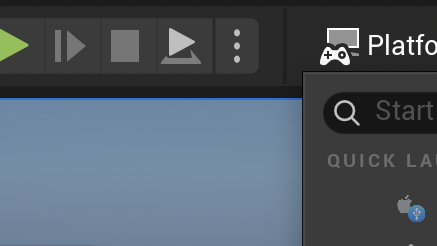
実機を繋ぐと「Platforms」を選択した時に実機端末名が表示されますので、これをクリックします。
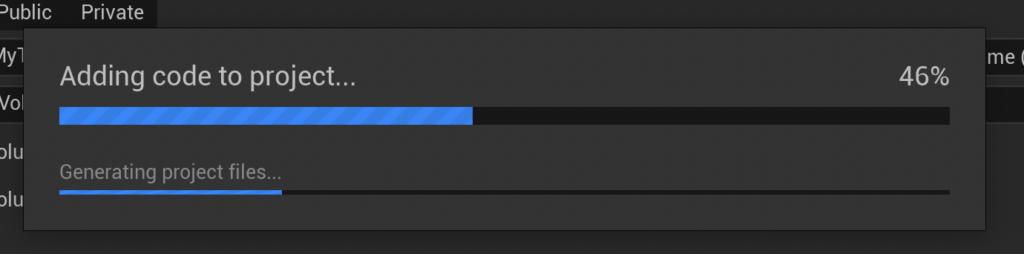
処理が開始されると、画面右下に処理中が表示されます。
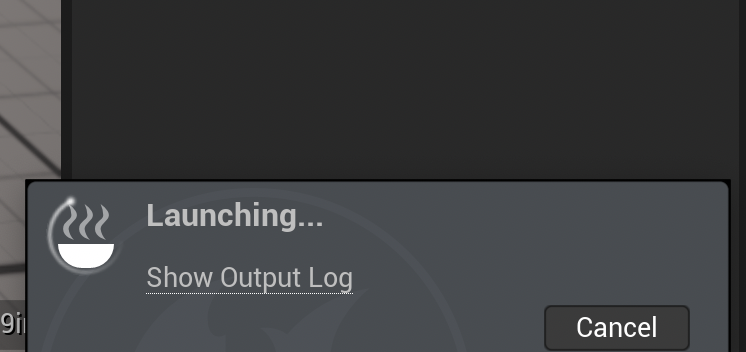
「Show Output Log」をクリックすると、処理の経過状況が確認できます。
Macの性能次第で処理時間は変わります。
私の場合は、30分近く待ちました。
ログの流れは、こんな感じです。(抜粋しています)


正常に処理が進めば、実機にアプリがインストールされて、自動的にアプリが起動します。
アプリを閉じれば処理は完了します。
UEエディタ上でモバイル用テストする方法
実機でのテスト以外にも、UEエディタ上でモバイル用のテストプレイをすることが出来ます。
「(縦)・・・」をクリックし、「Standalone Game Mobile」を選択します。
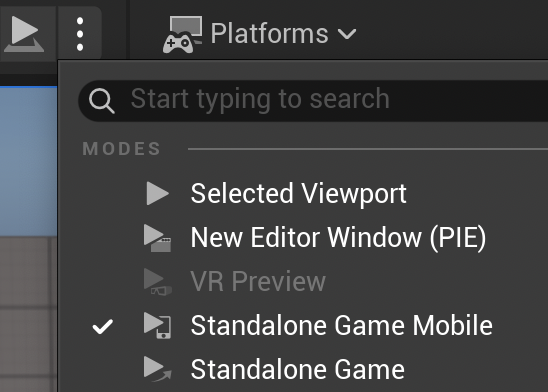
処理ボタンが変更されます。

私は起動にかなりの時間が掛かります。

起動するとテストプレイ出来ます。
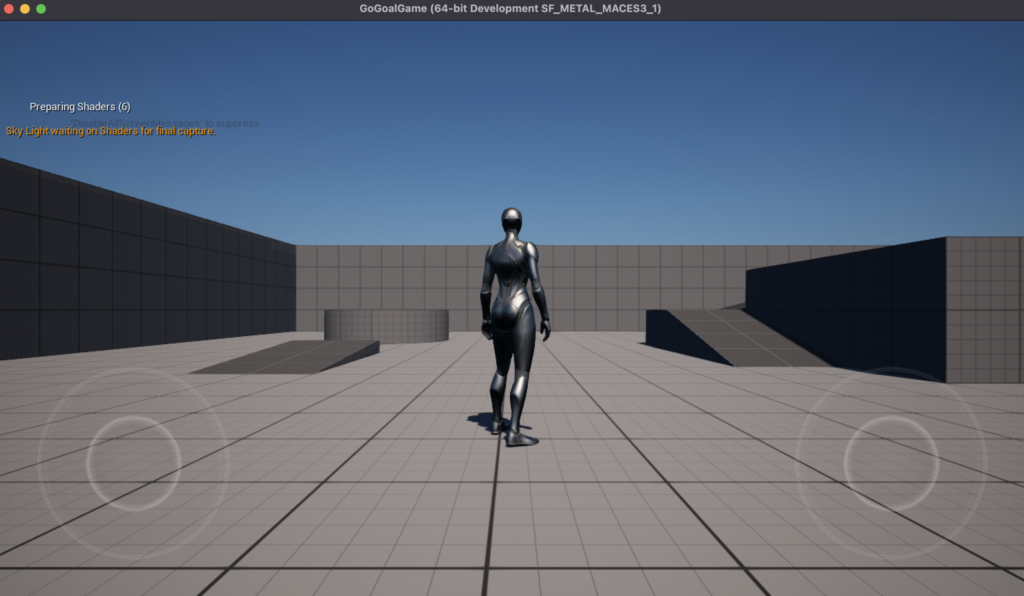
マウスで画面タッチする感じです。
実機テスト完了
今回はここまでです。
次回は「ステージを作る」です。
前後記事

他の記事を探す
他の記事も気になる方は、以下の記事の目次を確認ください。
