


簡単なiPhone向け3Dゲームを作ろう
iPhone向けの3Dゲーム制作の練習シリーズです。
アンリアルエンジンでiPhone向けの3Dゲーム制作方法をまとめていきます。
細かな数値設定などの説明をしない場合もありますので、ご参考程度で確認ください。
※作業環境:UEバージョン5.5.1 Macbook Pro 2019年モデル iPhone11
私の使用したMacの性能だと、作業中の処理落ち、遅延が頻繁に発生しました。
もし同じような端末を使用する場合は、細目に保存することをお勧めします。
アニメーションをつける
何回かに記事を分けてキャラクターのアニメーションを実装していきます。
今回は、待機中(アイドリング)アニメーションです。
Animation Blueprintを作成する
「MyGame」フォルダー内に「Anim」フォルダーを作成します。
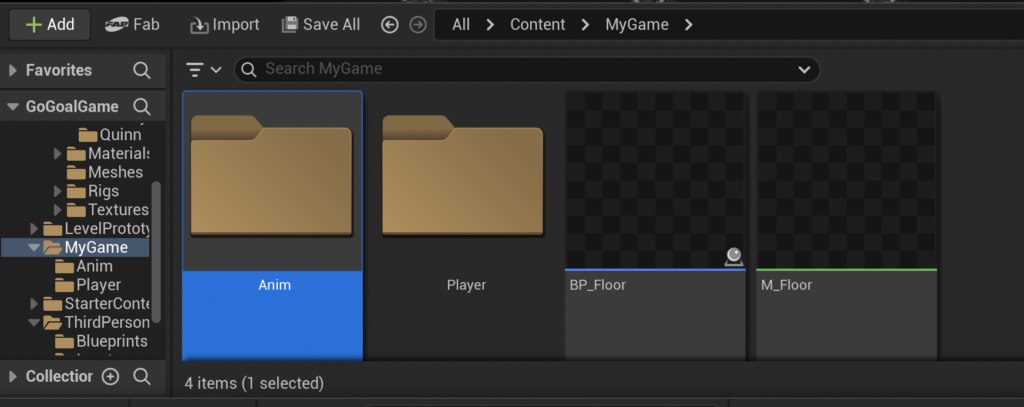
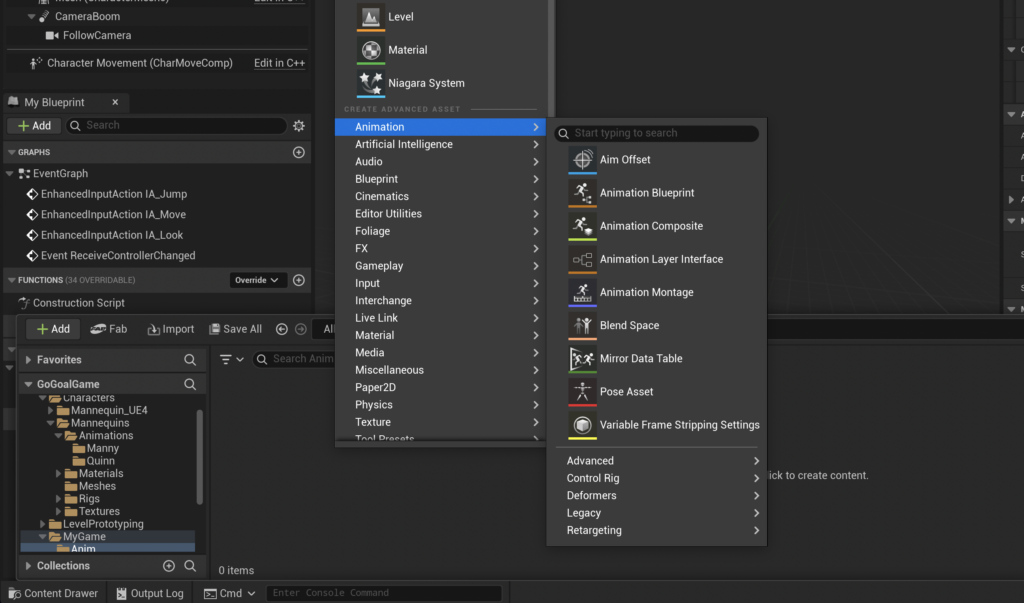
「Anim」フォルダー内で右クリックし、「Animation」の「Animation Blueprint」を選択します。
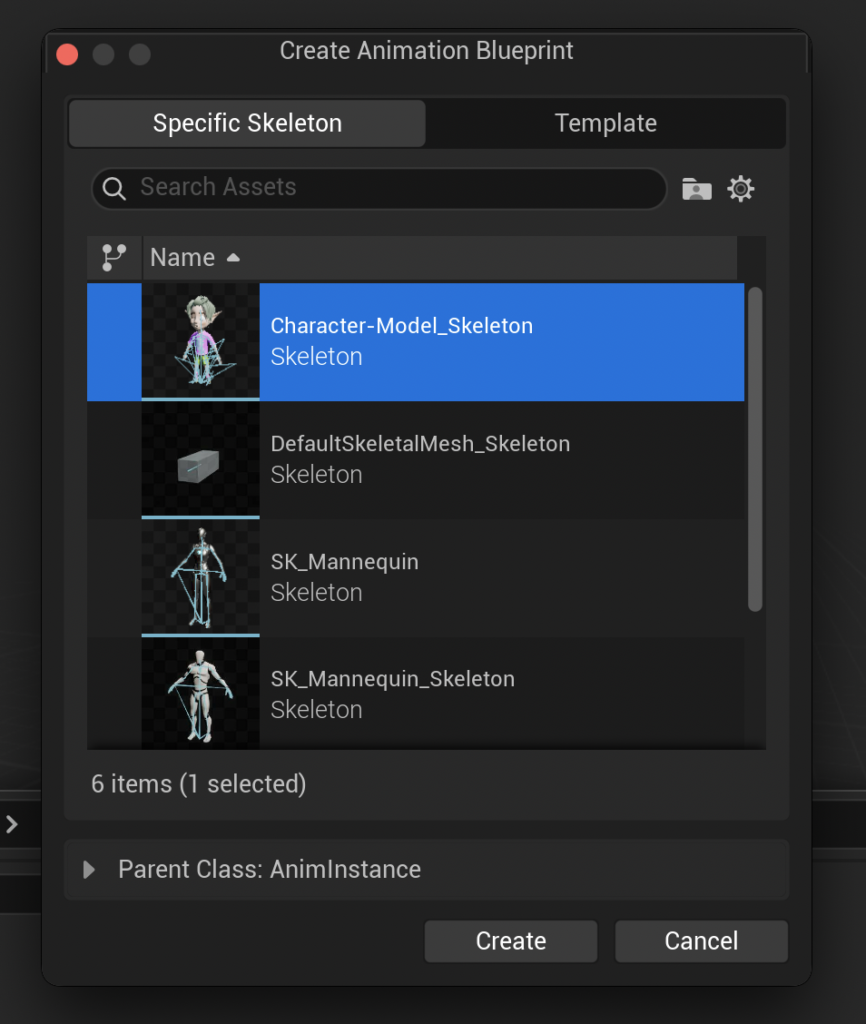
「Create Animation Blueprint」画面が表示されるので、オリジナルキャラクターの「Skeleton」を選択し、「Create」をクリックします。
作成したファイル名を「ABP_Player」にします。
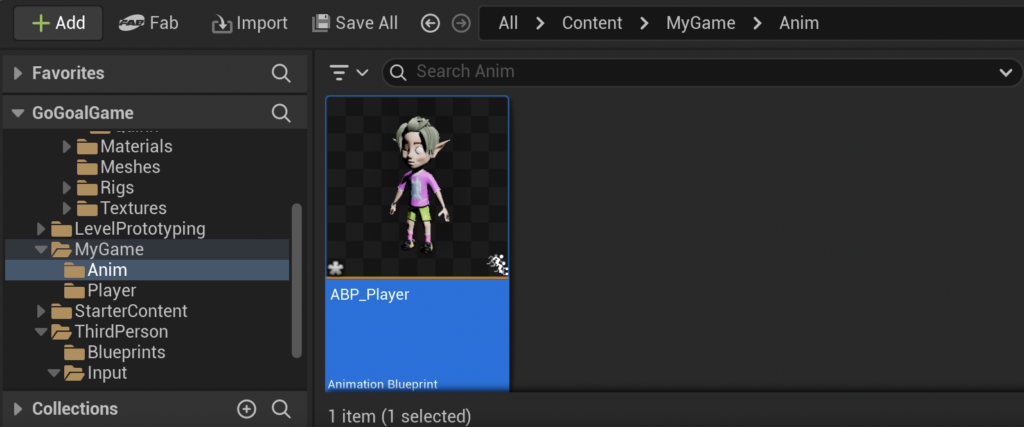
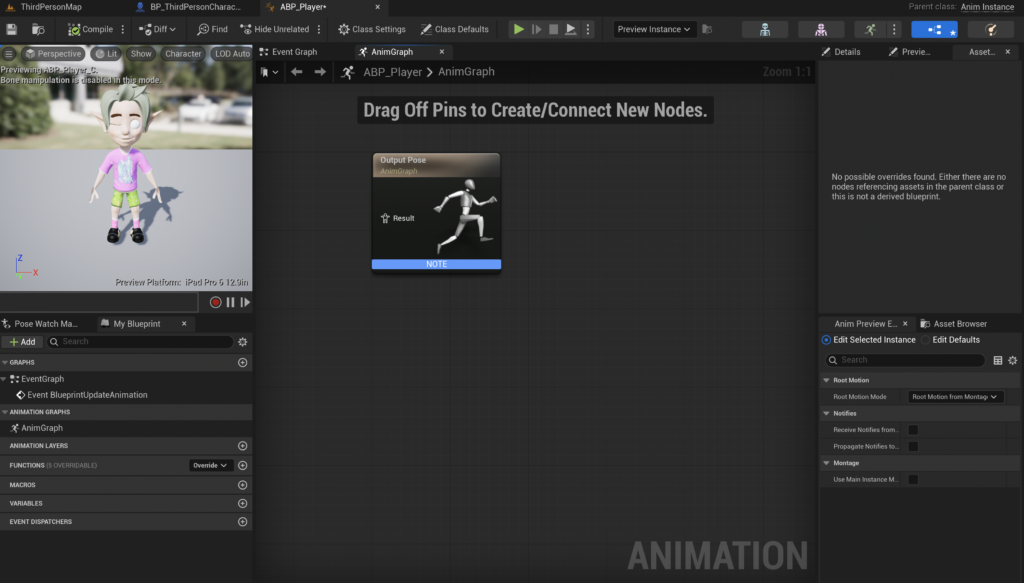
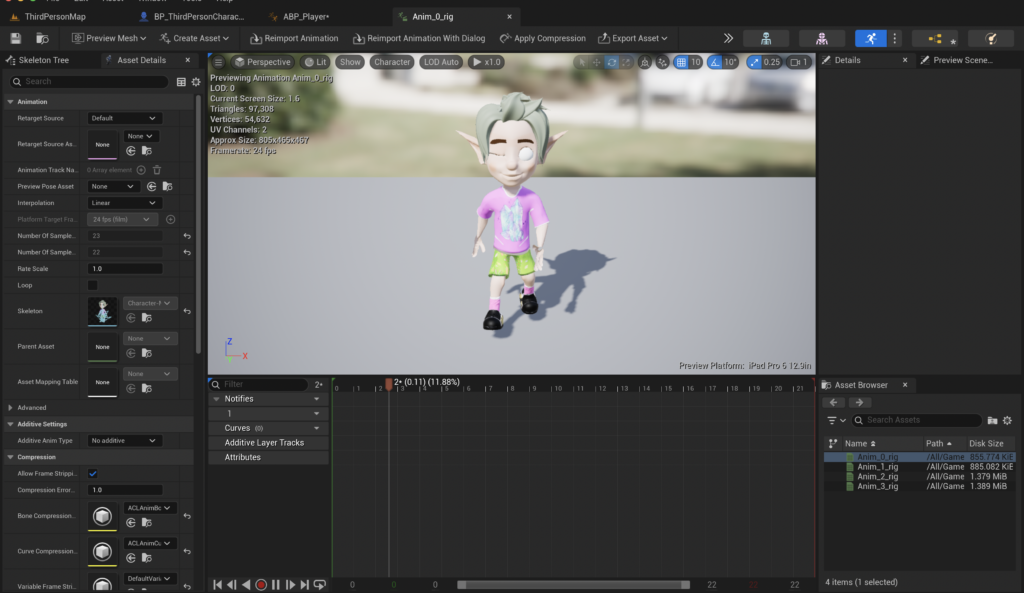
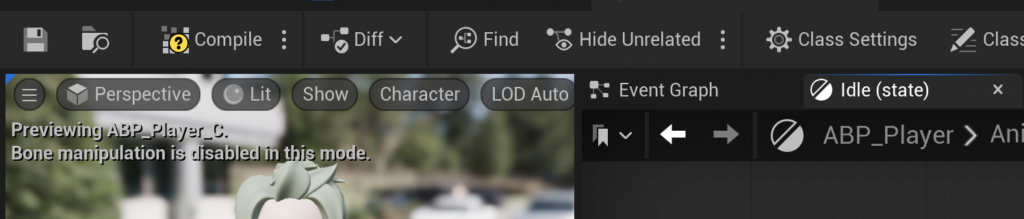
ファイルを開くと、こんな感じです。
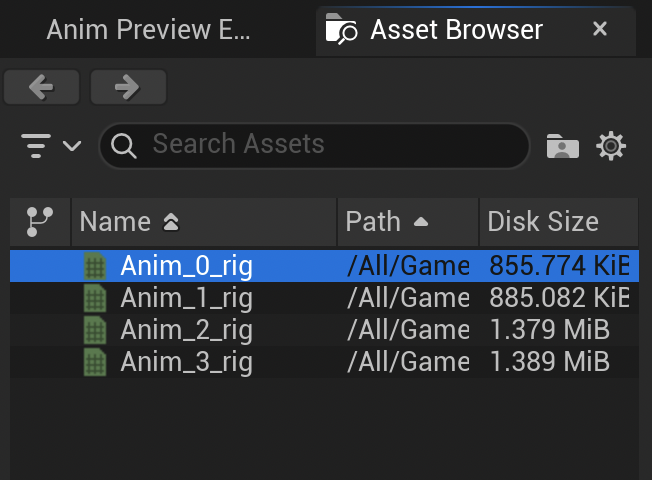
画面右下の「Asset Browser」を確認すると、自作したアニメーションファイルが表示されています。
試しに1つ目のファイルをダブルクリックで開きます。
ここではアニメーションの挙動などを変更することができますが、
今回は何も変更せずにそのまま使います。
それでは、「ABP_Player」に戻ってアニメーションを設定していきます。
アニメーションブループリントを編集する
今回はキャラクターがその場で待機しているときのアニメーションを追加していきます。
ブループリント内で右クリックし、「State Machines」の「State Machine」を選択します。
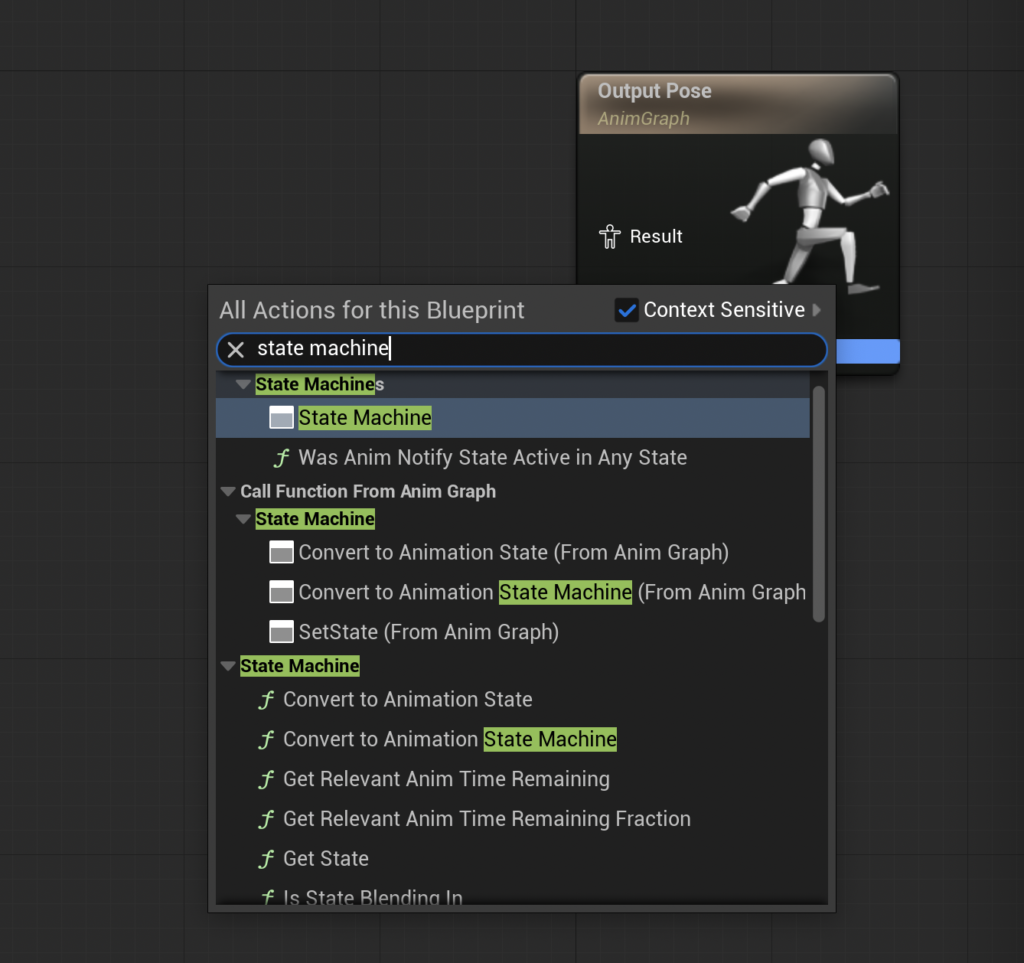
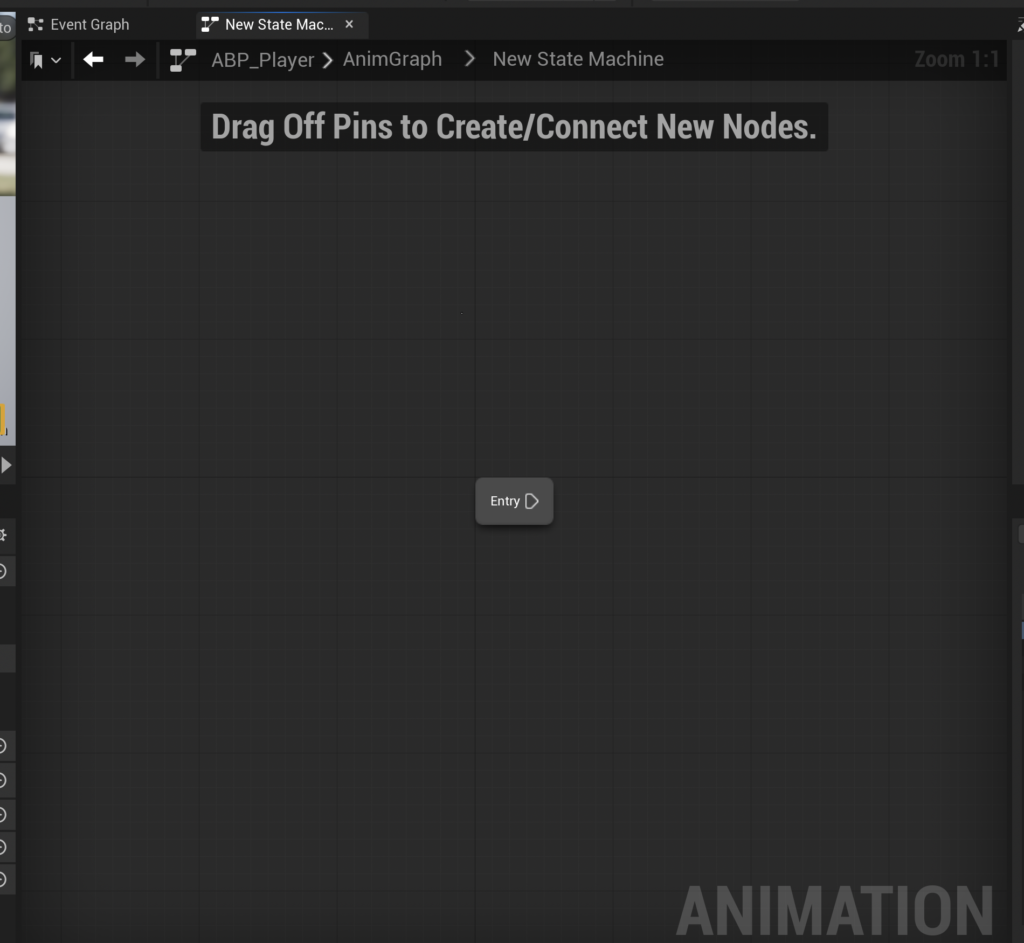
「New State Machine」が配置されます。
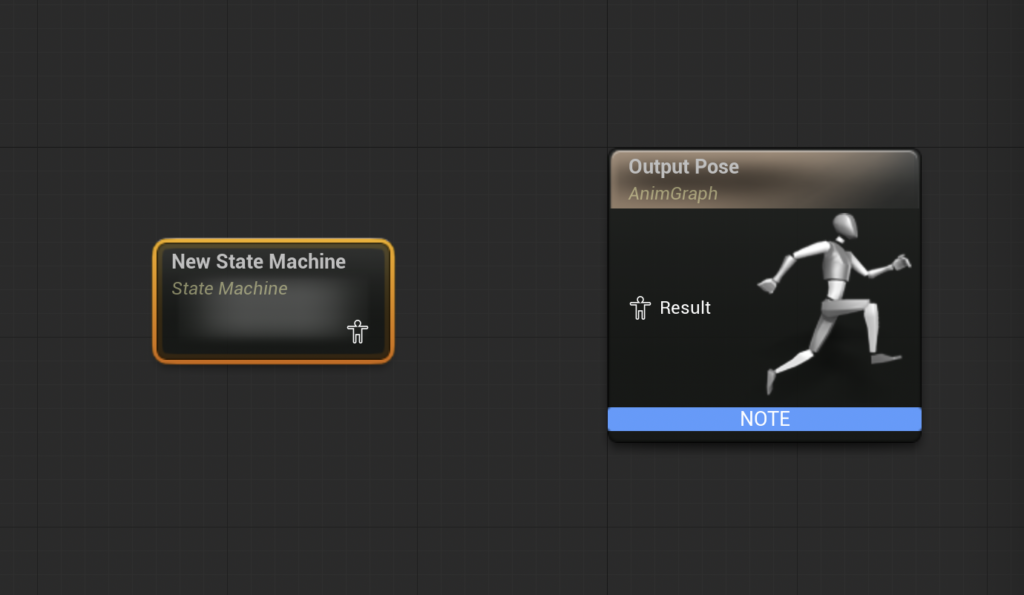
「New State Machine」と「Output Pose」を繋げきます。
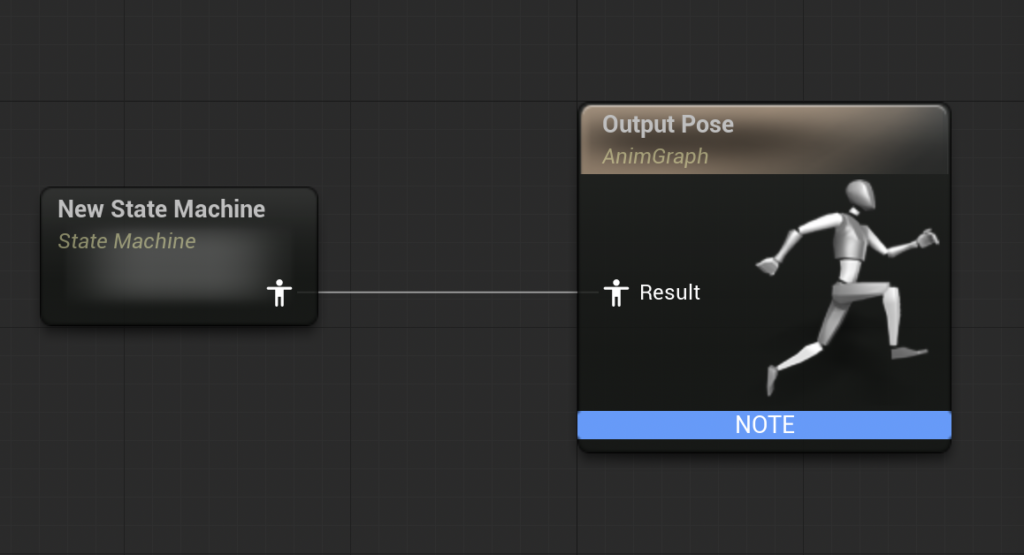
「New State Machine」ノードをダブルクリックし、画面を切り替えます。
配置されている「Entry」からドラックすると矢印が出てくるので、適当な場所で離します。
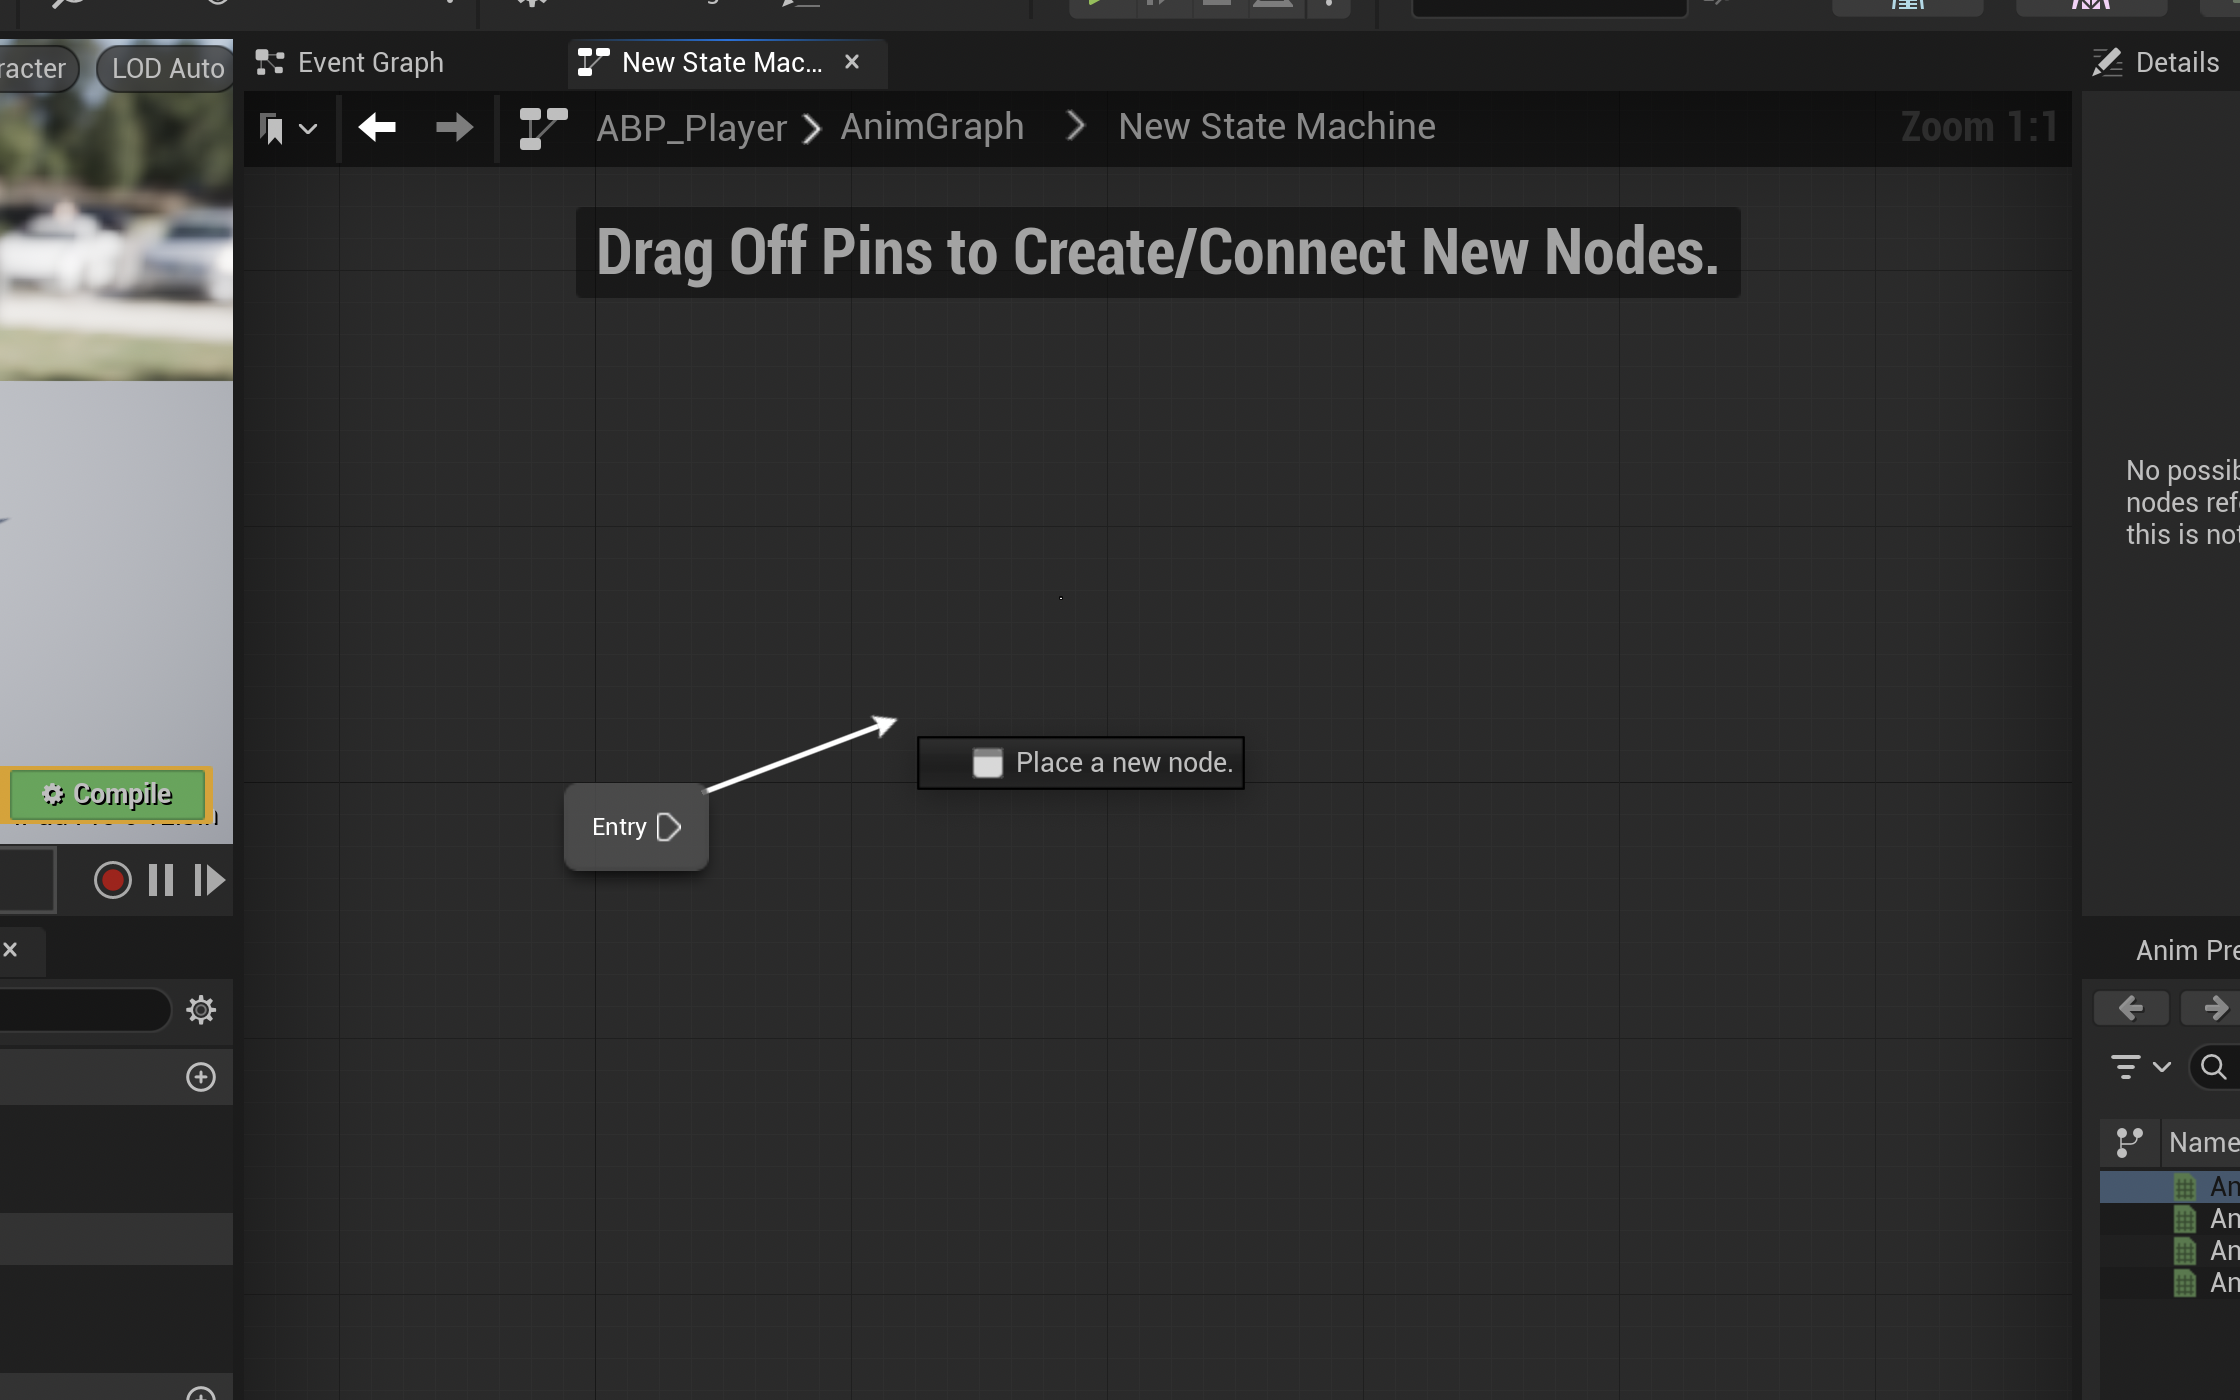
下の写真のような画面が表示されるので「Add State」をクリックします。
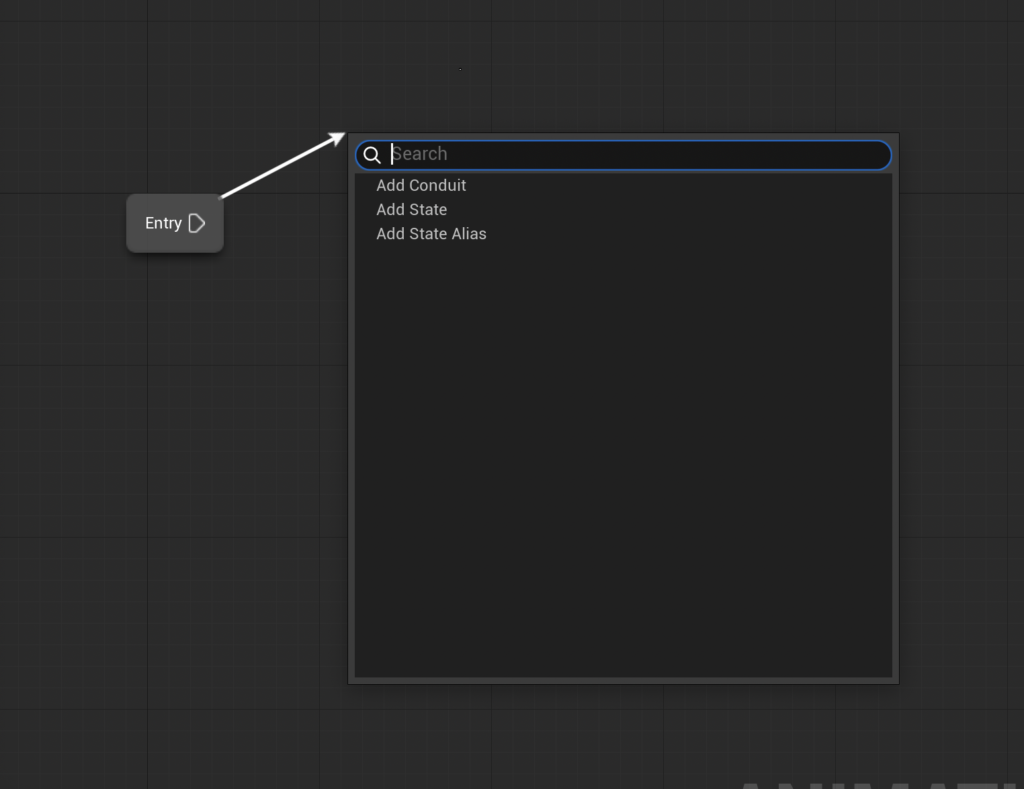
「State」ノードが配置されます。
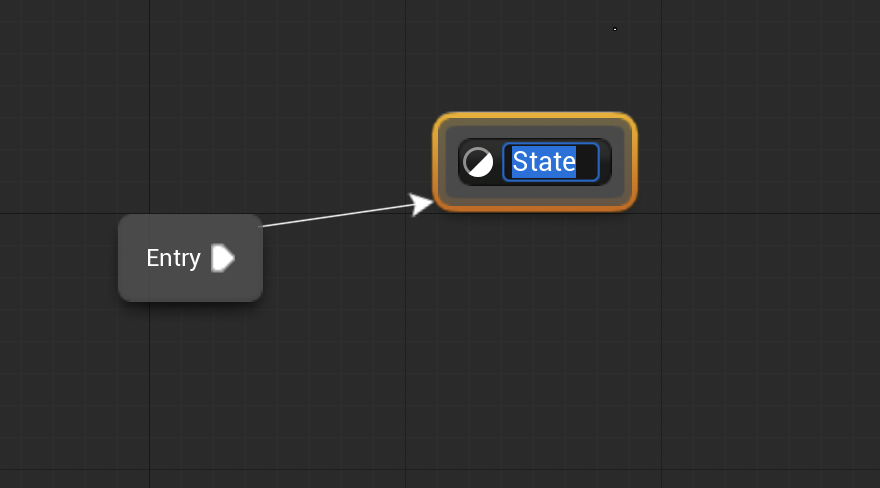
名前を「Idle」に変更します。
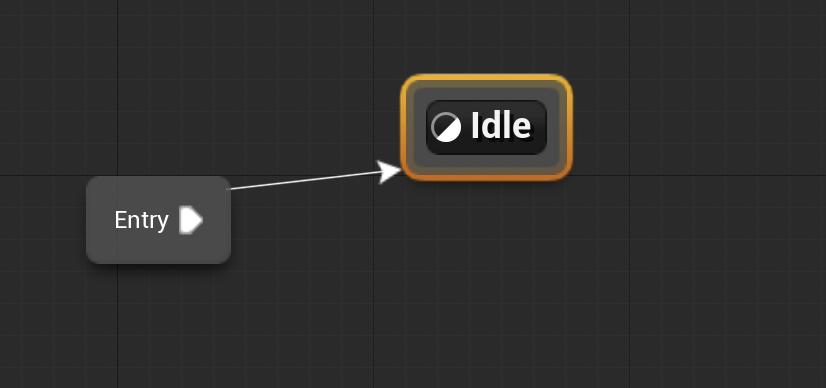
「Idle」ノードをダブルクリックし、画面を切り替えます。

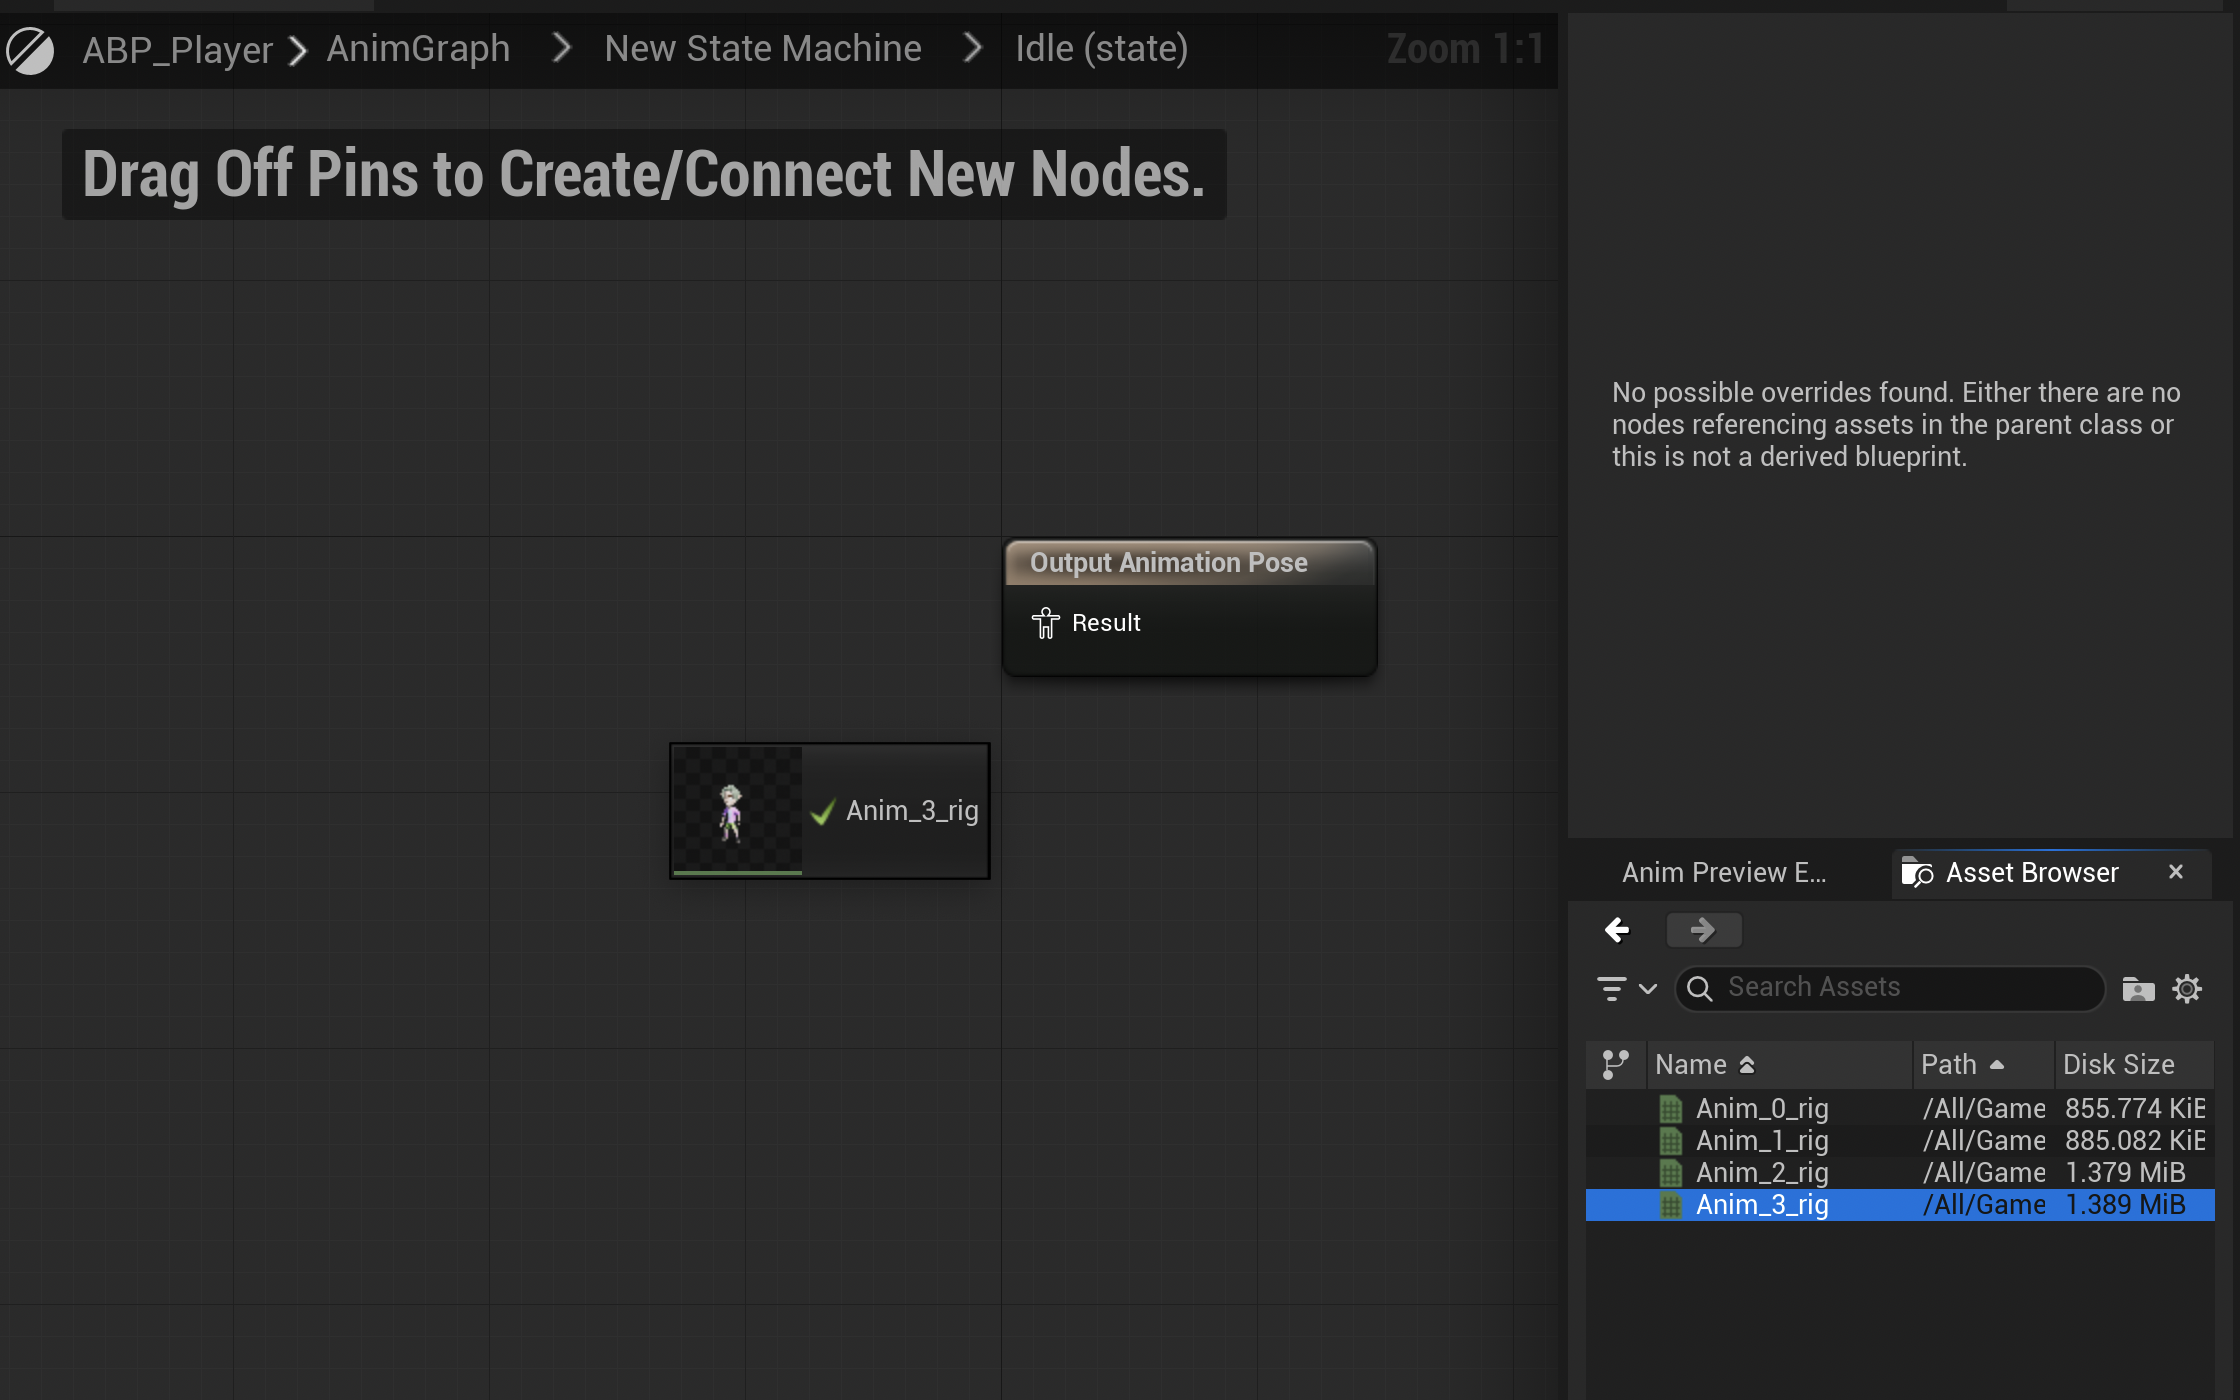
画面右下のアニメーションファイル一覧から、「その場で待機中アニメーション」を選択します。
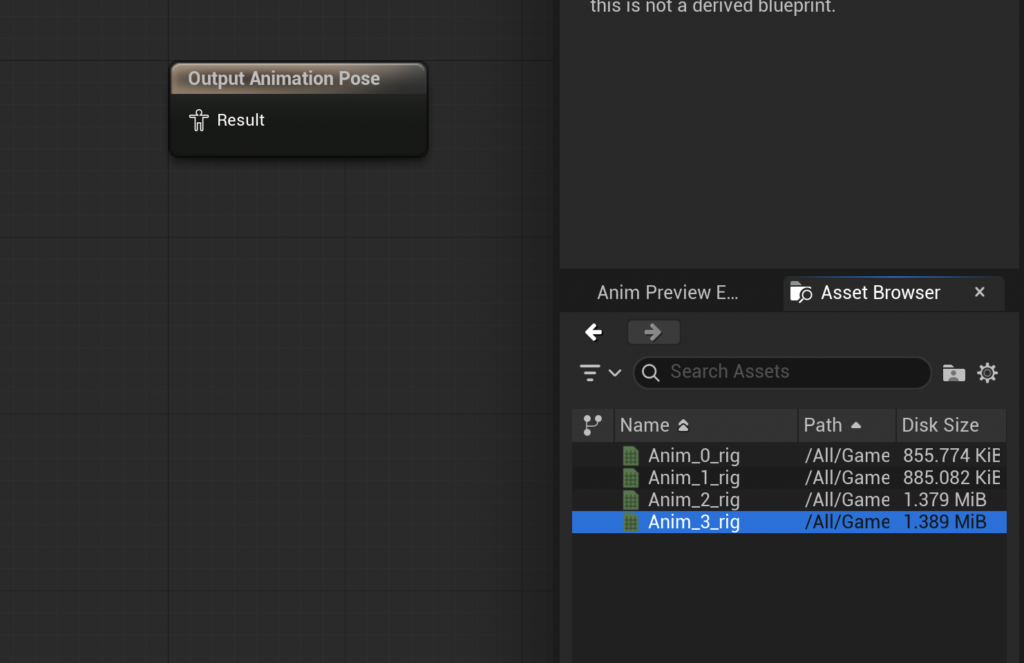
今回だと「Anim_3_rig」ファイルになります。
選択したら、そのままドラック&ドロップします。
「Anim_3_rig」ノードが配置されます。
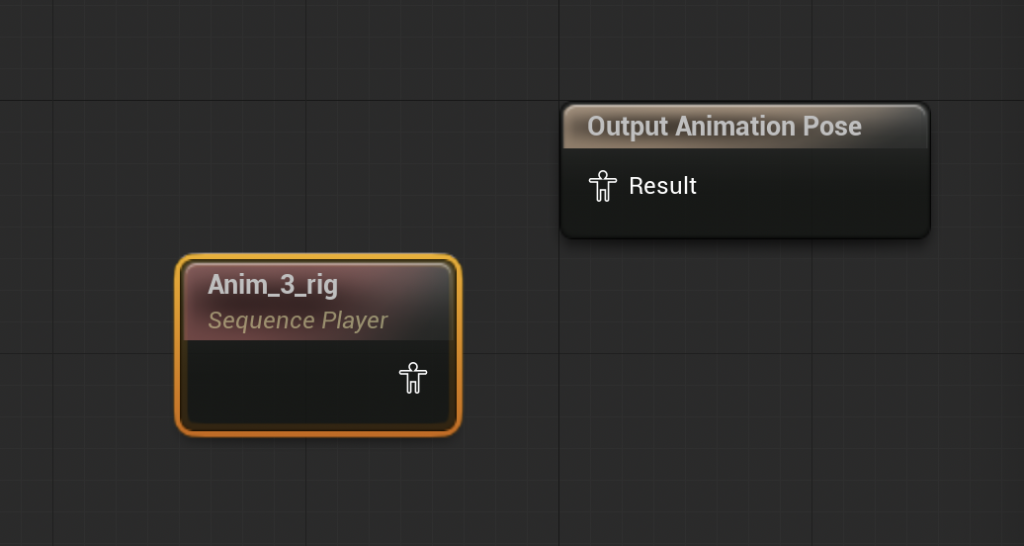
「Anim_3_rig」と「Output Animation Pose」を繋げます。
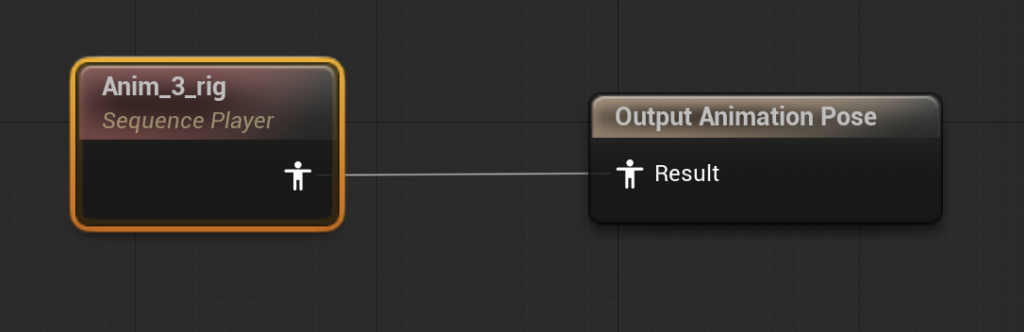
繋げたら、画面上にある「Compile」をクリックし保存します。
保存のタイミングはあまり記載しませんので細目に行ってください。
「Compile」すると、こんな感じになります。
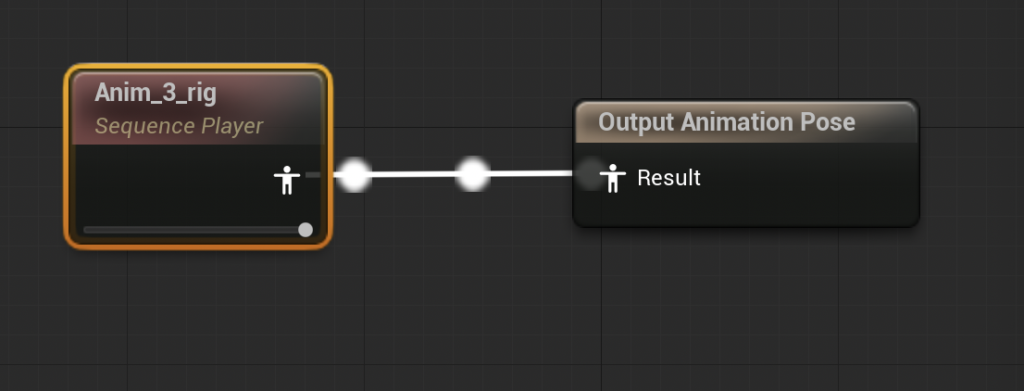
アニメーションをループさせたいので、「Details」の「Loop Animation」にチェックを入れます。

アニメーションブループリントをキャラクターに適応させる
アニメーションブループリントで待機中のアニメーションは設定出来たので、プレイヤーキャラクターに反映していきます。
「BP_ThirdPersonCharacter」を開きます。
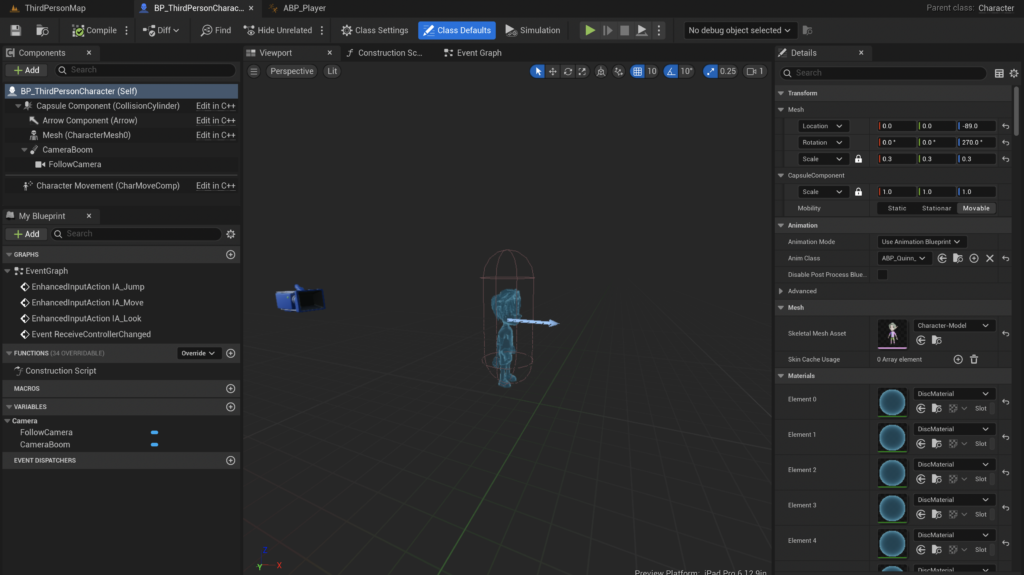
「Details」内の「Anim Class」を変更します。
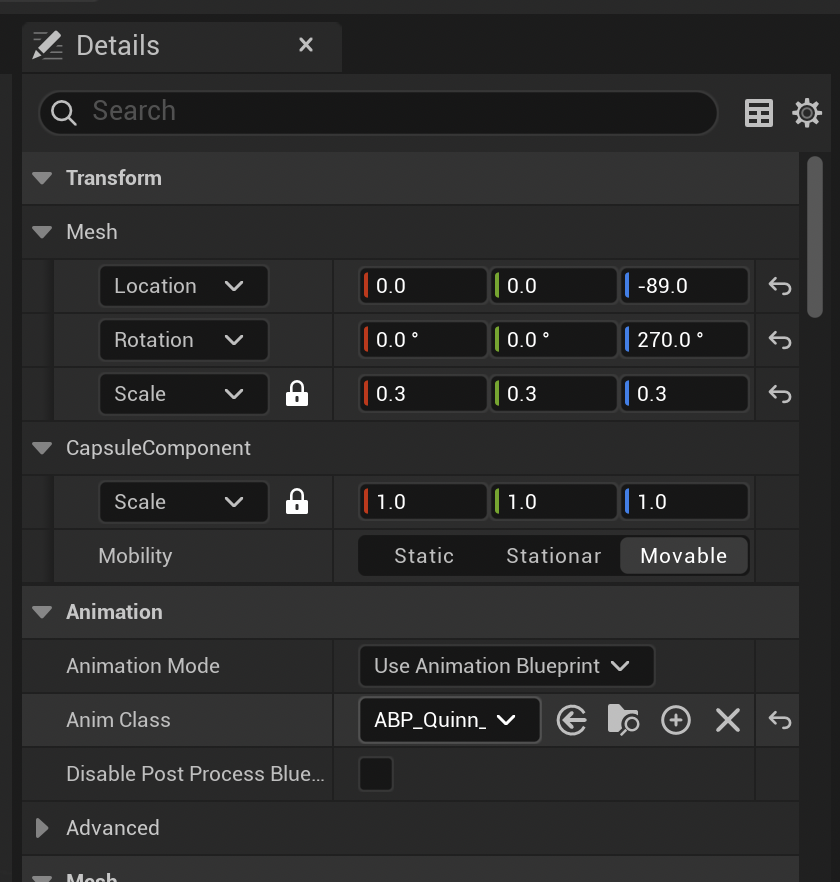
先ほど作成した「BP_Player」を選択します。
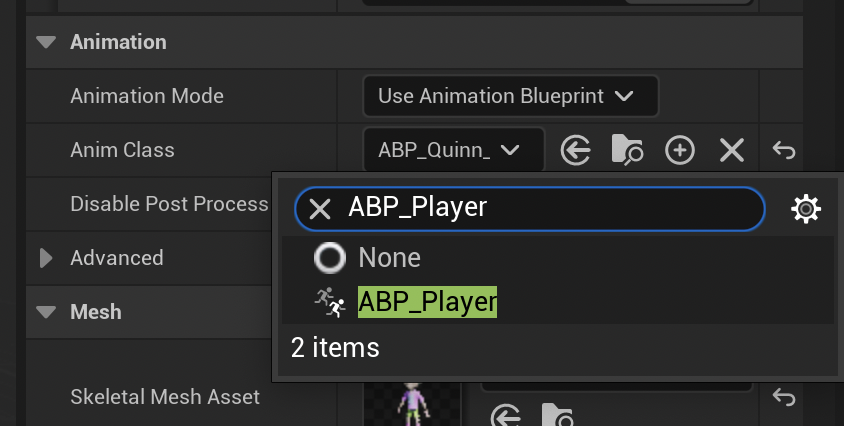
「Compile」をクリックし、保存します。

テストプレイで確認すると、キャラクターが動いていることが確認できます。
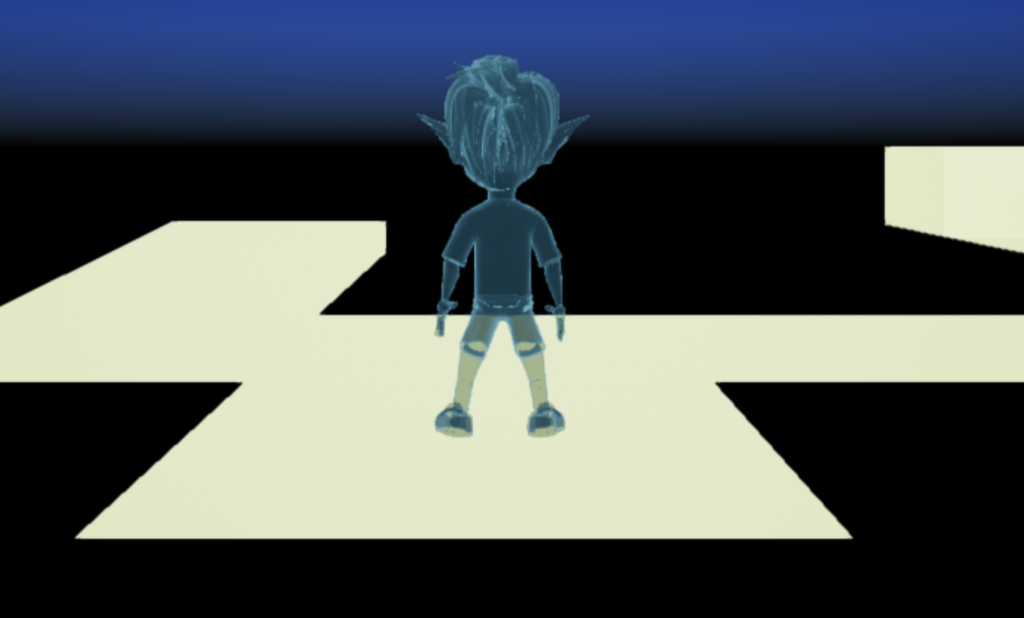
待機中のアニメーション完了
今回はここまでです。
次回は「ジャンプアニメーションを追加する」です。
前後記事
他の記事を探す
他の記事も気になる方は、以下の記事の目次を確認ください。
