


簡単な3D×2Dゲームを作ろう
3D×2Dゲーム制作の練習シリーズです。
アンリアルエンジンで3D×2Dゲーム制作方法をまとめていきます。
「2Dゲーム制作の練習シリーズ」で行った説明を省略したり、細かな数値設定などの説明をしない場合もありますので、ご参考程度で確認ください。
※作業環境:UEバージョン5.3.2 Windows11
会話後のテキストを非表示
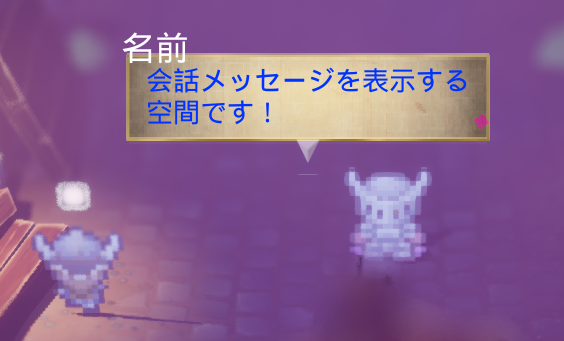
ここまでの記事で、会話テキストをNPCの近くに表示することが出来ました。
しかし、会話テキストが常に表示されている状態なので、会話しているときだけテキストを表示するように変更していきます。
会話後にNPCのアイコンを再表示する
まずは、会話した相手を取得し、会話終了後に会話可能アイコンを再表示させていきます。
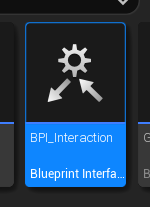
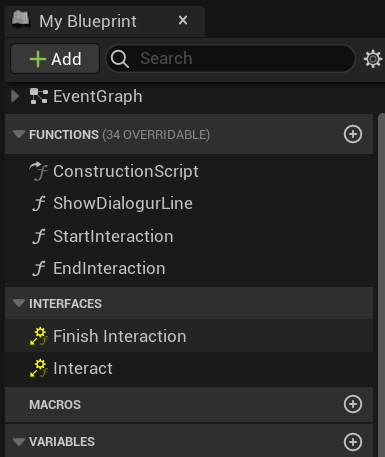
「BPI_Interaction」を開きます。
「My Blueptint」の「FUNCTIONS」の右にある「+」をクリックします。
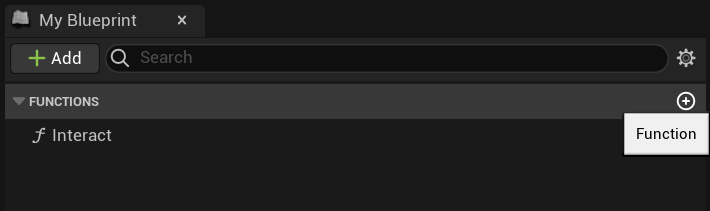
新しい関数が作成されるので、関数名を「FinishInteraction」にします。
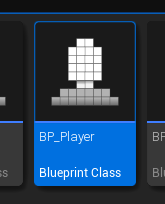
「BP_Player」を開きます。
会話ボタンを押したときの処理に、変数を追加します。
変数名を「Last Interacted」してセットします。
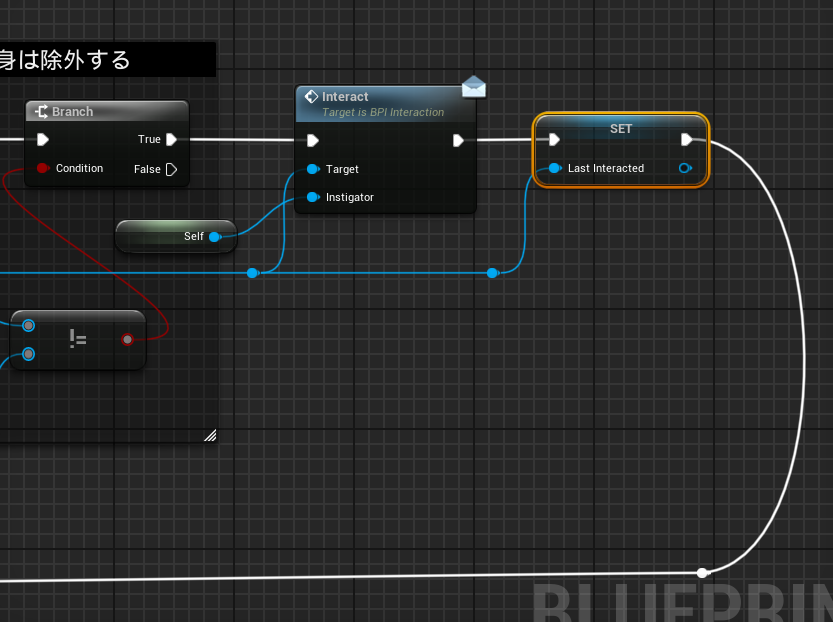
移動操作の処理に移動して、「Get」ノードと「Finish Interaction」関数を追加します。
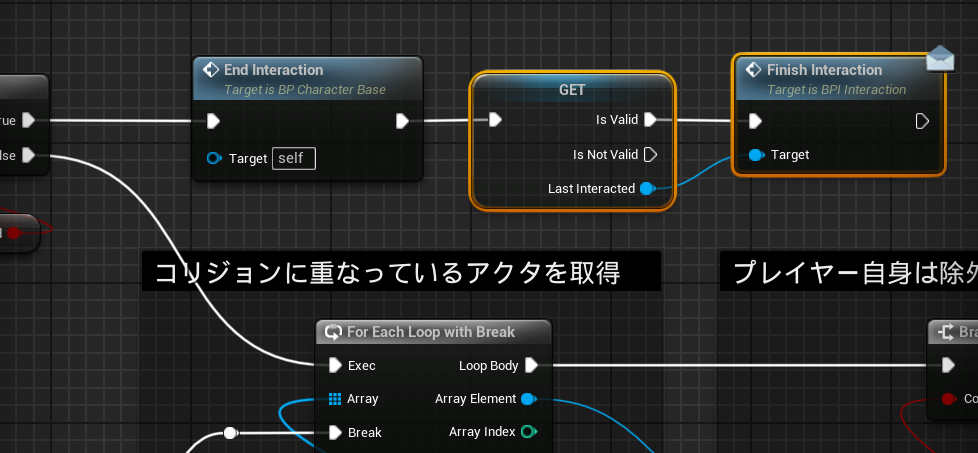
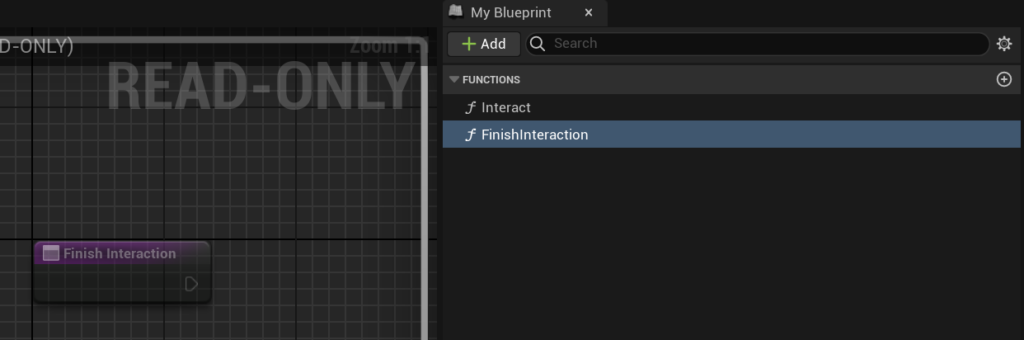
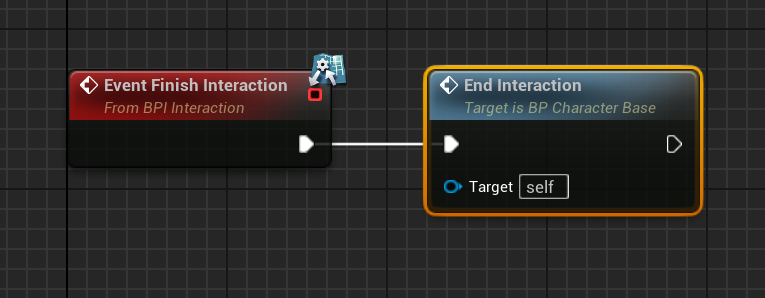
「BP_CharacterBase」を開きます。
「INTERFACES」の「Finish Interaction」をダブルクリックします。
作成された「Event Finish Interaction」に「End Interaction」関数を繋げます。
保存して、テストプレイします。
会話を終わらせたときに、NPCの頭上にアイコンが再表示されていればOKです。
会話テキスト表示アニメーションを作成する
会話テキストを必要なときだけ表示するようにしていきます。
一緒にアニメーションも追加します。
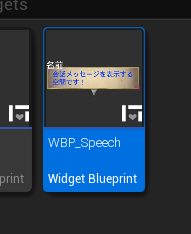
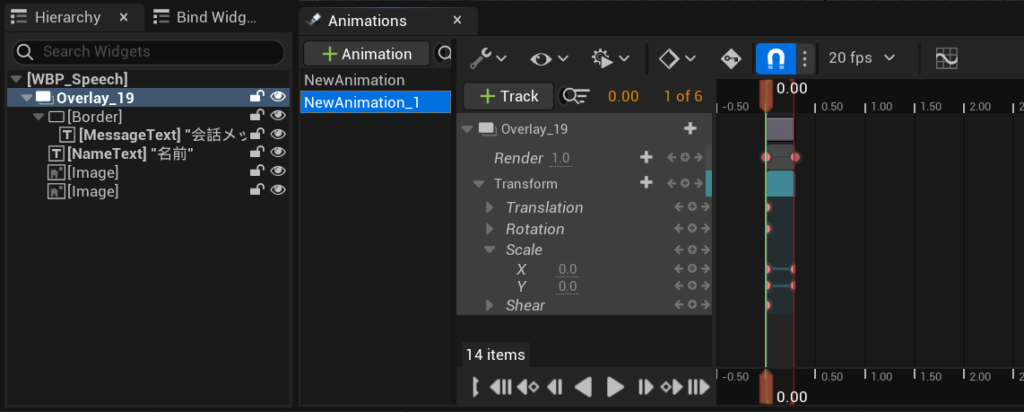
「WBP_Speech」を開きます。
会話テキストのフェードインアニメーションを作成します。
今回は説明を省略しますが、こんな感じにしています。
アニメーションの作り方は、以下の記事を参考にしてください。
上の記事では、「+」をクリックして「Transform」を追加しましたが、今回はさらに、「Render」も追加しています。
「Render」は、テキストの表示非表示に関わる値なので、必ず追加します。
「Graph」画面に移動して、カスタムイベントを作成します。
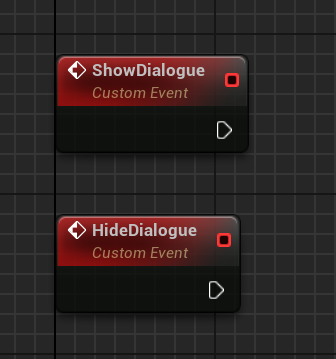
イベント名は「ShowDialogue」と「HideDialogue」にします。
まずは「ShowDialogue」にアニメーションを再生する「Play Animation」ノードを追加します。
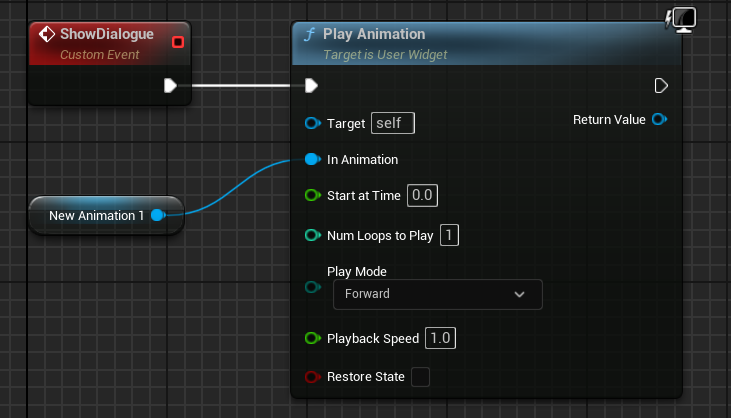
次に「HideDialogue」にアニメーションを逆再生する「Play Animation Reverse」ノードを追加します。

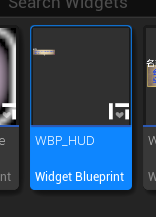
「WBP_HUD」を開きます。
「FUNCTIONS」の右にある「+」をクリックして、関数を作成し、関数名を「ShowDialogue」にします。
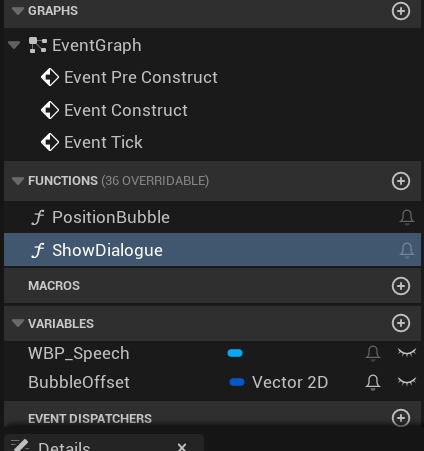
「ShowDialogue」関数に、下の写真のように処理を繋げます。
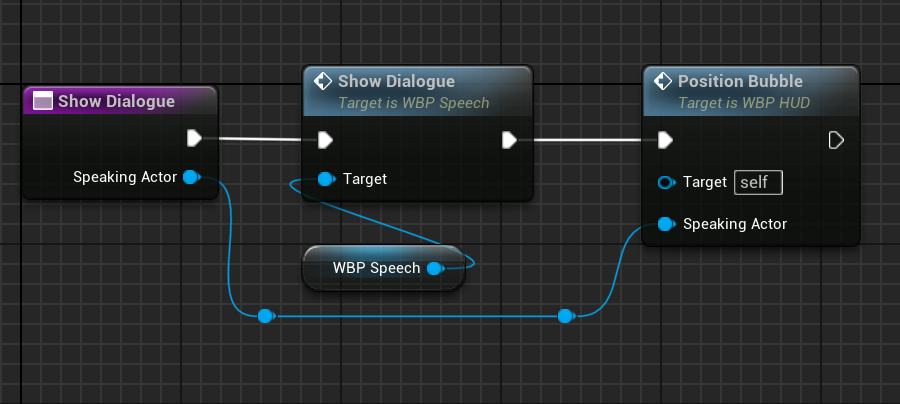
- 「Show Dialogue」関数の「Inputs」要素を追加します。
変数名は「Speaking Actor」にし、型は「Actor」の「Object Reference」にします。 - 「WBP Speech」をゲットし、「Show Dialogue」イベントを呼び出します。
- 「Position Bubble」関数を呼び出して、「Speaking Actor」同士を繋ぎます。
関数のInput要素の追加方法を忘れた場合は、以下の記事を参考にしてください。
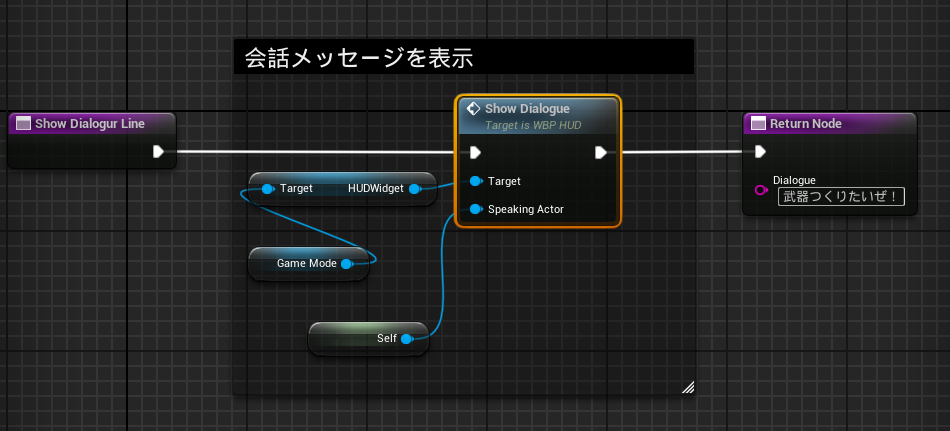
「BP_CharacterBase」を開きます。
「FUNCTIONS」の「ShowDialogurLine」をダブルクリックします。

「ShowDialogurLine」関数の「Position Bubble」を「Show Dialogue」に変更します。
これで、フェードインアニメーションで会話テキストが表示されるようになりました。
次に、会話終了時の会話テキスト非表示を設定していきます。
「BP_Player」を開きます。
移動アクションの処理を作成した場所に移動します。

「Finish Interaction」の続きに、「Hide Dialogue」イベントを呼び出します。
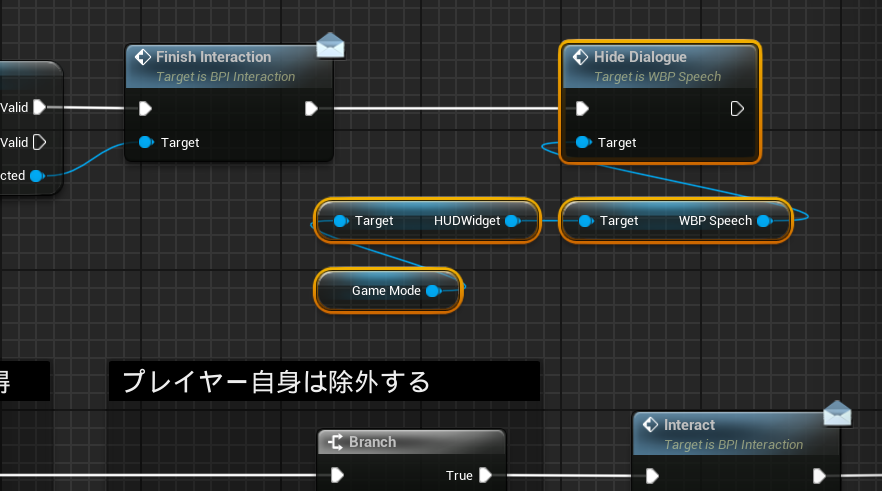
これで会話後に、会話テキストをフェードアウトさせながら非表示にすることが出来ます。
ゲーム開始の会話テキストを非表示にする
ゲーム開始時に会話テキストが表示されている状態なので、非表示にしておきます。
「WBP_Speech」を開きます。
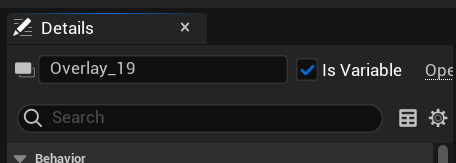
「Hierarchy」の「Overlay」を選択します。
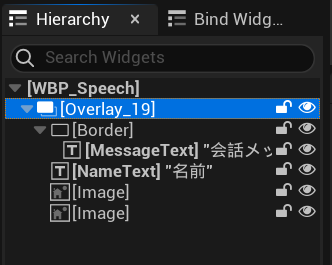
「Details」の「Is Variable」にチェックを入れます。
「Graph」画面に移動して、「Event Construct」の「Play Animation」の続きに、下の写真のように処理を追加します。
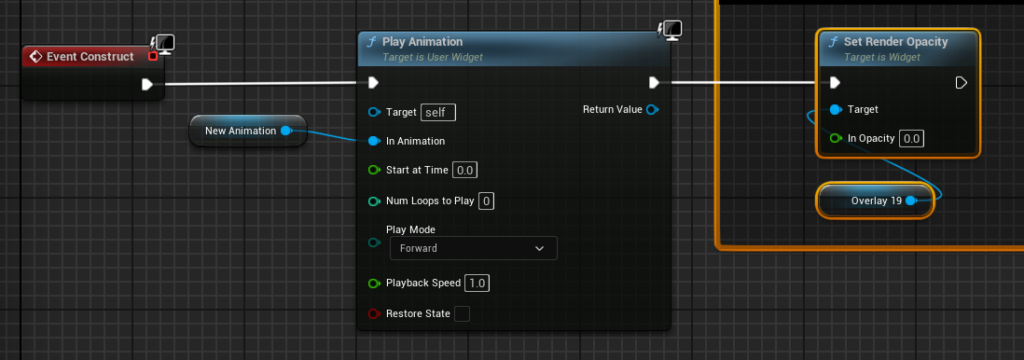
- 「Set Render Opacity」ノードを配置します。
- 「Target」には、先ほどの「Overlay」を繋げます。
- 「In Opacity」の値を「0.0」にします。
保存してテストプレイします。
ゲーム開始時には会話テキストが表示されず、会話する時だけテキストが表示されていればOKです。
会話後のテキスト非表示完了
今回はここまでです。
次回は「会話内容を表示する」です。
前後記事
他の記事を探す
他の記事も気になる方は、以下の記事の目次を確認ください。
