


簡単な2Dゲームを作ろう
2Dゲーム制作の練習シリーズです。
アンリアルエンジンで2Dゲーム制作方法をまとめていきます。
説明を省略したり、細かな数値設定などの説明をしない場合もありますので、ご参考程度で確認ください。
※作業環境:UEバージョン5.3.2 Windows11 VSCode
魔法発射アクションを実装
「Input Action」を作成し「Input Mapping Context」に設定する
「Input Action」を新しく作成します。
作成方法を忘れた場合は、以下の記事を参考にしてください。
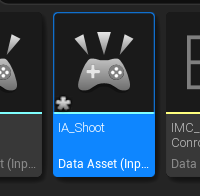
ファイル名は「IA_Shoot」にします。
ファイルを開いて、「Value Type」を「Digital(bool)」にします。
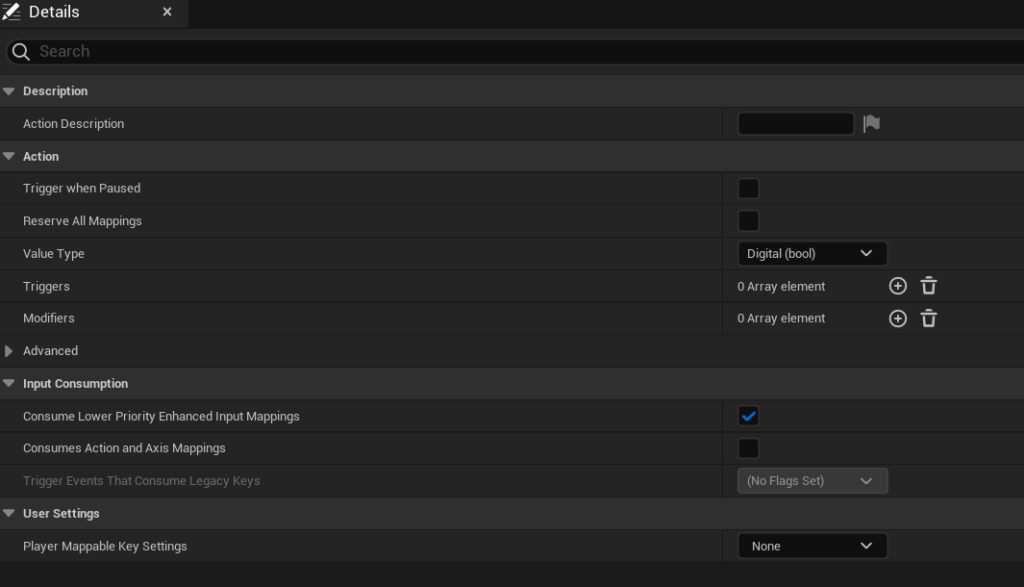
ボタンを押したかどうかを確認して、アクションを発生されるようにしています。
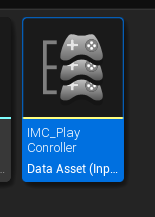
「IMC_PlayController」を開きます。
ファイルを開いて、作成した「IA_Shoot」を割り当てます。
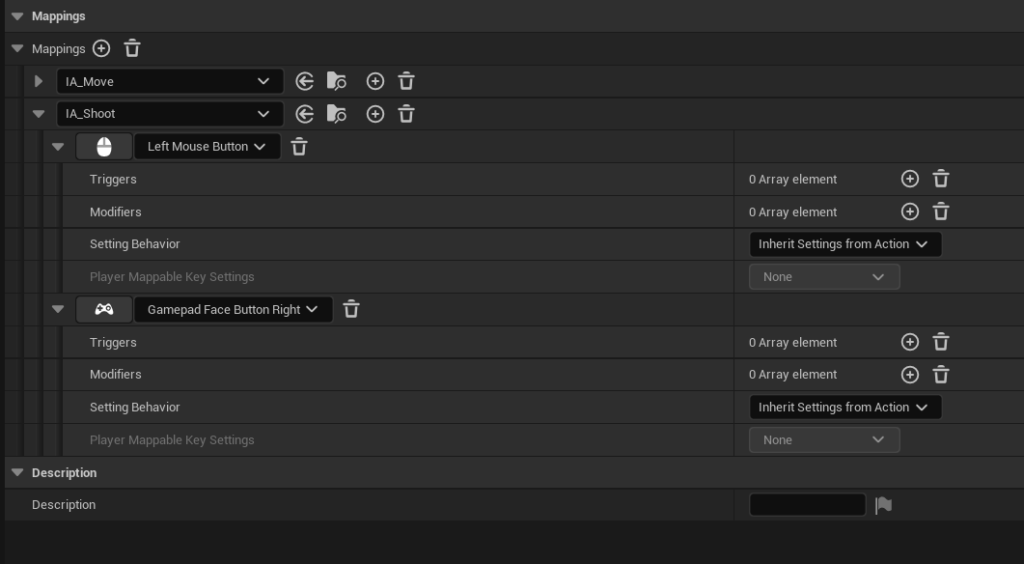
上の写真では、マウスの左クリックとゲームコントローラーの「A」か「B」ボタンをアクション発生のトリガーにしています。
コントローラーによってボタン配置が違うので「A」か「B」と記載していますが、ようするにコントローラー右側のボタン群の右側のボタンのことです。
ボタンを押したときの処理を作成する
ボタンを押したときの処理を作成していきます。
PlayerCharacter.h
「public:」内にプロパティを追加します。
	UPROPERTY(EditAnywhere, BlueprintReadOnly)
	UInputAction* MoveAction;

// 追加↓
	UPROPERTY(EditAnywhere, BlueprintReadOnly)
	UInputAction* ShootAction;
// ここまで↑
関数も追加します。
	void MoveTriggered(const FInputActionValue& Value);
	void MoveCompleted(const FInputActionValue& Value);

// 追加↓
	void Shoot(const FInputActionValue& Value);
// ここまで↑
PlayerCharacter.cpp
ヘッダーファイルで追加した関数の関数定義を作成し、処理を追加します。
// 定義作成,コード追加
void APlayerCharacter::Shoot(const FInputActionValue &Value)
{
	GEngine->AddOnScreenDebugMessage(-1, 2.0f, FColor::Red, TEXT("Shoot"));
}
「APlayerCharacter::SetupPlayerInputComponent(){}」内にコードを追加します。
void APlayerCharacter::SetupPlayerInputComponent(UInputComponent* PlayerInputComponent)
{
	Super::SetupPlayerInputComponent(PlayerInputComponent);

	UEnhancedInputComponent *EnhancedInputComponet = Cast<UEnhancedInputComponent>(PlayerInputComponent);
	if (EnhancedInputComponet)
	{
		EnhancedInputComponet->BindAction(MoveAction, ETriggerEvent::Triggered, this, &APlayerCharacter::MoveTriggered);
		EnhancedInputComponet->BindAction(MoveAction, ETriggerEvent::Completed, this, &APlayerCharacter::MoveCompleted);
		EnhancedInputComponet->BindAction(MoveAction, ETriggerEvent::Canceled, this, &APlayerCharacter::MoveCompleted);

// 追加↓
		EnhancedInputComponet->BindAction(ShootAction, ETriggerEvent::Started, this, &APlayerCharacter::Shoot); // ボタンを押した瞬間に呼び出す
		EnhancedInputComponet->BindAction(ShootAction, ETriggerEvent::Triggered, this, &APlayerCharacter::Shoot); // ボタンを押している間呼び出す
// ここまで↑

	}

}
ボタンを押したときに処理するコードを追加しました。
処理を実行するタイミングは、以下の記事で紹介しています。
保存して、コンパイルします。
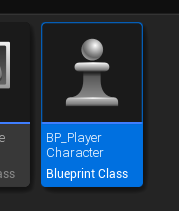
プレイヤーのブループリントを設定する
「BP_PlayerCharacter」を開きます。
「Details」の「Player Character」項目に「Shoot Action」が追加されています。
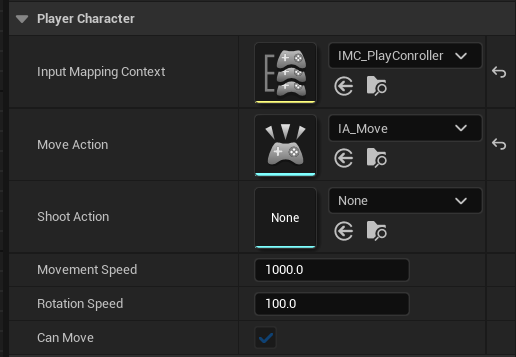
対応するコード
	UPROPERTY(EditAnywhere, BlueprintReadOnly)
	UInputAction* ShootAction;
「Shoot Action」に「IA_Shoot」を設定します。

これでテストプレイすると、設定したボタンを押すたびにメッセージが表示されます。
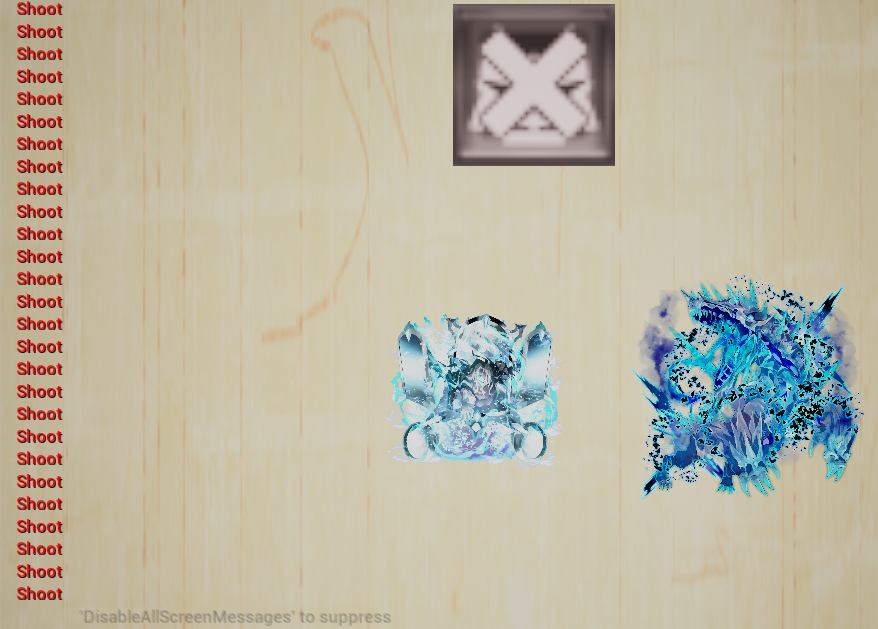
これで入力が反応していることが確認できました。
発射アクションの実装完了
今回はここまでです。
次回は「魔法を発射させる」です。
前後記事
他の記事を探す
他の記事も気になる方は、以下の記事の目次を確認ください。
