


簡単な3D×2Dゲームを作ろう
3D×2Dゲーム制作の練習シリーズです。
アンリアルエンジンで3D×2Dゲーム制作方法をまとめていきます。
「2Dゲーム制作の練習シリーズ」で行った説明を省略したり、細かな数値設定などの説明をしない場合もありますので、ご参考程度で確認ください。
※作業環境:UEバージョン5.3.2 Windows11
会話を続けて表示
1文で入りきらない会話を分割します。
ボタンを押すと、次の文を表示するようにしていきます。
会話内容データを作成する
会話の文章をまとめたデータを作成していきます。
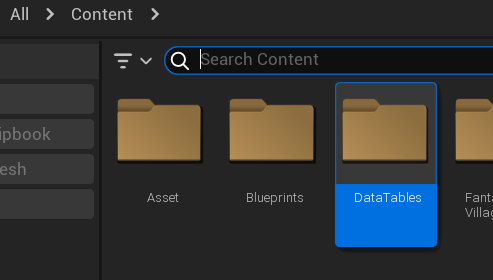
「Content」に「DataTables」フォルダーを作成します。
フォルダー内で右クリックして、「Blueprint」の「Structure」を選択します。
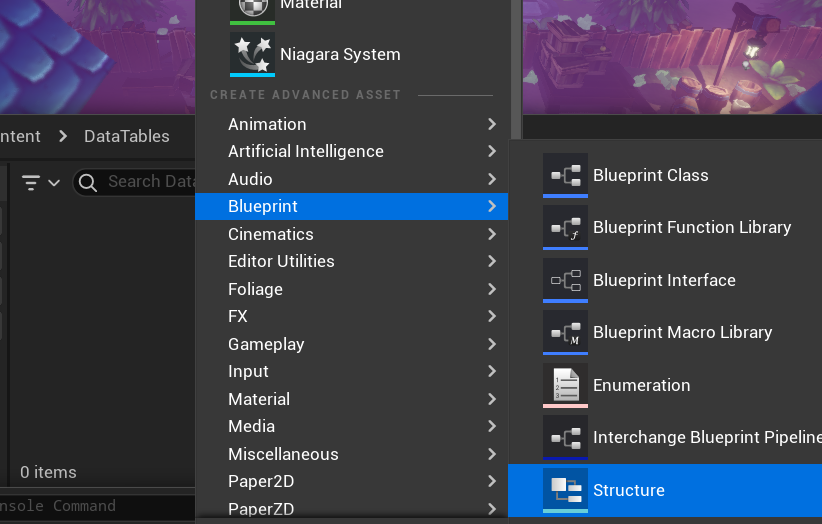
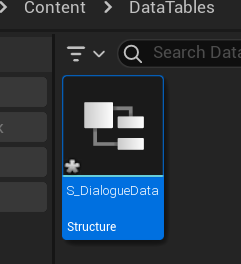
ファイル名を「S_DialogueData」にします。
ファイルを開いて、「+Add Variable」をクリックし、要素を追加します。

下の写真のように、「DialogueText」と「NextRow」を追加し、どちらも「String」型にします。

「DataTables」フォルダー内で右クリックして、「Miscellaneous」の「Data Table」を選択します。
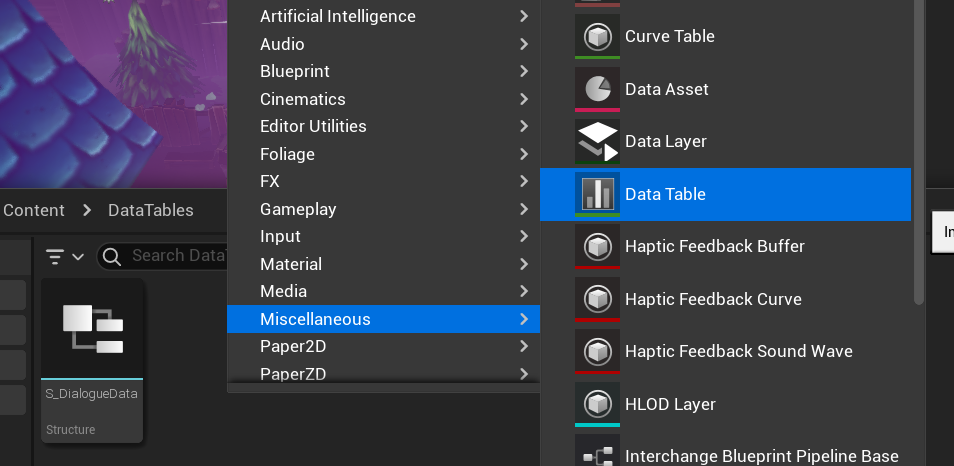
「Pick Row Structure」画面になるので、「None」を「S_DialogueData」にして、ファイルを作成します。
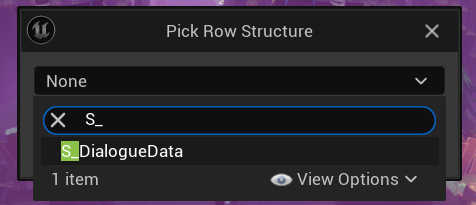
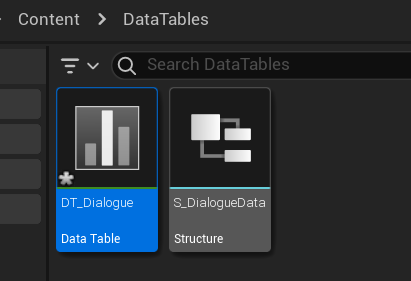
ファイル名は「DT_Dialogue」にします。
ファイルを開いて、「+Add」をクリックし、項目を追加します。
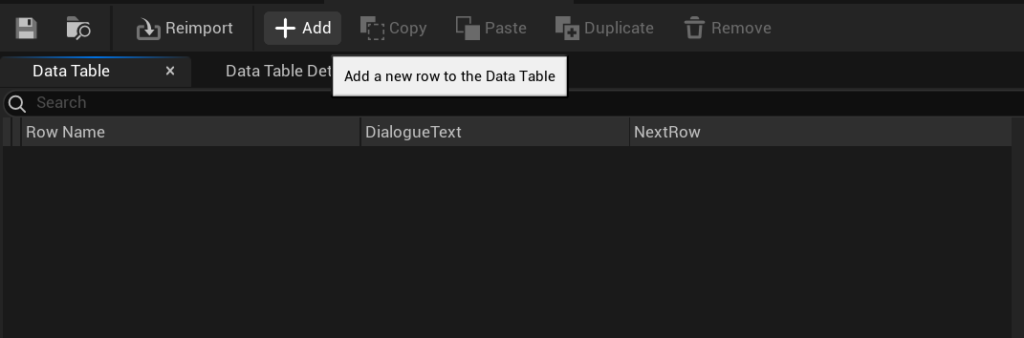
下の写真のように、データを入力します。
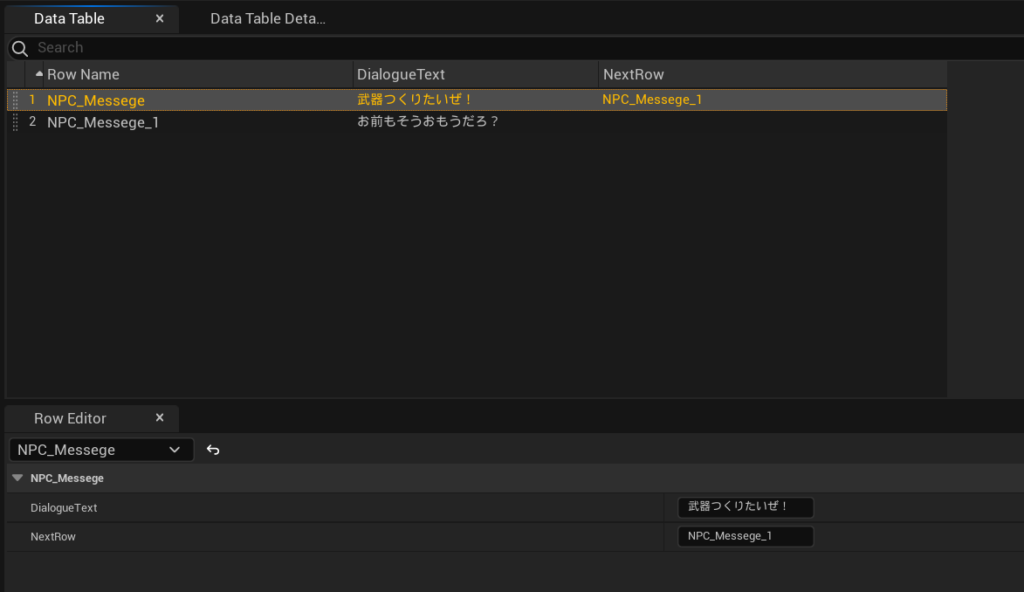
各項目は「Row Editor」内で入力できます。
会話内容をスプレッドシートで管理する方法もあります。
以下の記事を参考にしてください。

作成したデータを適用する
会話内容を作成できたので、これを会話ボタンを押したときの処理に適用していきます。
「BP_CharacterBase」を開きます。
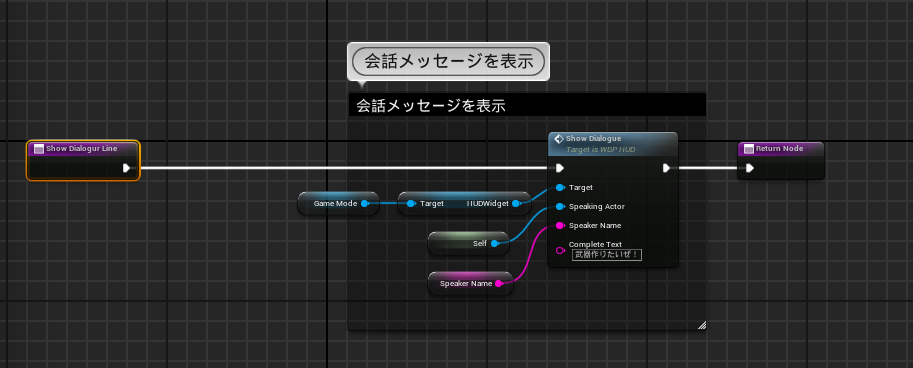
「Show Dialogur Line」関数を開きます。
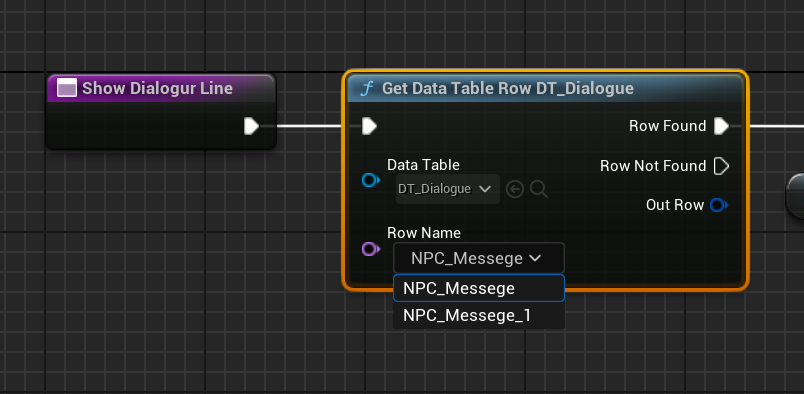
「Show Dialogur Line」の続きに、「Get Data Table Row」ノードを配置します。
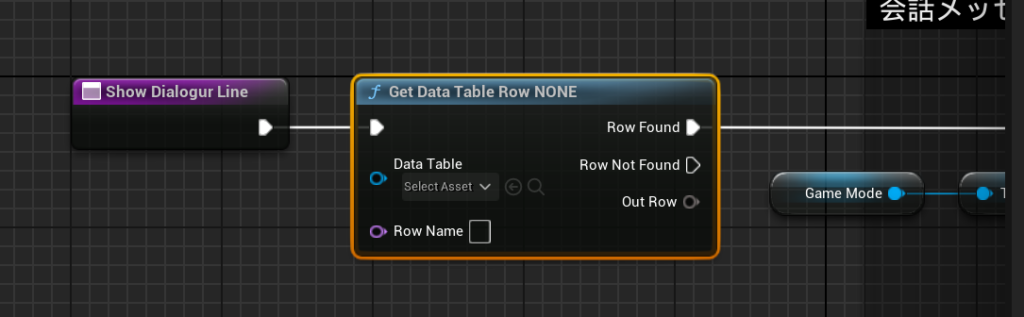
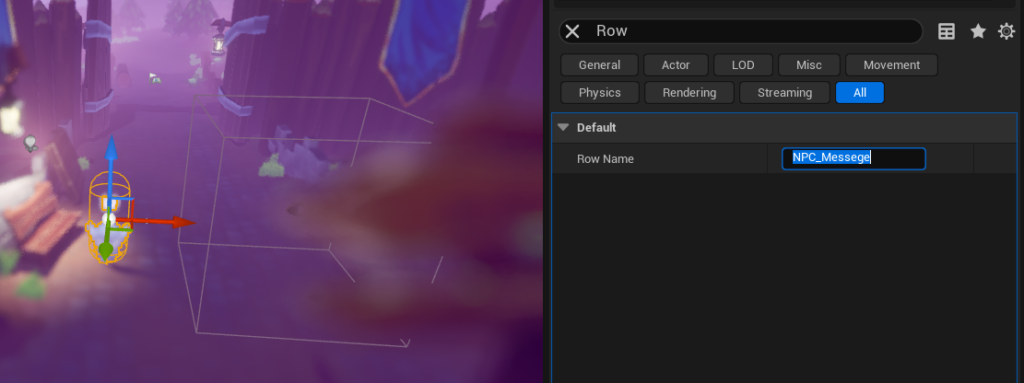
Inputピンの、「Data Table」には「DT_Dialogue」を設定し、「Row Name」には「NPC_Messege」を設定します。
「Get Data Table Row」ノードの「Out Row」から「Break S_DialogueData」を呼び出し、「Dialogue Text」を「Show Dialogue」に繋げます。
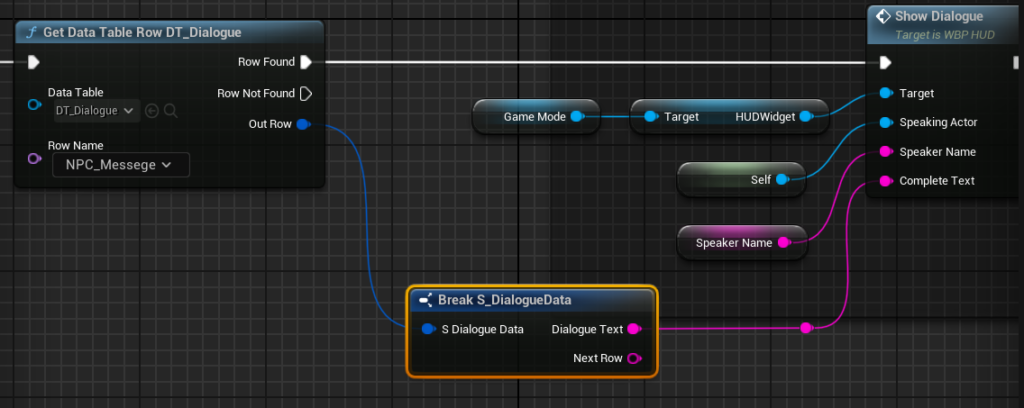
これにより、出力された「Row Name」のデータ内容を分割して、テキストだけを使うことが出来ます。
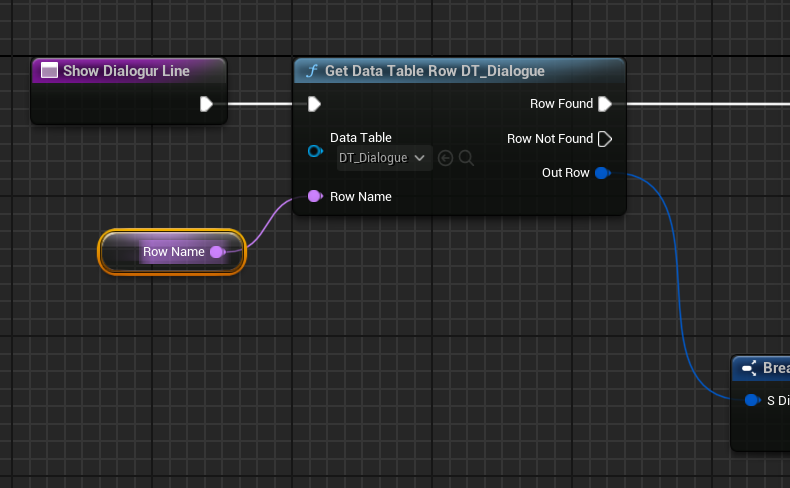
「Row Name」の値はNPCごとに変更したいので、「Get Data Table Row」の「Row Name」を変数化します。
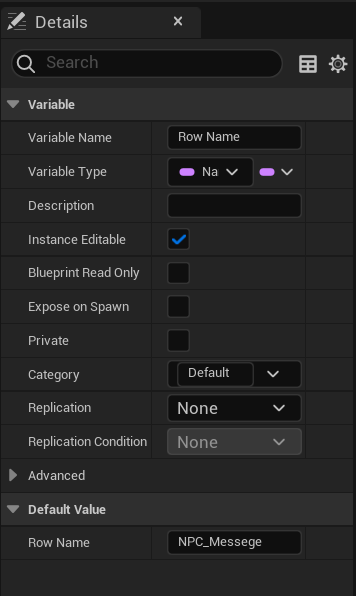
「Row Name」を選択した状態で、「Details」の「Default Value」の値を「NPC_Messege」にします。
レベルに配置しているNPCを選択し、「Details」の「Row Name」を確認すると、先ほど設定した値が入力されています。
試しに「NPC_Messege_1」を入力します。
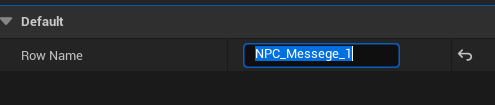
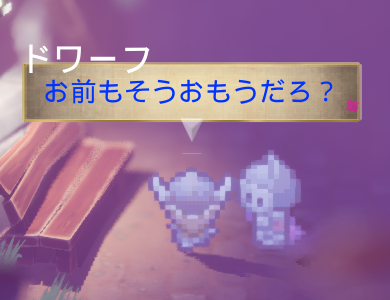
テストプレイすると、メッセージが変わっていることが確認できます。
確認出来たら「NPC_Messege」に戻しておきます。
会話テキストを続けて表示する
設定した会話テキストを、続けて表示するようにしていきます。
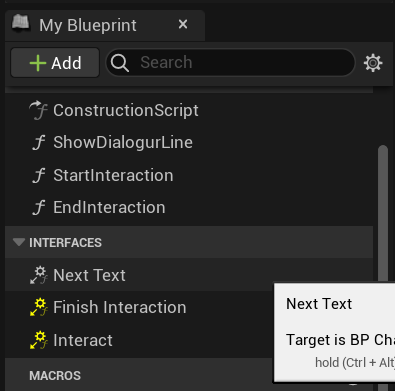
「BPI_Interaction」を開きます。
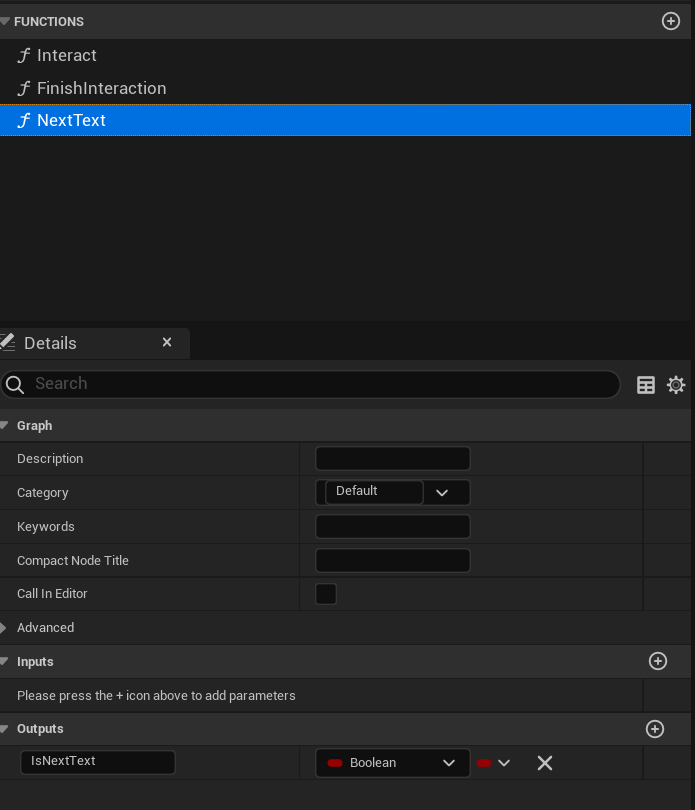
「FUNCTIONS」の右にある「+」をクリックして、関数を追加し、関数名を「NextText」にします。
「NextText」を選択した状態で、「Outputs」の右にある「+」をクリックして、要素を追加し、「Boolean」型の「IsNextText」を作成します。
「BP_Player」を開きます。
会話ボタンの処理の場所に移動します。
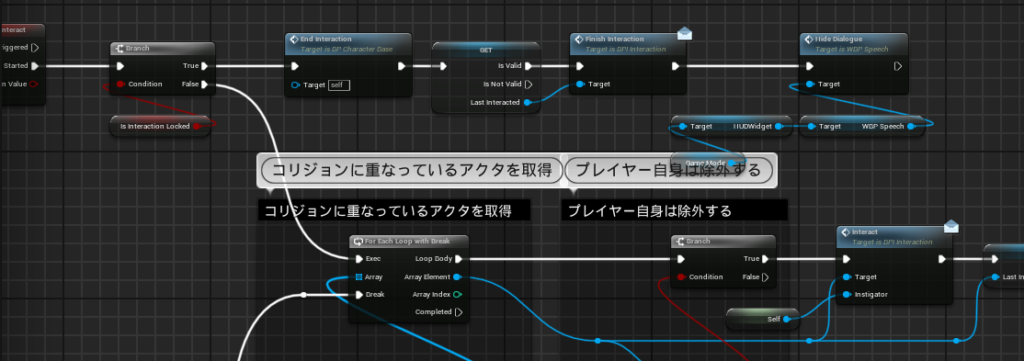
「Branch」ノードの「True」側の分岐に、下の写真のように処理を追加します。
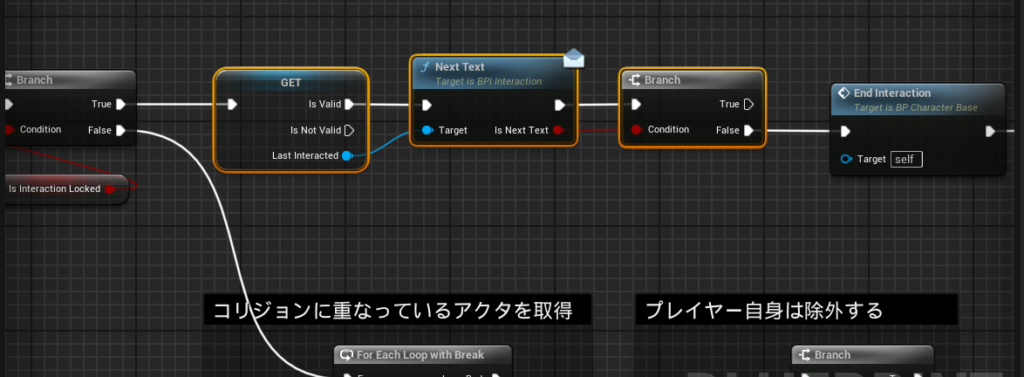
- 「Last Interacted」をゲットし、「Next Text」関数と繋げます。
- 「Next Text」関数の結果と「Branch」ノードを繋げます。
- 「Branch」ノードの「False」側に続きの処理を繋げます。
ここでは、会話に続きがあるか確認して、なければ会話を終わらせるようにしています。
「BP_CharacterBase」を開きます。
「Show Dialogur Line」関数を開いて、下の写真のように処理を追加します。

- 「Break S_DialogueData」の「Next Row」を変数化します。
- 「Show Dialogue」の続きに「SET」ノードを配置します。
「INTERFACES」の「Next Text」をダブルクリックします。
下の写真のような画面に切り替わります。
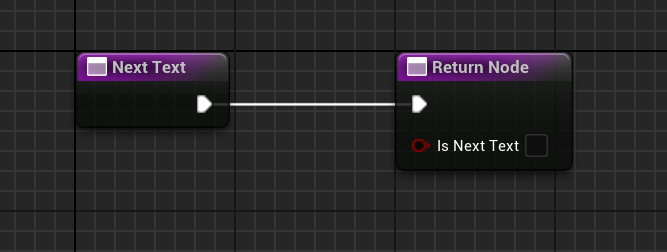
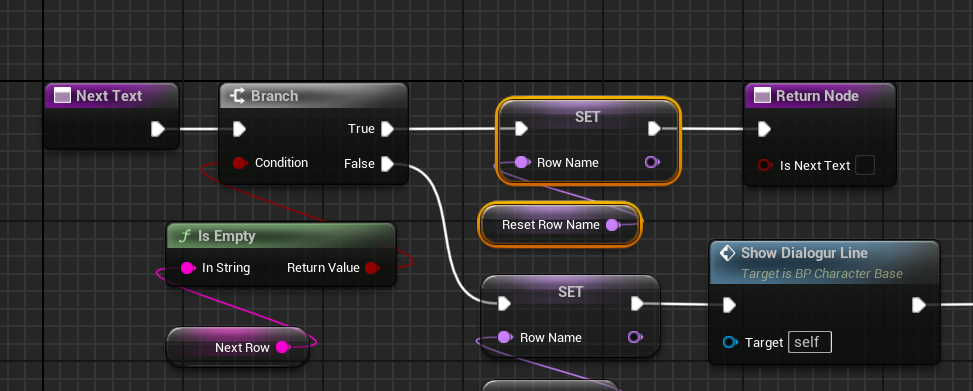
下の写真のように処理を追加します。
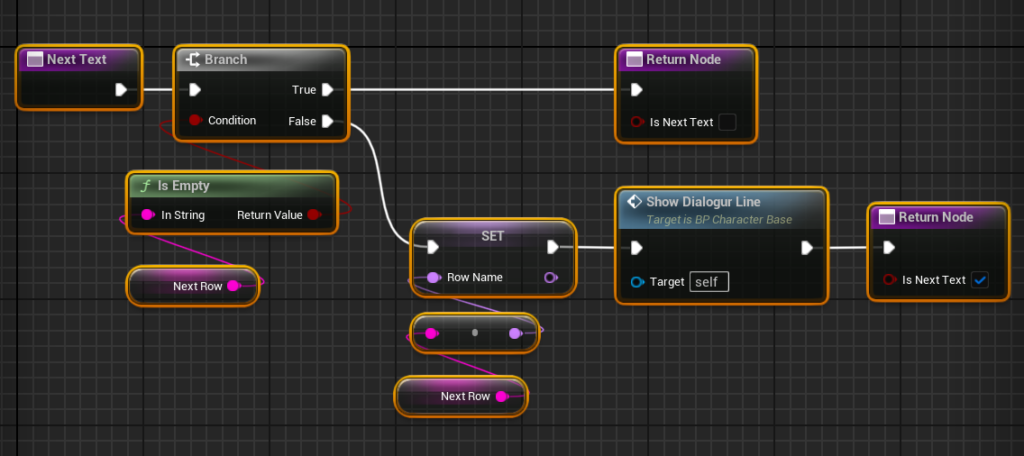
- 「Branch」ノードを配置し、「True」側には「Return Node」を繋げます。
- こちら「Return Node」の「Is Next Text」のチェックは外します。
- 「Next Row」をゲットして、「Is Empty」ノードを繋げ、その結果を「Branch」ノードの「Condition」に繋げます。
- 「Branch」ノードの「False」側に「Row Name」をセットします。
- 「Next Row」をゲットし、「Row Name」に繋げます。
- 繋げると自動で型変換ノードが配置されます。
- 「Row Name」の続きに「Show Dialogur Line」関数を繋げます。
- 「Return Node」を配置して、「Show Dialogur Line」と繋げます。
- こちらの「Return Node」には「Is Next Text」にチェックを入れます。
これで、会話テキストに続きがあるかどうかを確認できるようになりました。
会話テキストをリセットする
会話終了後にもう一度話しかけると、2個目のテキストが表示されます。
1個目のテキストから表示するようにします。
「BP_CharacterBase」の「Event BeginePlay」の処理を確認します。
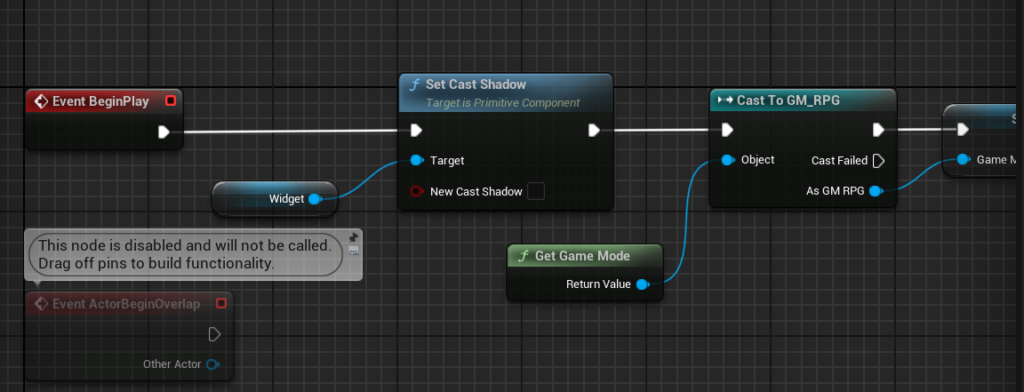
新しく変数を作成し、変数名は「Reset Row Name」、型は「Name」にします。
「Set Cast Shadow」の続きに、「Reset Row Name」をセットして、「Row Name」をゲットし繋げます。
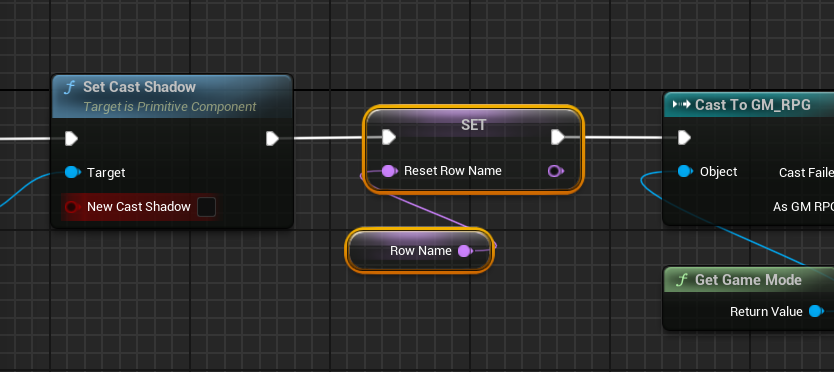
ここでは、NPCが生成されたときに、初期の「Row Name」設定を保管しています。
「Next Text」関数を開いて、下の写真のように処理を追加します。
- 「Branch」ノードの「True」側の分岐に、「Row Name」をセットします。
- 「Row Name」に「Reset Row Name」を繋げます。
ここで、保管していたデータをセットして、会話が終わったら初期状態に戻しています。
設定完了したので、テストプレイします。
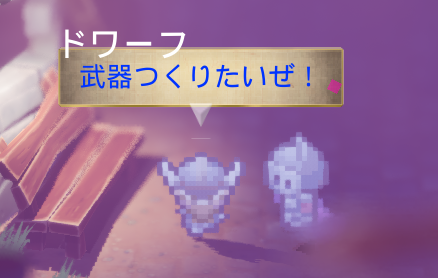
1度会話が終わった後に、再度NPCに話しかけると、初めのテキストから表示されます。
ここまで出来たら、以下の記事の内容も取り入れてみてください。

3D×2Dゲーム制作練習終了
ここまで読んでいただき、ありがとうございます!
今回の記事で、このシリーズは完結となります。
ゲームとしては会話と探索しか出来ないものになっていますが、3Dと2Dを組み合わせたゲームを作るための1歩にはなったかなと思います。
当サイトでは、Unreal Engineを使ったゲーム開発における疑問点や、問題解決などを投稿しています。
すこしでも悩み解決の糸口になれば幸いです。
これからも、より良いゲーム開発ライフをお過ごしください!
前後記事

他の記事を探す
他の記事も気になる方は、以下の記事の目次を確認ください。
