


簡単な3D×2Dゲームを作ろう
3D×2Dゲーム制作の練習シリーズです。
アンリアルエンジンで3D×2Dゲーム制作方法をまとめていきます。
「2Dゲーム制作の練習シリーズ」で行った説明を省略したり、細かな数値設定などの説明をしない場合もありますので、ご参考程度で確認ください。
※作業環境:UEバージョン5.3.2 Windows11
会話中のプレイヤーの移動操作を無効
会話中はプレイヤーを停止し、会話終わりに動けるようにしていきます。
会話中はプレイヤーを停止させる
会話中にプレイヤーが動き回れないようにしていきます。
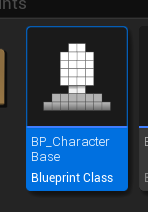
「BP_CharacterBase」を開きます。
新しい関数を作成し、関数名を「StartInteraction」にします。
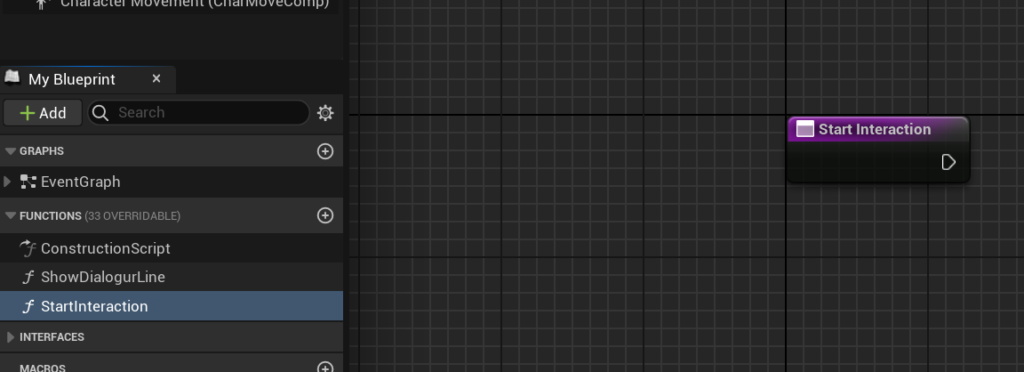
下の写真のように処理を繋げます。
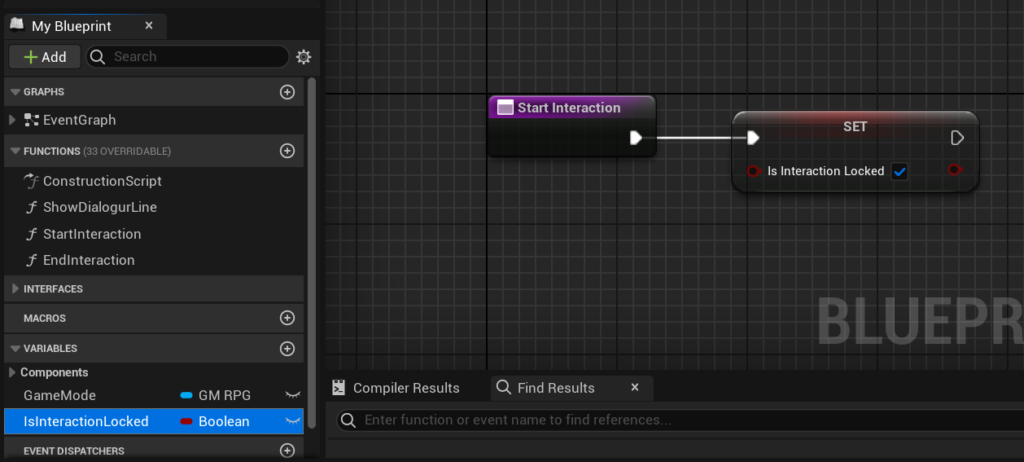
- 新しい変数を作成し、変数名を「IsInteractionLocked」にし、型は「Boolean」にします。
- 「IsInteractionLocked」にはチェックを入れておきます。
ついでに、移動しながら話しかけたときの、会話テキストの位置ずれを無くすための処理を追加します。
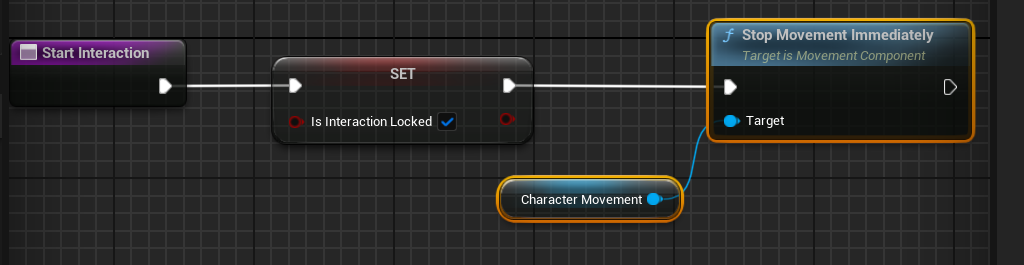
- 「Stop Movement Immediately」ノードを繋げます。
- 「Character Movement」をゲットし繋げます。
また新しい関数を作成し、関数名を「EndInteraction」にします。
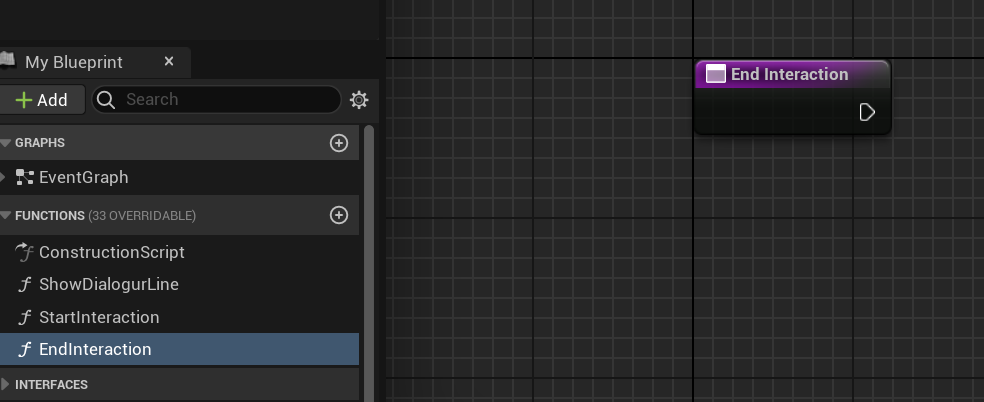
下の写真のように処理を繋げます。
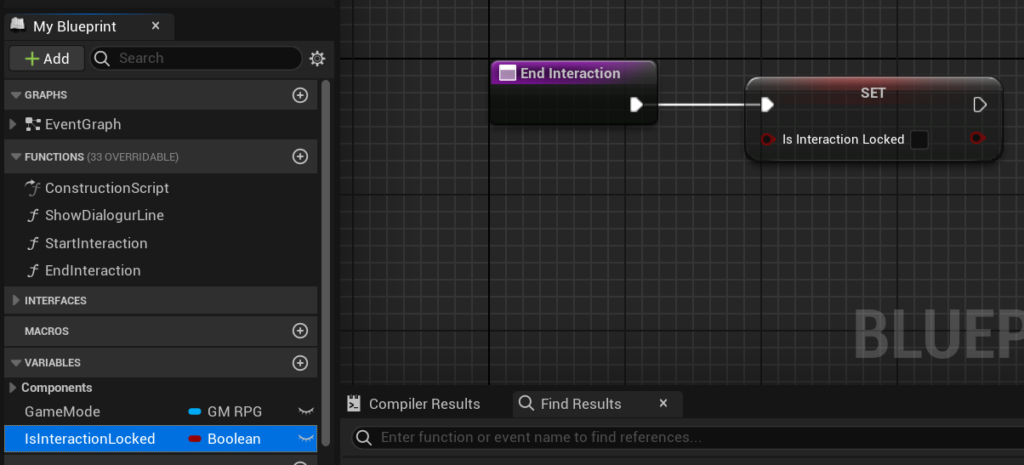
- 「IsInteractionLocked」をセットします。
- 「IsInteractionLocked」にはチェックを外しておきます。
これで、会話中にプレイヤーの動きを止めるかどうかを、示すことが出来るようになりました。
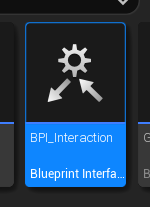
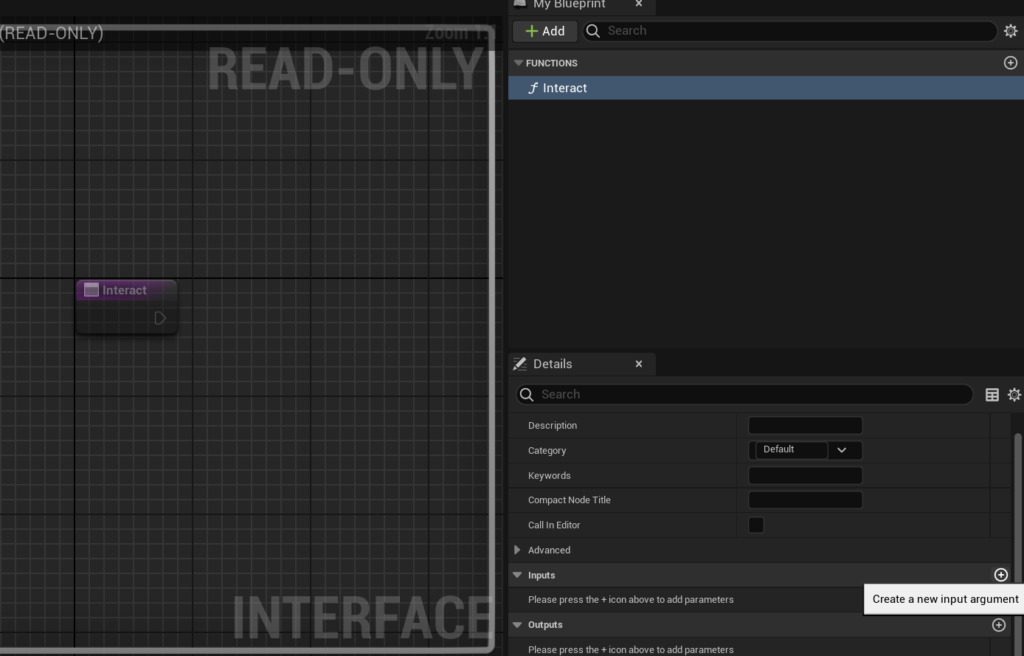
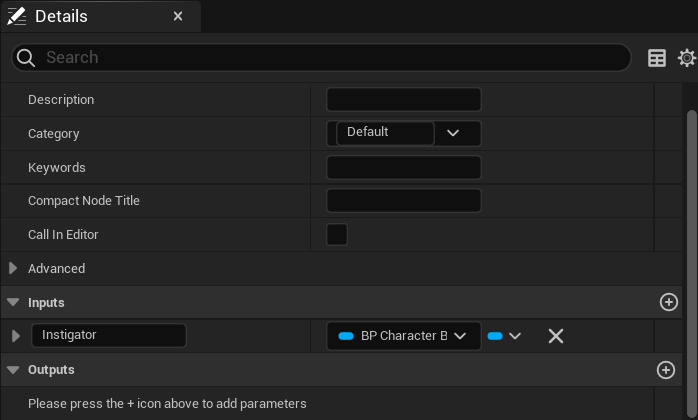
「BPI_Interaction」を開きます。
「Interact」を選択した状態で、「Inputs」の右にある「+」をクリックします。
Inputピンが追加されたので、変数名を「Instigator」にし、型は「BP_CharacterBase」の「Object Reference」にします。
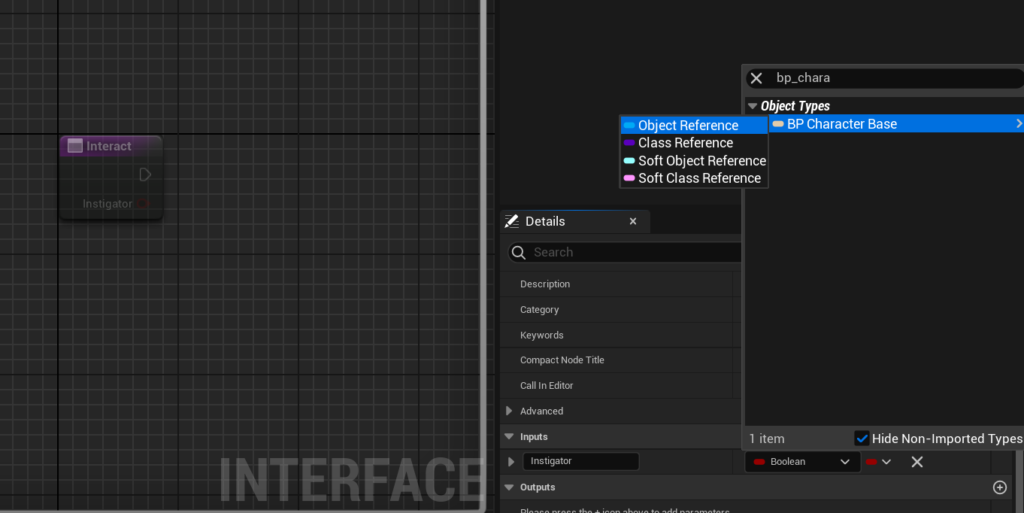
こんな感じになります。
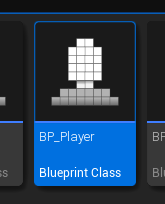
「BP_Player」を開きます。
プレイヤーの移動操作処理を編集していきます。
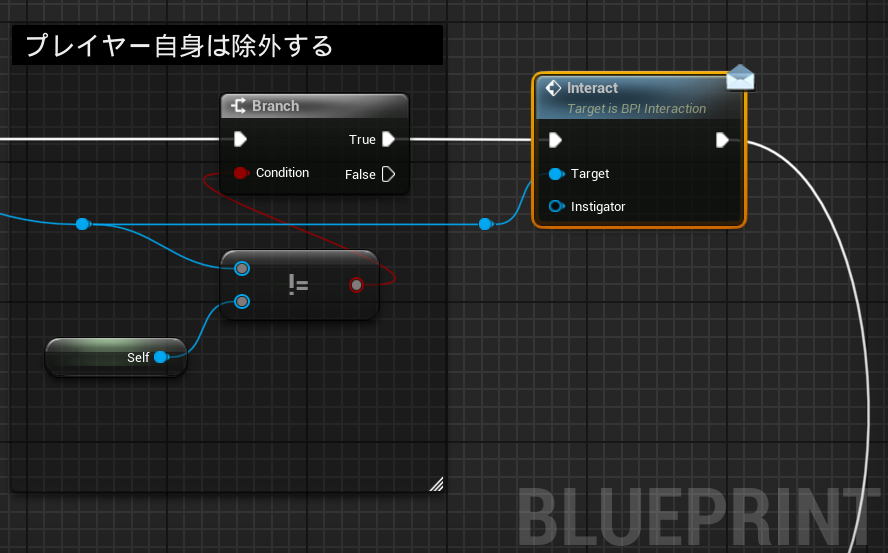
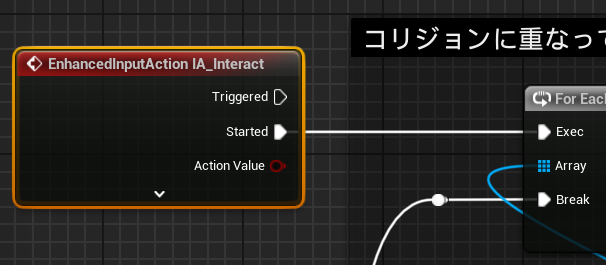
下の写真のように処理を変更します。
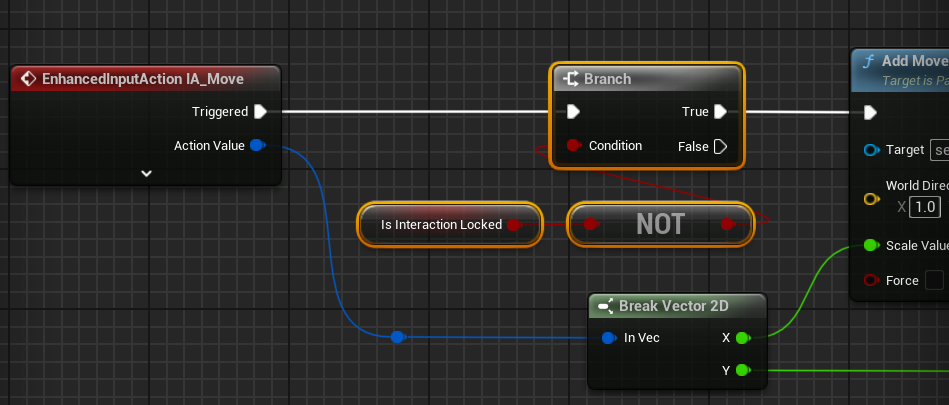
- 「EnhancedInputAction IA_Move」の次に「Branch」ノードを配置します。
- 「Is Interaction Locked」をゲットし、「NOT」ノードを繋げます。
- 「NOT」ノードの結果を、「Branch」ノードの「Condition」に繋げます。
ここでは、会話をしている状態でなければ、移動処理を実行するようにしています。
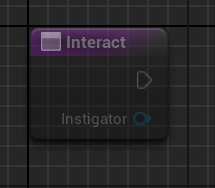
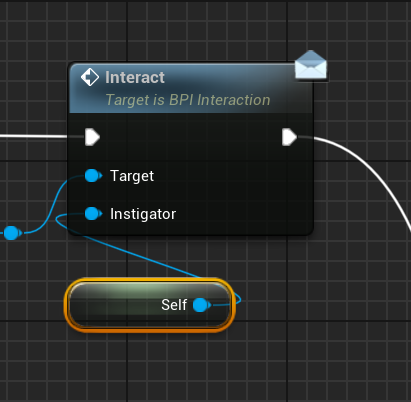
会話ボタンの処理に移動して、「Interact」を確認すると、追加した「Instigator」ピンが増えています。
「Instigator」に「Self」ノードを繋げます。
「BP_CharacterBase」に戻ります。
「Event Interact」の次に、「Start Interaction」関数を2つ配置します。
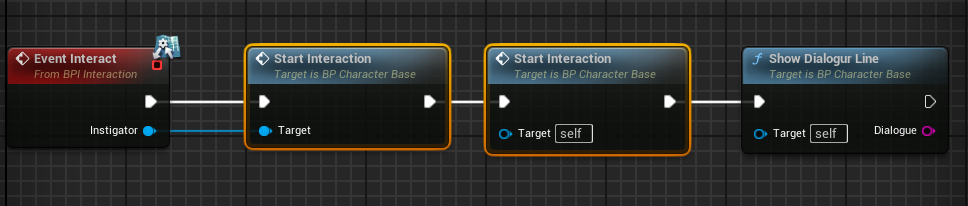
初めの「Start Interaction」の「Target」ピンには「Instigator」を繋げます。
ここでは、話相手と自分自身の2つをターゲットに設定して処理しています。
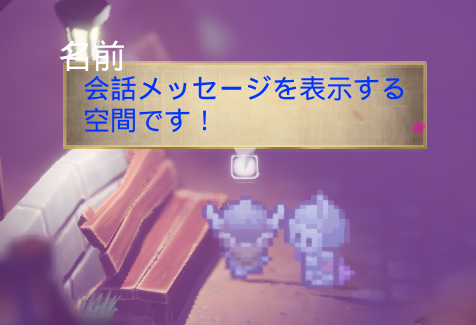
これでテストプレイすると会話中は移動出来なくなります。
会話可能アイコンを非表示にする
会話中は相手の会話アイコンを非表示にします。
「BP_NPC」を開きます。
「FUNCTIONS」の右にある「Override」をクリックし、「Start Interaction」を選択します。
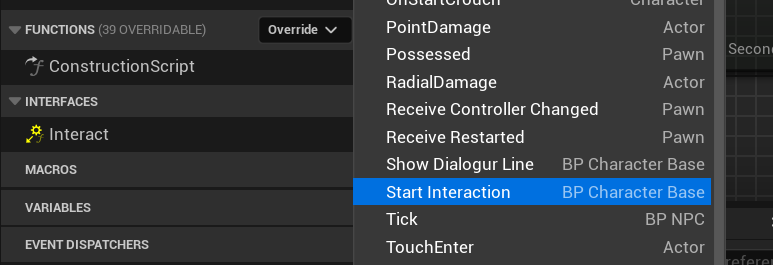
こんな感じになります。
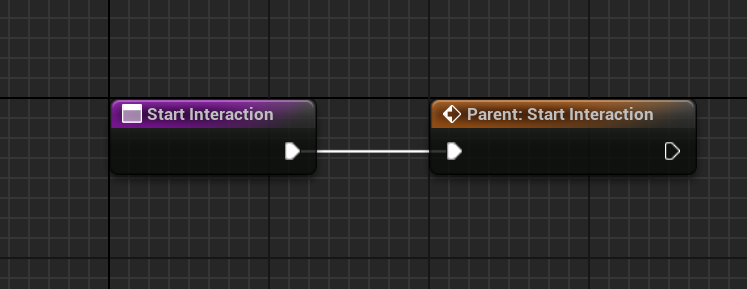
この続きに下の写真のように処理を追加します。
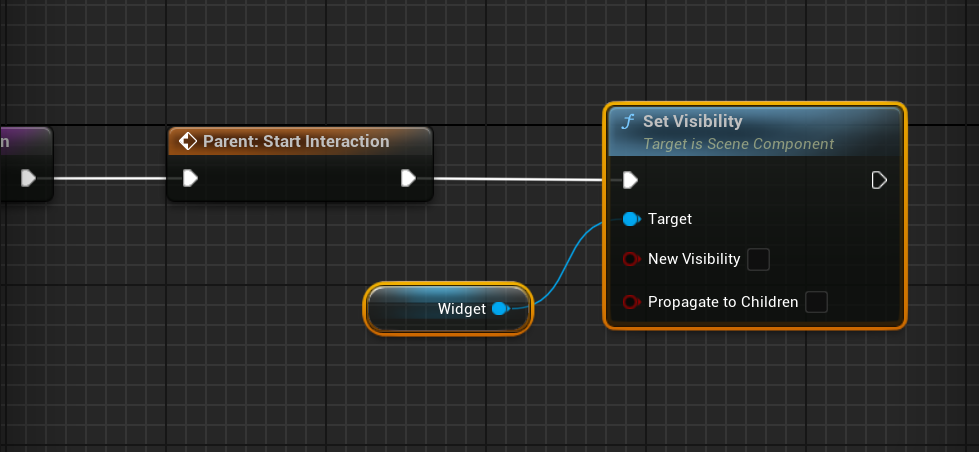
- 「Set Visibility」ノードを繋ぎます。
- 「Widget」をゲットし、「Set Visibility」ノードに繋げます。
- 「Set Visibility」ノードの「New Visibility」のチェックを外します。
次に、「FUNCTIONS」の右にある「Override」をクリックして、「End Interaction」を選択します。

こんな感じなります。
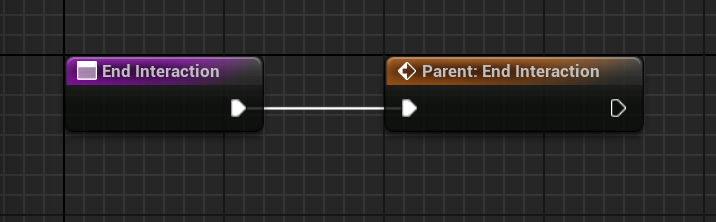
この続きに下の写真のように処理を追加します。
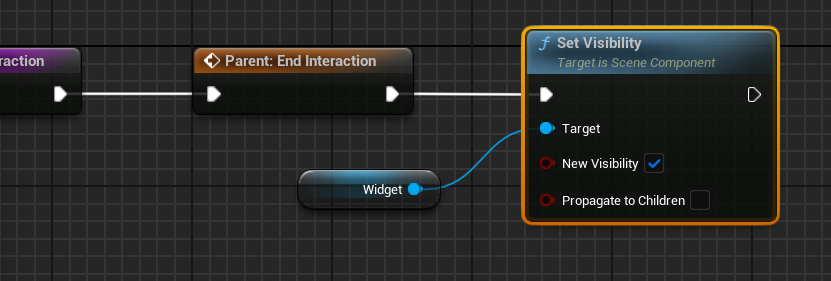
- 「Set Visibility」ノードを繋ぎます。
- 「Widget」をゲットし、「Set Visibility」ノードに繋げます。
- 「Set Visibility」ノードの「New Visibility」のチェックを入れます。
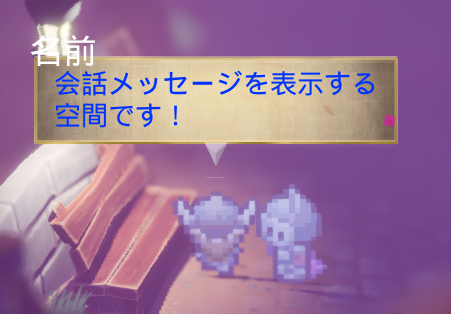
これでテストプレイすると、会話中はアイコンが消えるようになっています。
会話後に動けるようにする
ここまででは、一度会話ボタンを押すとプレイヤーは二度と動けません。
会話中に、もう一度会話ボタンを押すと、プレイヤーを動かすことが出来るようにします。
「BP_Player」を開きます。
会話ボタンの処理を作成した場所を確認します。
下の写真のように処理を変更します。

- 「Branch」ノードを配置して、「False」側に既存の処理を繋げます。
- 「Branch」ノードの「Condition」には、「Is Interaction Locked」を繋げます。
「Branch」ノードの「True」側には、「End Interaction」関数を繋げます。
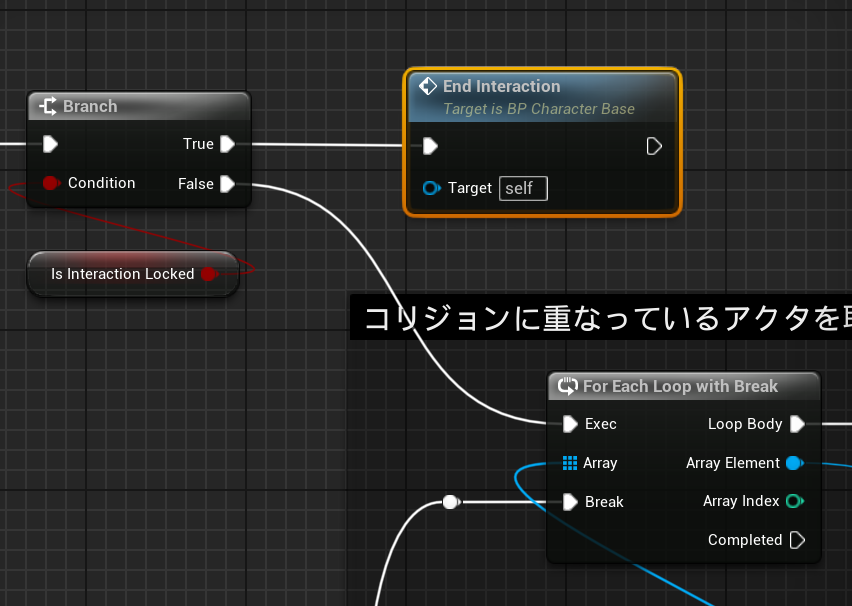
これで、会話中に会話ボタンを押すと、プレイヤーが動けるようになります。
会話中のプレイヤーの移動操作無効完了
今回はここまでです。
次回は「会話後のテキストを非表示にする」です。
前後記事
他の記事を探す
他の記事も気になる方は、以下の記事の目次を確認ください。
