
簡単な3D×2Dゲームを作ろう
3D×2Dゲーム制作の練習シリーズです。
アンリアルエンジンで3D×2Dゲーム制作方法をまとめていきます。
「2Dゲーム制作の練習シリーズ」で行った説明を省略したり、細かな数値設定などの説明をしない場合もありますので、ご参考程度で確認ください。
※作業環境:UEバージョン5.3.2 Windows11
会話メッセージ表示枠を作成
NPCの会話メッセージを表示する枠を作成していきます。
会話を表示する枠を作成する
まずは枠から作成していきます。
「Blueprints」フォルダー内に「Widgets」ファルダーを作成します。
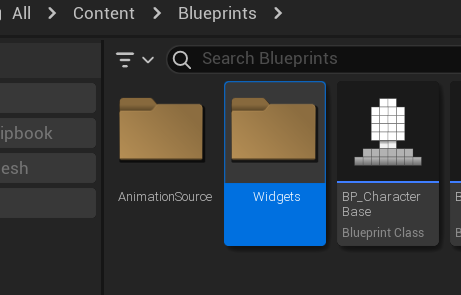
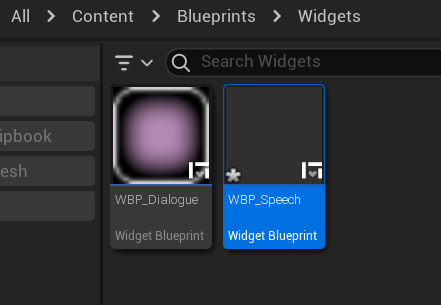
「Widget Blueprint」を作成し、ファイル名を「WBP_Speech」にします。
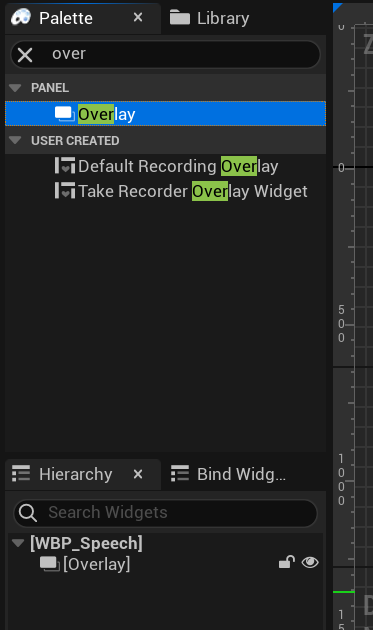
ファイルを開いて、「Palette」で「Overlay」を検索し、「Hierarchy」に追加します。
「Border」も追加します。
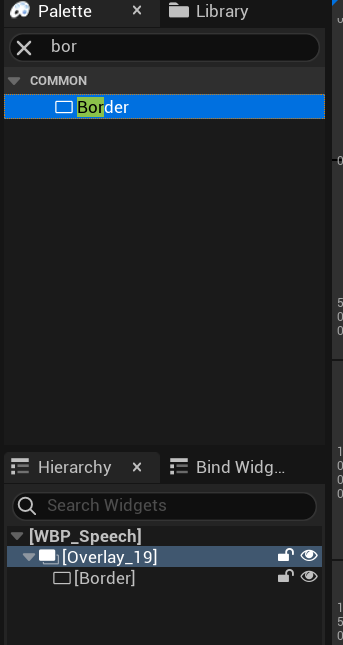
このとき「Overlay」の中に「Border」を追加します。
「Text」も追加します。
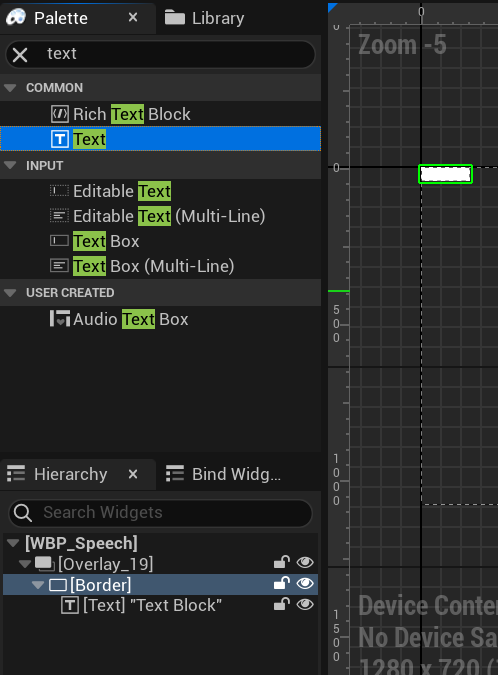
このとき「Border」の中に「Text」を追加します。
下の写真のように「Fill Screen」を「Desired」に変更します。

「Border」を選択し、設定を変更していきます。
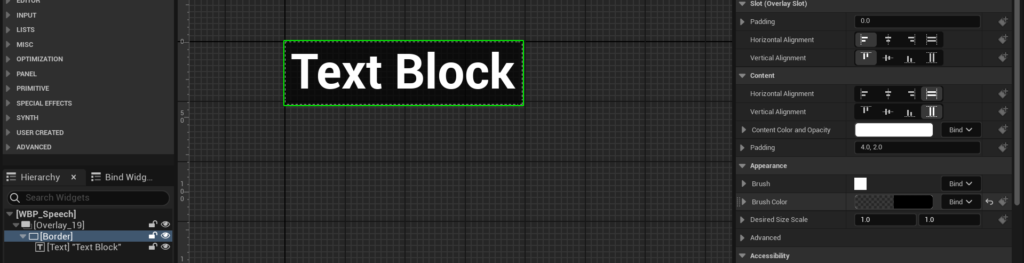
「Details」の「Content」の「Padding」の値を変更すると、枠の形を変更できます。
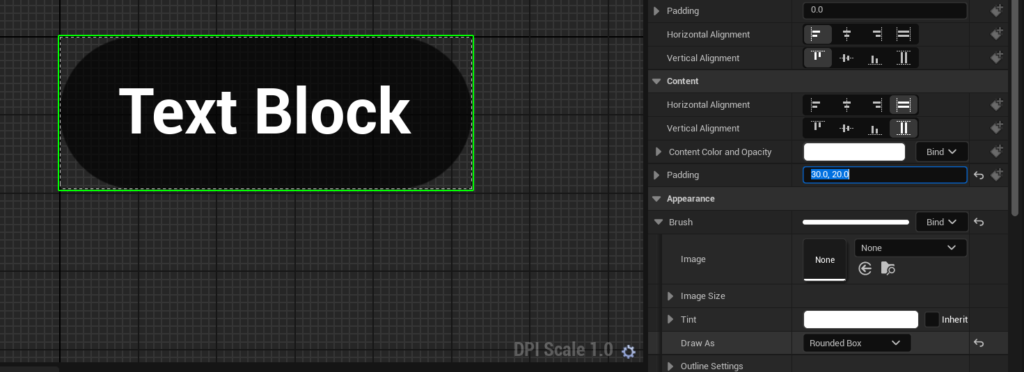
「Appearance」の「Outline Settings」の設定を変更すると、下の写真のような感じにも出来ます。
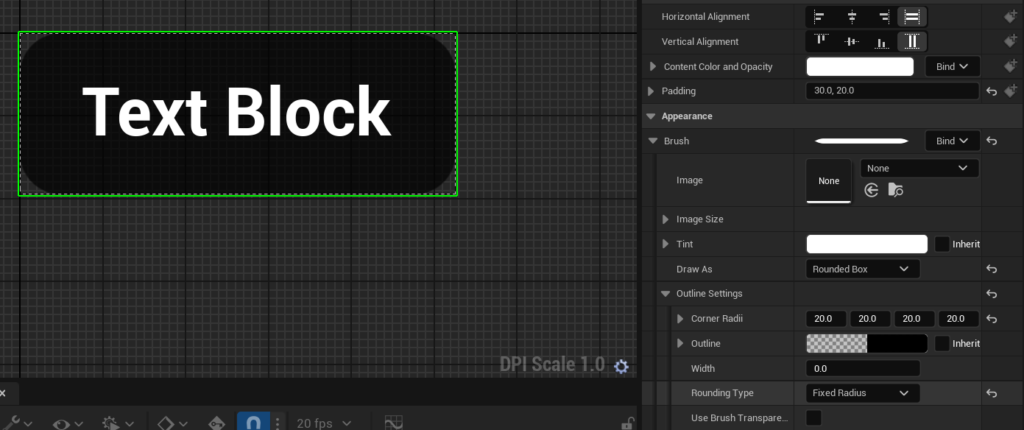
会話枠の背景画像無しで、黒枠の状態だけでも、いい感じで出来ると思います。
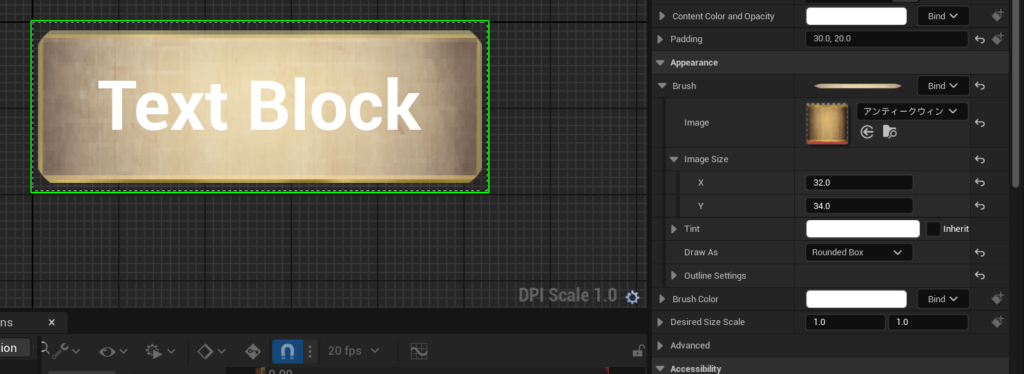
今回は「Image」に、表示する枠テクスチャを設定します。
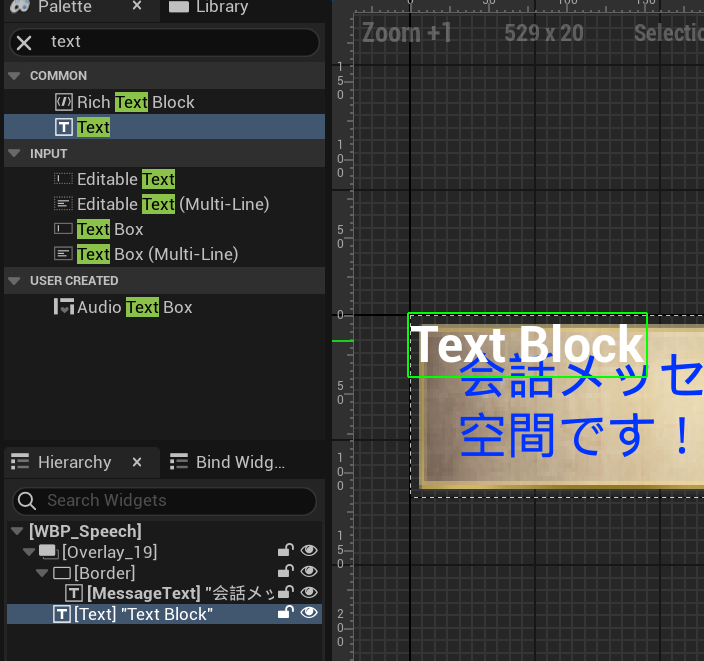
「Text」を選択し、「Details」の「Content」の「Text」で、文章を適当に決めます。

最終的に会話メッセージを上書きして使うので、何でも良いです。
「Wrapping」の「Wrap Test At」の値を変更して、メッセージを横幅の限界を決めます。
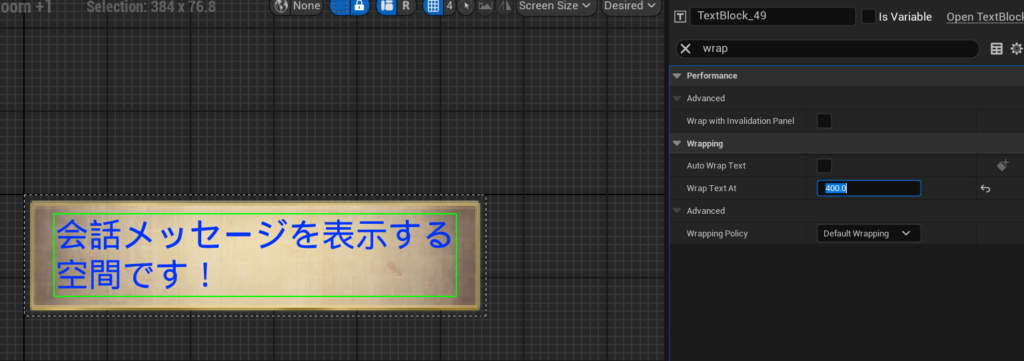
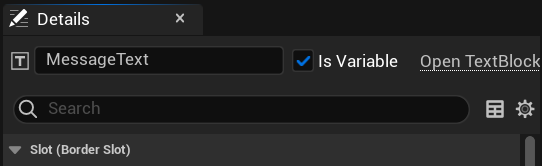
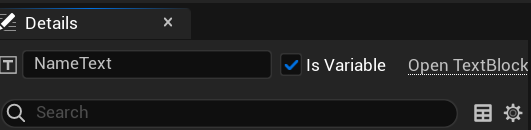
「Text」の名前を「MessageText」に変更し、「Is Variable」にチェックを入れます。
次に、会話しているNPCの名前を表示します。
「Palette」で「Text」を検索し、「Hierarchy」に追加します。
このとき、「Overlay」内に追加するようにします。
追加した「Text」名を「NameText」にし、「Is Variable」にチェックを入れます。
「Details」の設定で、位置や文字を変更します。
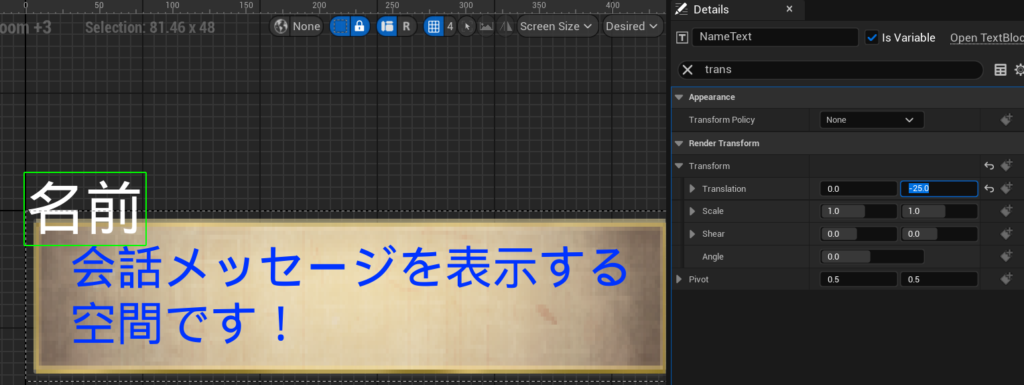
位置は「Render Transfrom」の項目で変更できます。
会話しているNPCを指すアイコンを作成する
誰が会話しているか分かるように目印を作成していきます。
「Palette」で「Image」を検索して、「Hierarchy」に追加します。
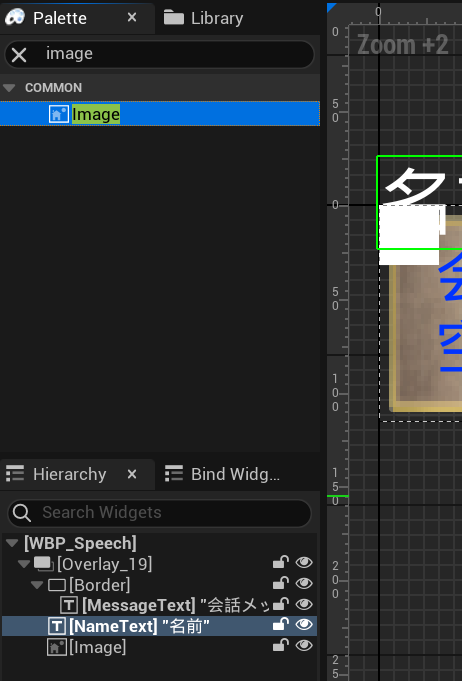
このとき、「Border」の中に追加します。
追加した「Image」を選択し、「Details」の設定で位置とテクスチャを変更します。
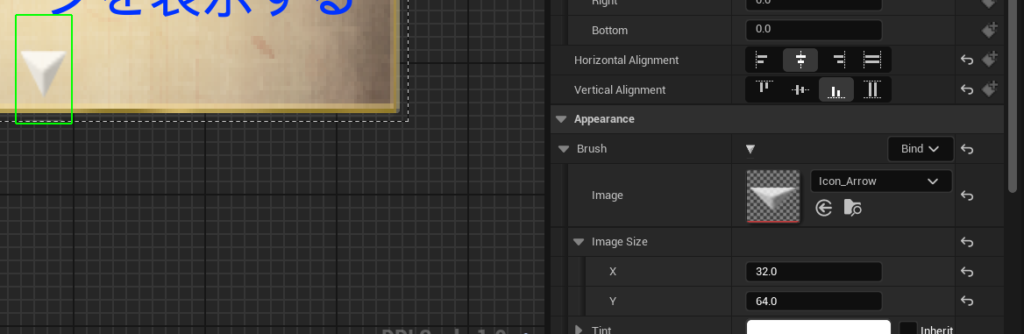
上の写真のように、「Horizontal Alignment」と「Vertical Alignment」を設定すれば、アイコンを真ん中下に移動出来ます。
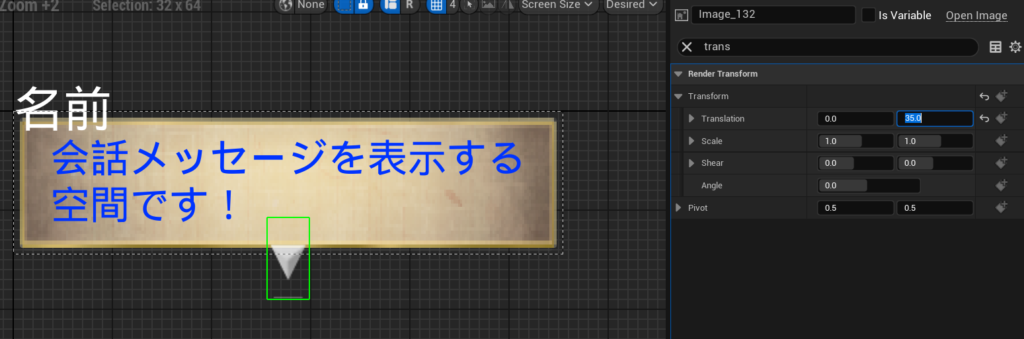
さらに位置を調整するために、「Render Transfrom」の「Translation」の値を調整します。
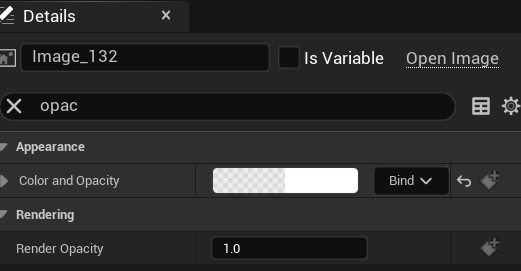
「Color and Opacity」を変更すれば、画像の色や透明度を変更できます。
会話中を示すアイコンをアニメーションさせる
会話中、ゲームがフリーズしていないことを示すために、アイコンをアニメーションされます。
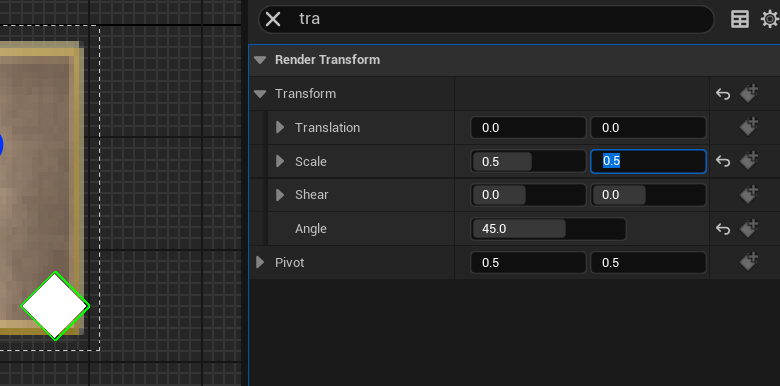
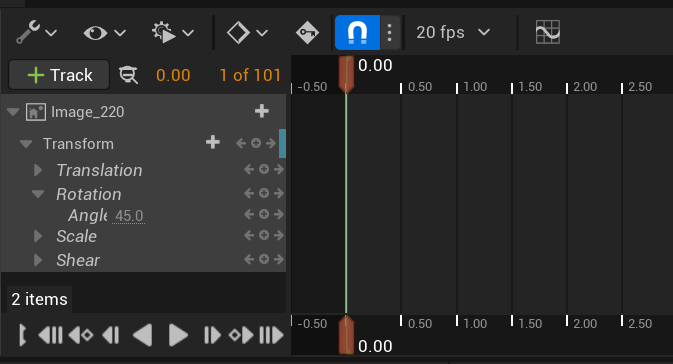
これまでと同じ要領で、「Image」を追加して、会話枠の右下に配置し、「Details」の「Tarnsform」の「Angle」で角度を45°傾けます。
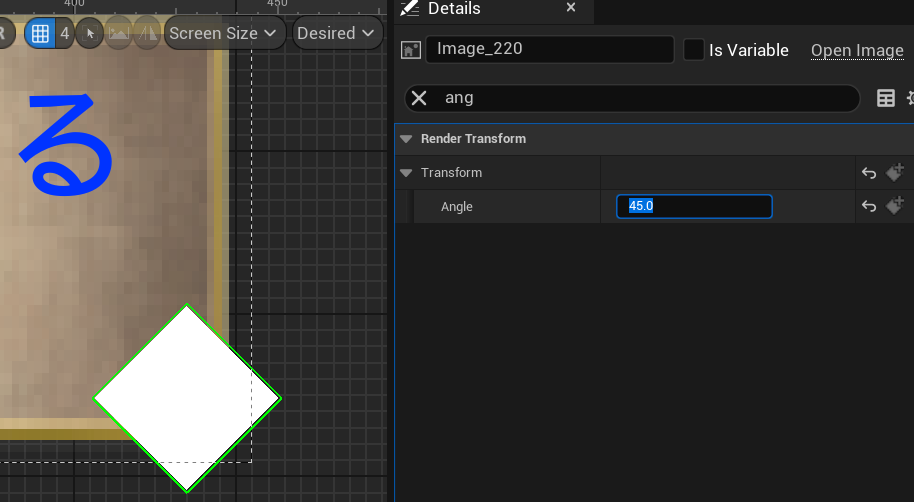
さらに、位置やスケールを調整し、色も変更します。
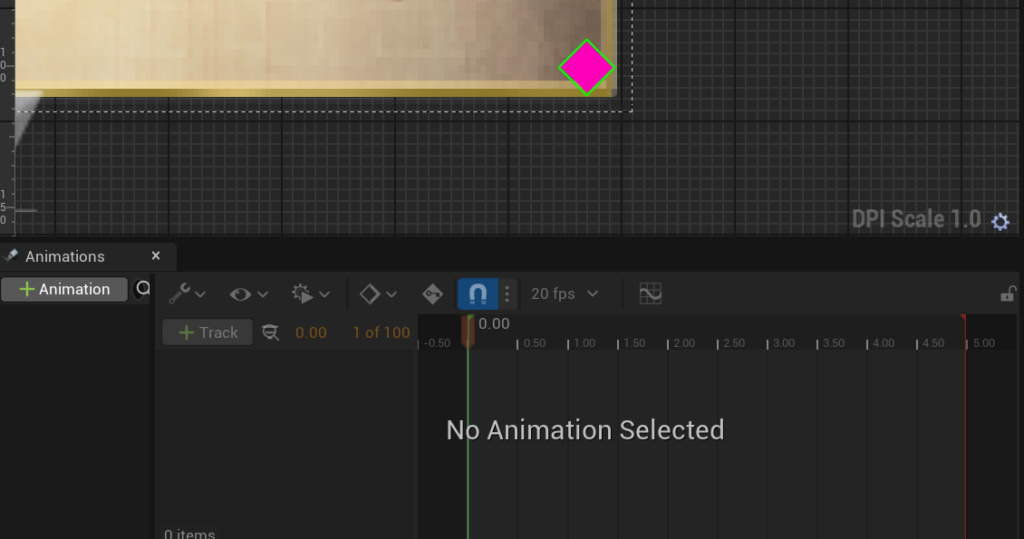
「Image」を選択した状態で、「Animations」の項目を使って、アニメーションを作成していきます。
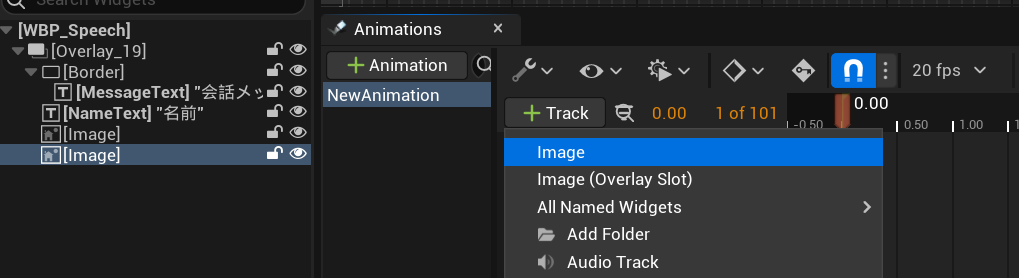
「+Animation」をクリックすると、新しいアニメーションを作る項目が追加されるので、「+Track」をクリックし、「Image」を選択します。
下の写真のように、アニメーションしたい「Image」が追加されたら、その右側にある「+」をクリックして「Transform」を選択します。
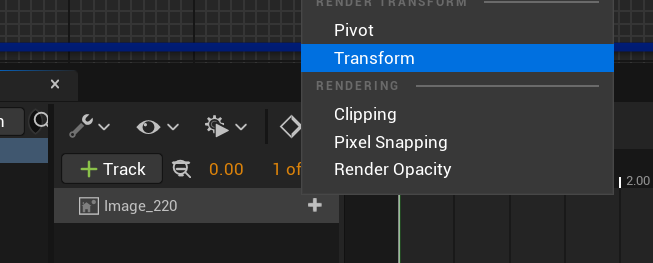
これでアニメーションを作成する準備が整いました。
今回は、上下に移動させながら、回転もするアニメーションを作成します。
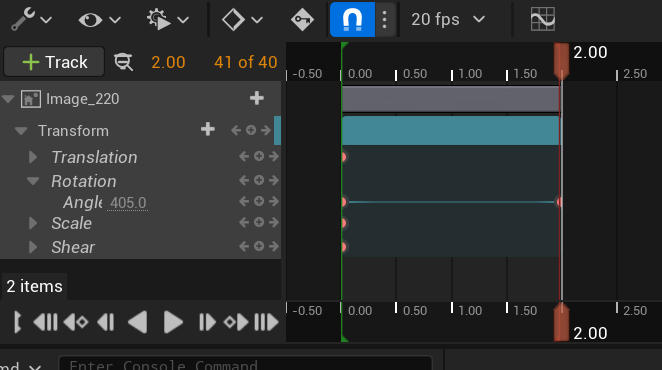
まずは回転を設定します。
2.00秒に赤い線を合わせて、「Angle」を「405.0」に設定します。
次に上下移動させます。
0.00秒の位置では、現状の位置のままです。
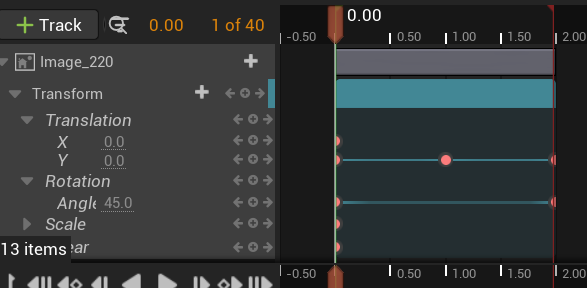
1.00秒では、「Translation」の「Y」の値を「-20.0」にします。

2.00秒に位置では「Y」を「0.0」にして、元の位置に戻すようにします。
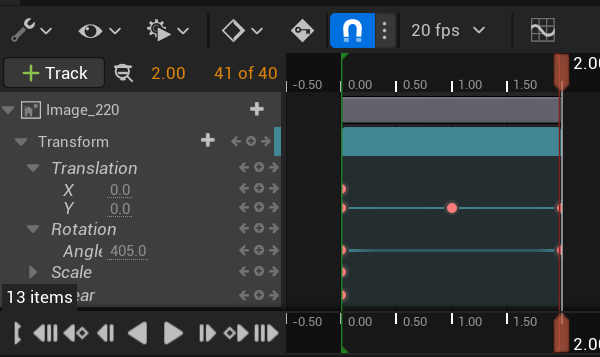
好きな秒数に、設定したい値を入力するだけで、ピン(赤●)は打たれます。
再生ボタン「▷」を押せば、アニメーションを確認できます。
アニメーションが作成できたので、アニメーションを実行させる処理を作成します。
「Graph」画面に移動します。
下の写真のように処理を組みます。
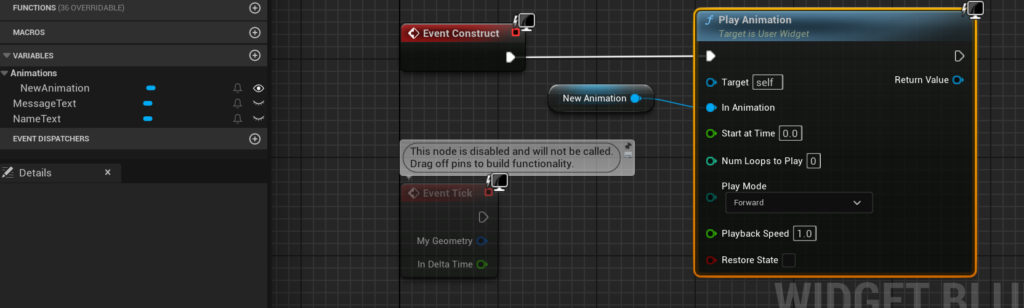
- 「Event Construct」に「Play Animation」ノードを繋げます。
- 「Play Animation」ノードの「In Animation」に、先ほど作成したアニメーションを繋げます。
- 「Num Loops to Play」を「0」にしていれば永久に再生されます。
これで会話枠が表示されたときにアニメーションが実行されるようになりました。
HUDを作成する
HUDを作成し、作成した会話枠を表示していきます。
HUDとは、Head Up Display(ヘッドアップディスプレイ)のことで、画面上に表示されるプレイヤーの情報などを指します。
「Widget Blueprint」を作成して、ファイル名を「WBP_HUD」にします。
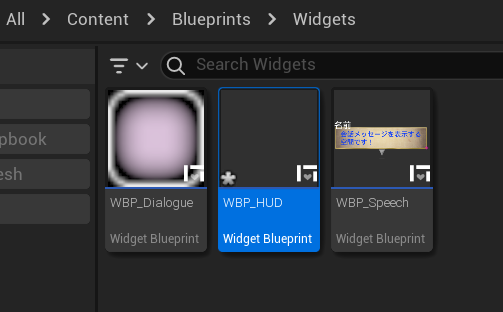
ファイルを開いて、「Palette」で「Canvas Panel」を検索し、「Hierarchy」に追加します。

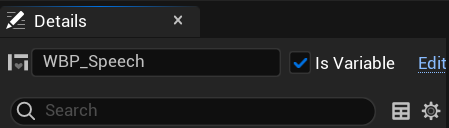
「Palette」で「WBP Speech」を検索して、追加します。
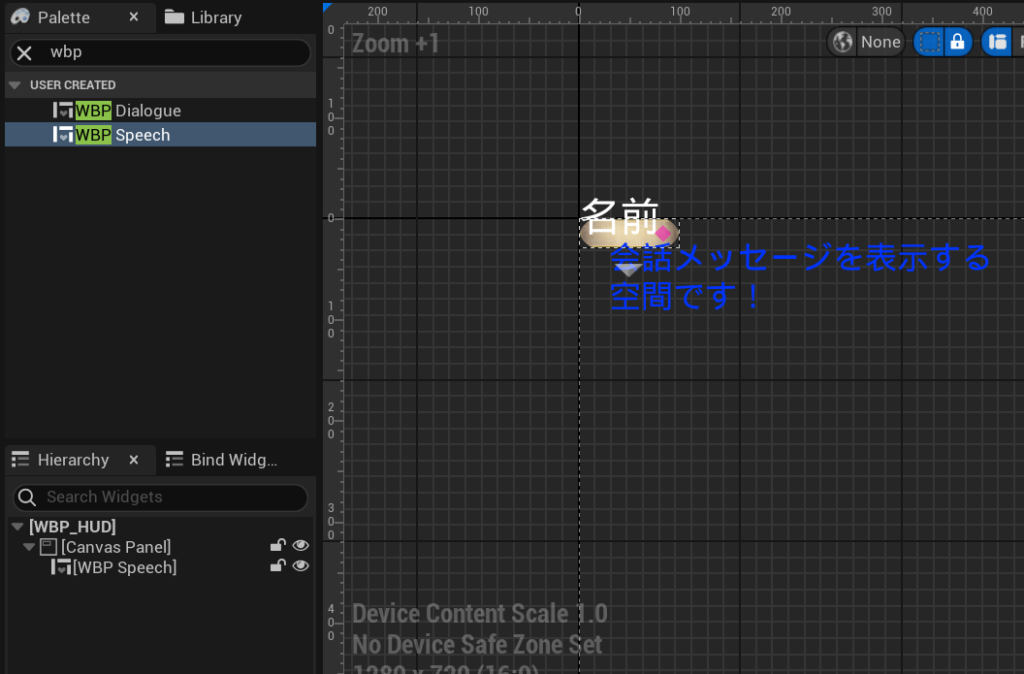
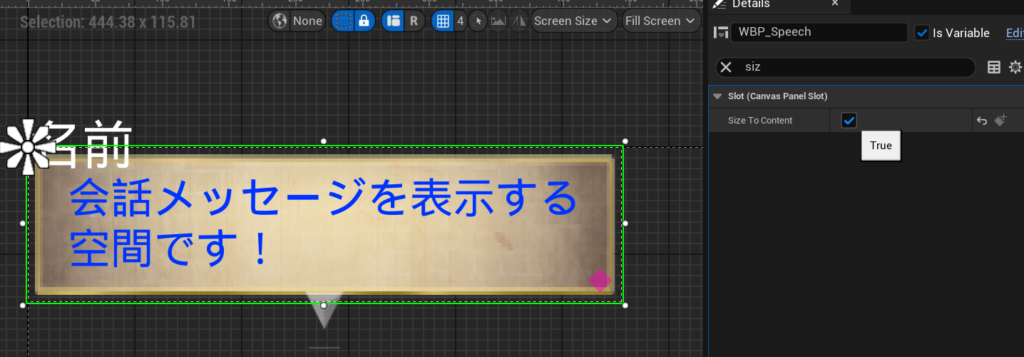
「WBP Speech」を選択した状態で、「Details」の「Is Variable」にチェックを入れます。
「Slot」の「Size To Content」にチェックを入れます。
ゲームモードを設定する
ゲームモードにHUDを表示する処理を追加していきます。
「GM_RPG」を開きます。
下の写真のように処理を組みます。
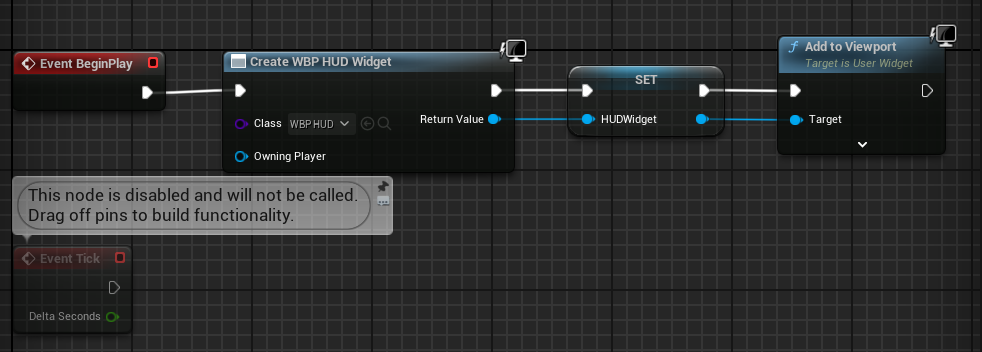
- 「Event BeginPlay」に「Create Widget」ノードを繋げます。
- 「Create Widget」ノードの「Class」を「WBP_HUD」にします。
- 「Create Widget」ノードの結果を変数にして、名前を「HUDWidget」にします。
- 「Add to Viewport」ノードを繋げます。
保存してテストプレイすると、画面上に会話枠が表示されます。
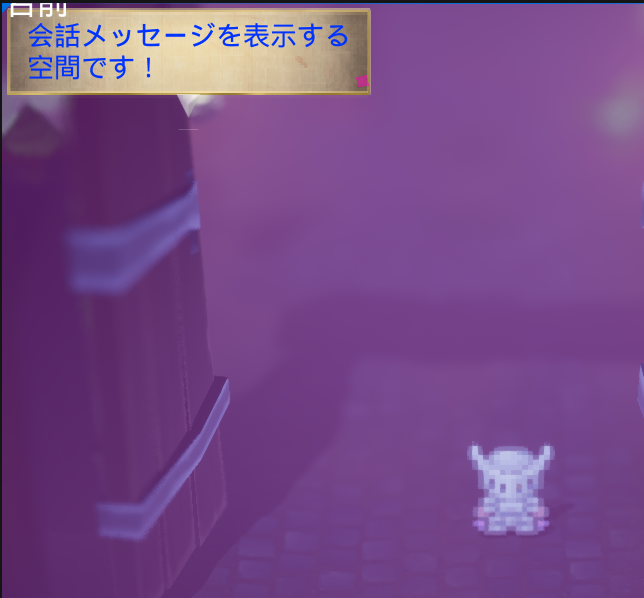
会話メッセージ表示枠の作成完了
今回はここまでです。
次回は「NPCの頭上にテキストを表示する」です。
前後記事
他の記事を探す
他の記事も気になる方は、以下の記事の目次を確認ください。
