


簡単なiPhone向け3Dゲームを作ろう
iPhone向けの3Dゲーム制作の練習シリーズです。
アンリアルエンジンでiPhone向けの3Dゲーム制作方法をまとめていきます。
細かな数値設定などの説明をしない場合もありますので、ご参考程度で確認ください。
※作業環境:UEバージョン5.5.1 Macbook Pro 2019年モデル iPhone11
私の使用したMacの性能だと、作業中の処理落ち、遅延が頻繁に発生しました。
もし同じような端末を使用する場合は、細目に保存することをお勧めします。
ステージの切り替え
今回は、1つ目のステージの特定のポイントに到着したときに、2つ目のステージに切り替えていきます。
転送装置を作成する
プレイヤーをステージ移動させるアクタを作成していきます。
「Content」の「MyGame」フォルダーを開きます。
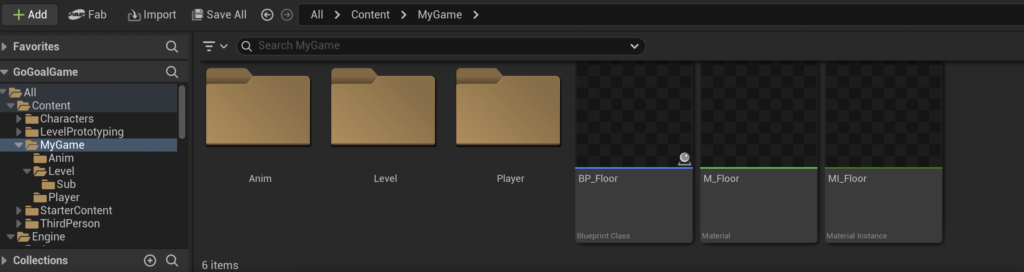
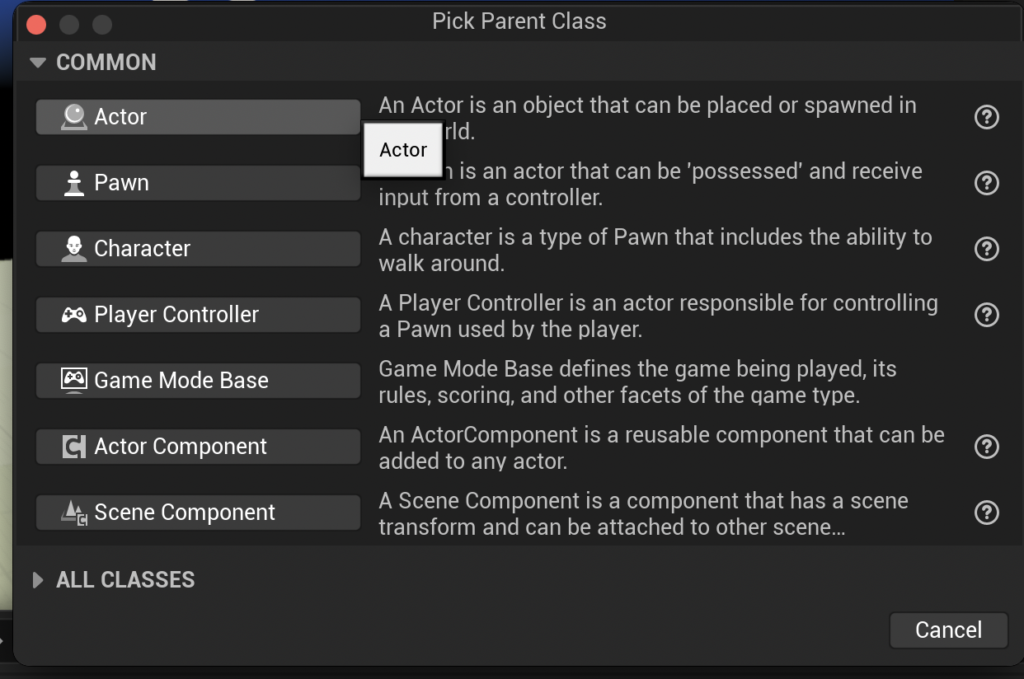
右クリックし、「Blueprint Class」を選択します。
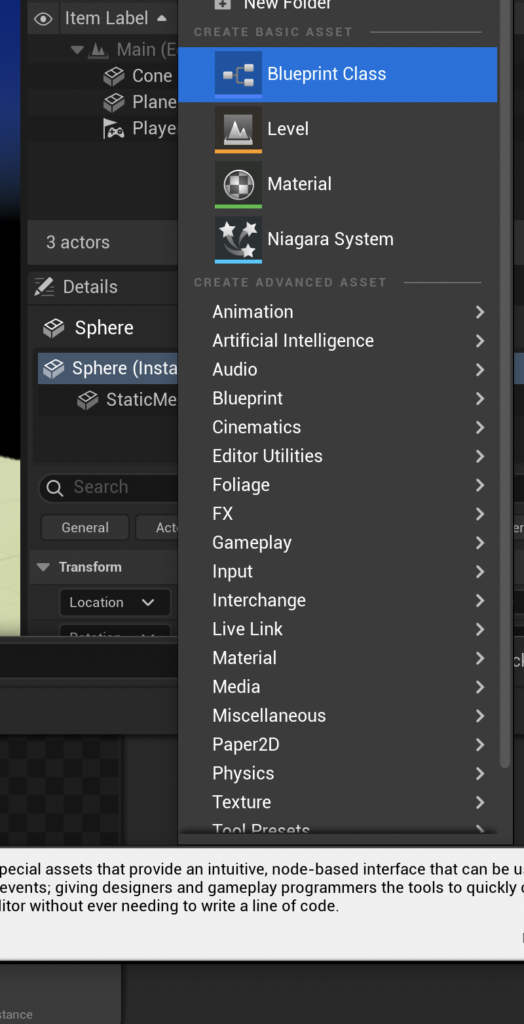
「Pick Parent Class」画面になるので、「Actor」を選択します。
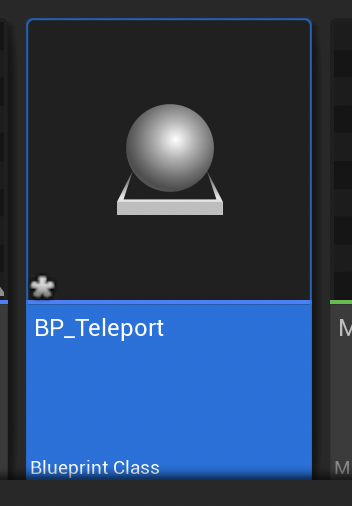
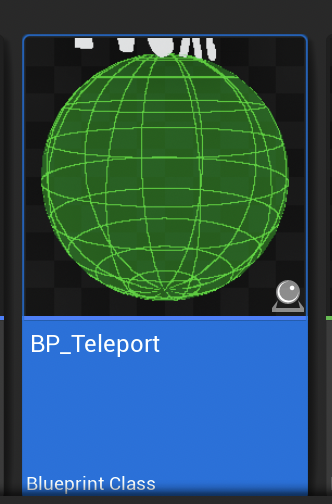
ファイル名を「BP_Teleport」にします。
「BP_Teleport」を開きます。
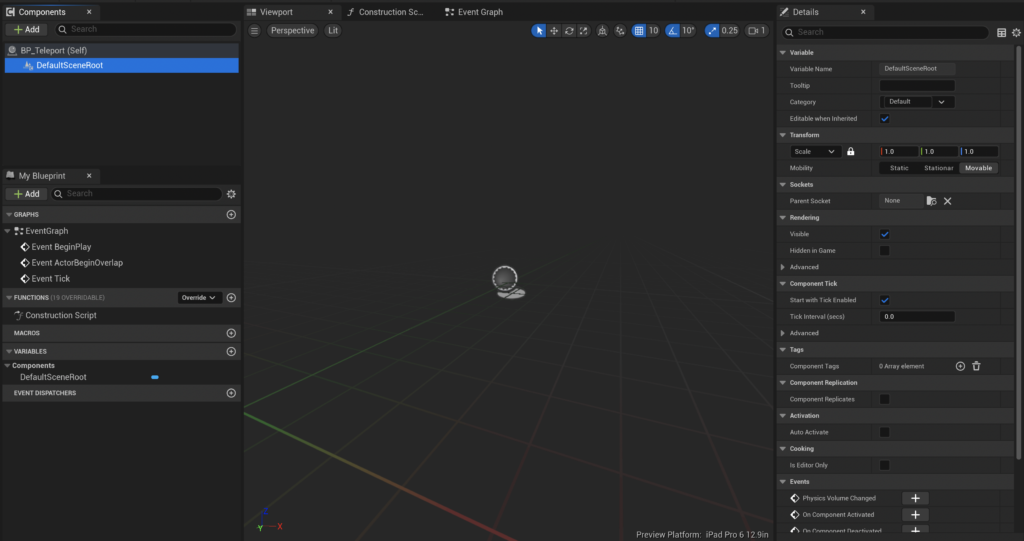
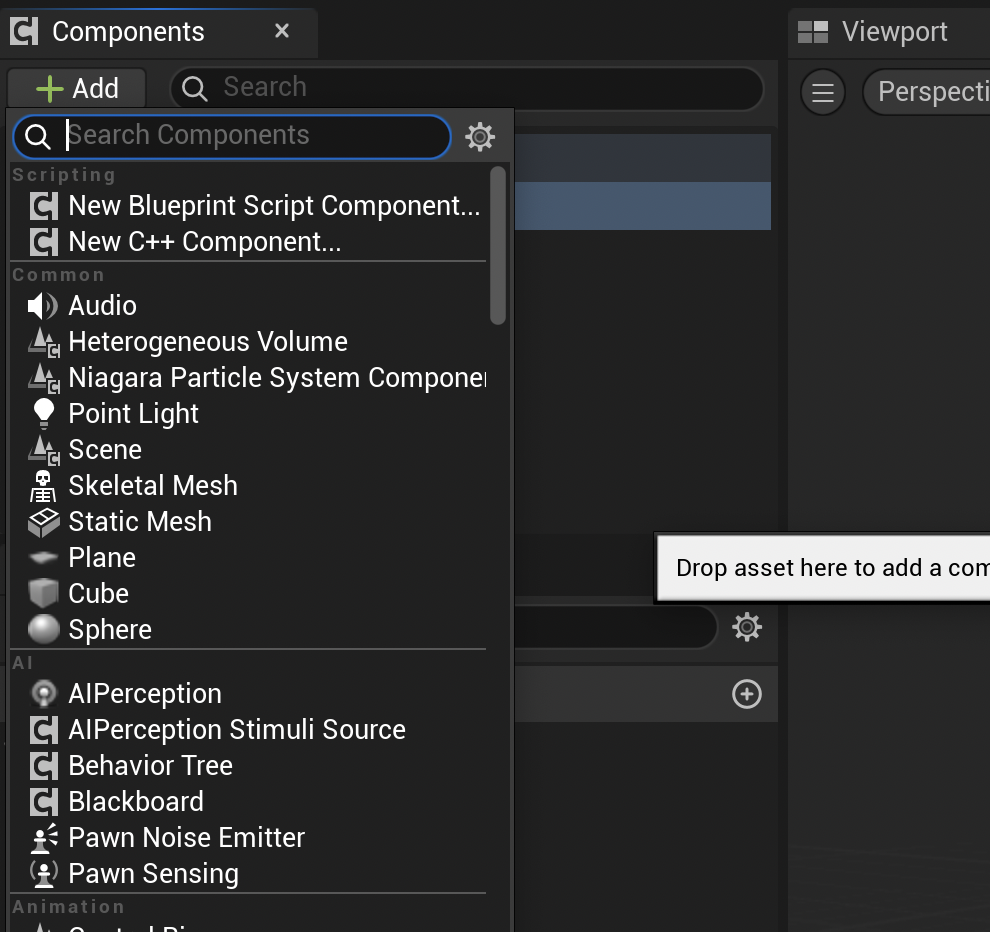
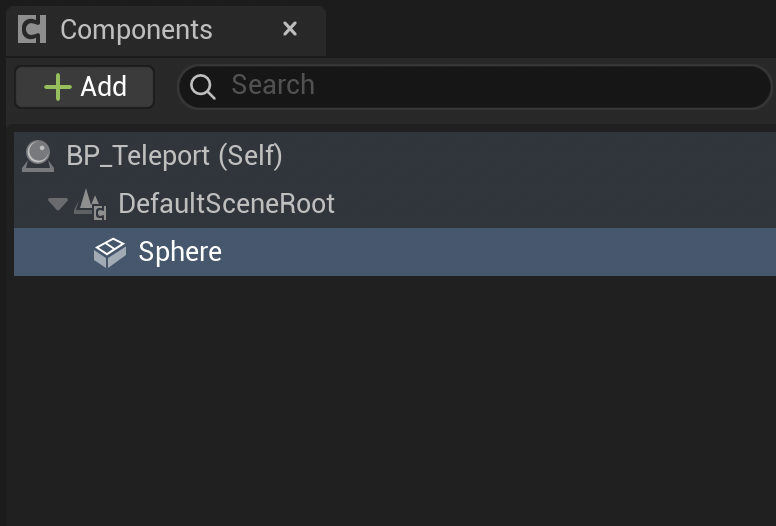
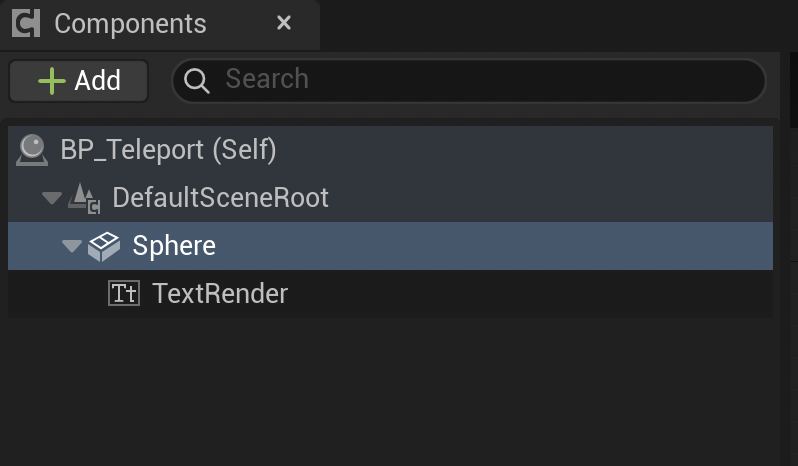
「Components」内の「+ Add」をクリックし、「Sphere」を選択します。
「Sphere」を追加できました。
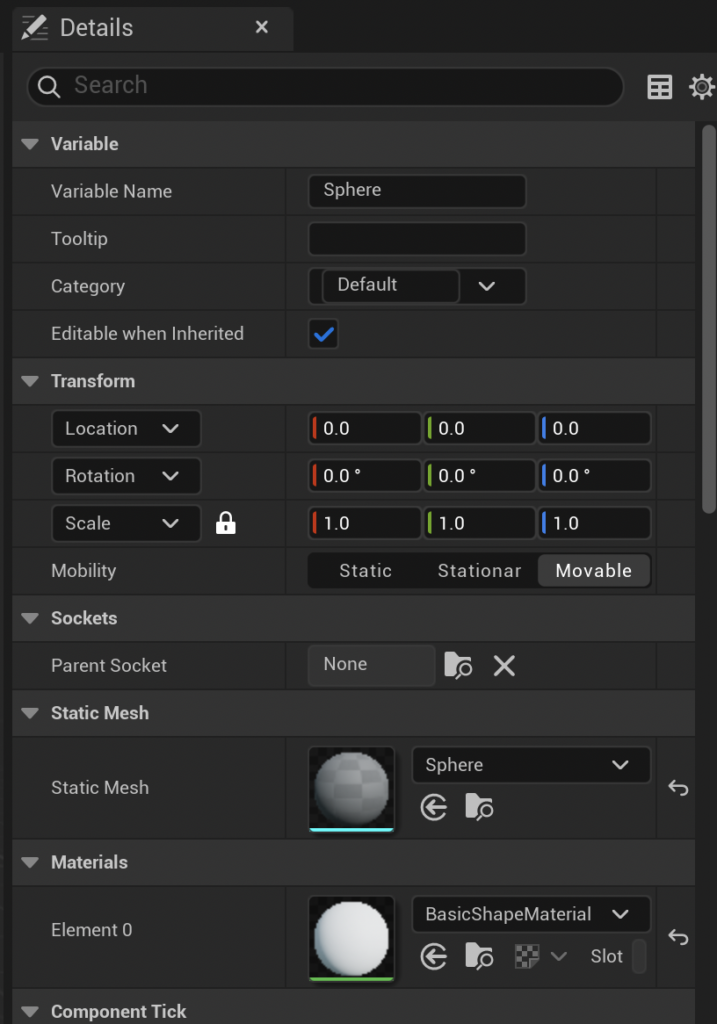
「Details」の「Materials」の「Element 0」を「MirrorPlaneMaterial」に変更します。
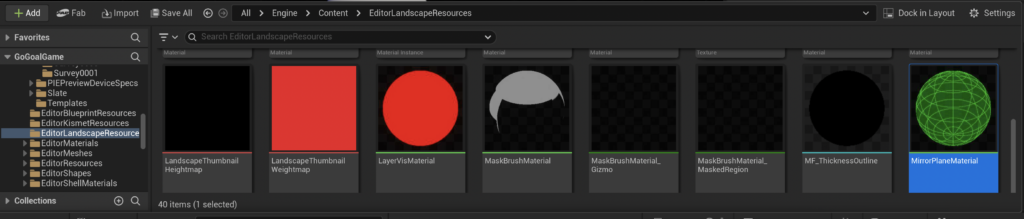
「MirrorPlaneMaterial」は、「All」の「Engine」の「Content」の「EditorLandscapeResources」のフォルダー内にあります。
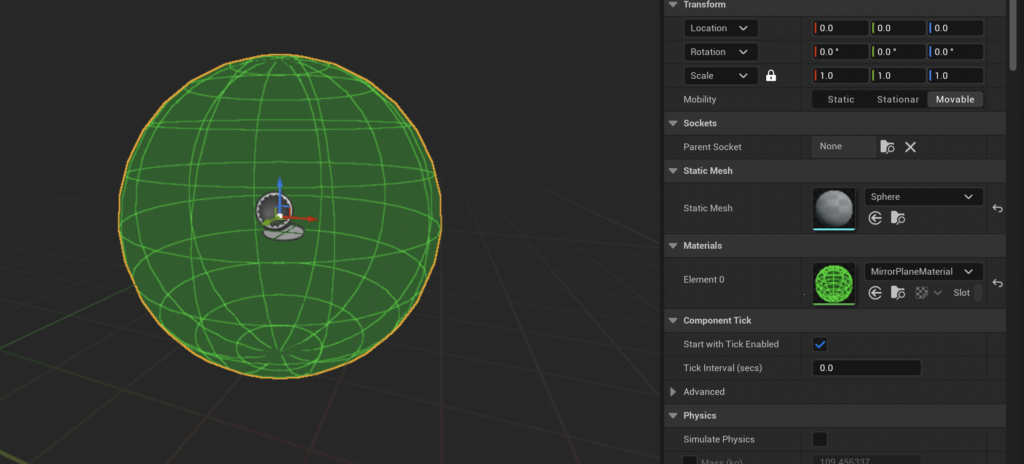
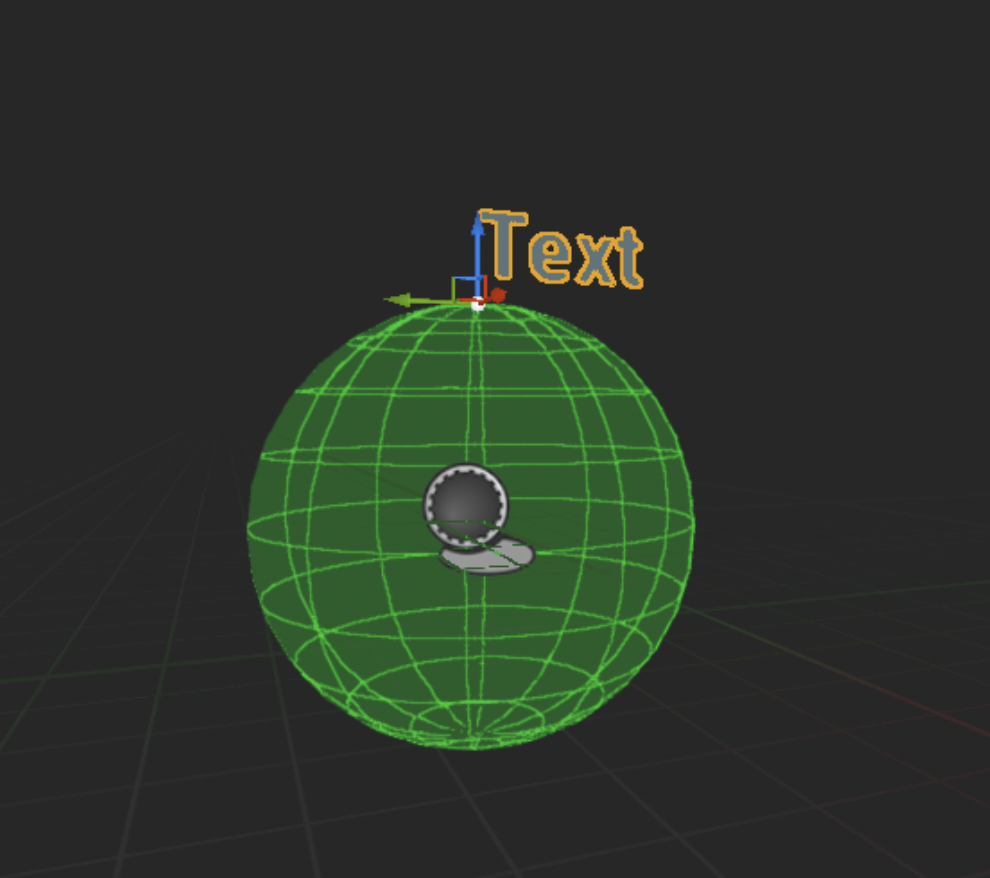
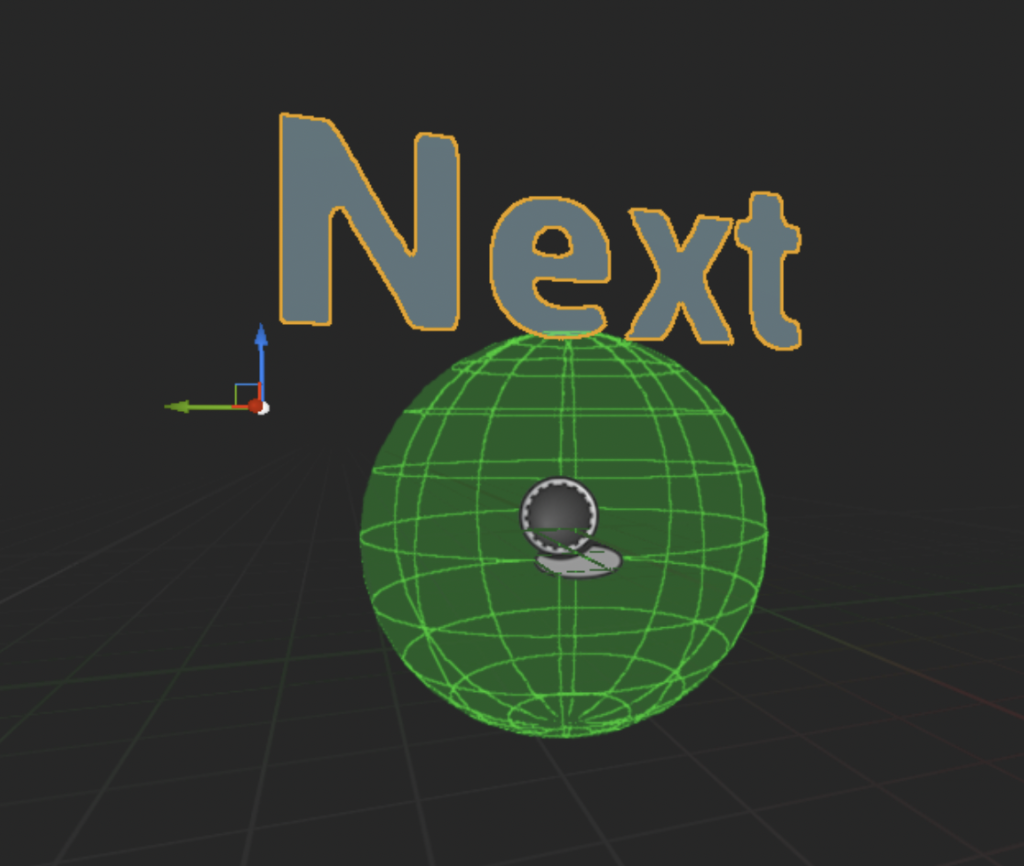
マテリアルを変更した状態は、こんな感じです。
次にテキストも追加していきます。
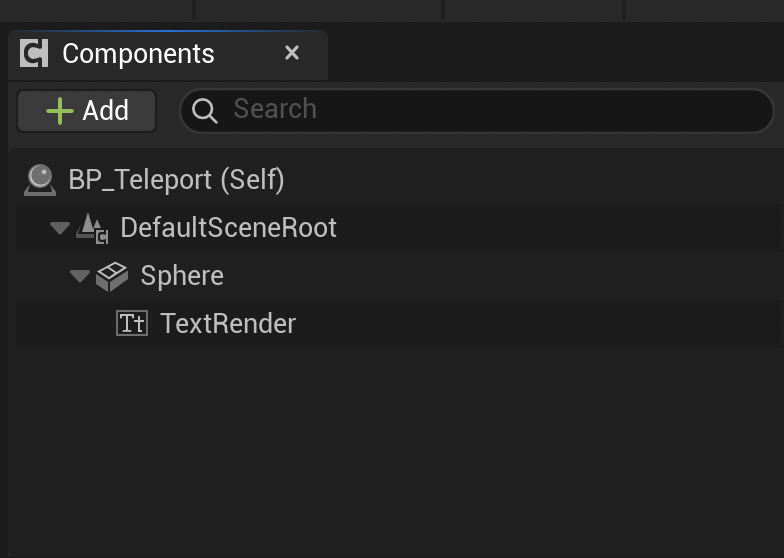
「Components」の「+ Add」をクリックし、「Text Render」を選択します。
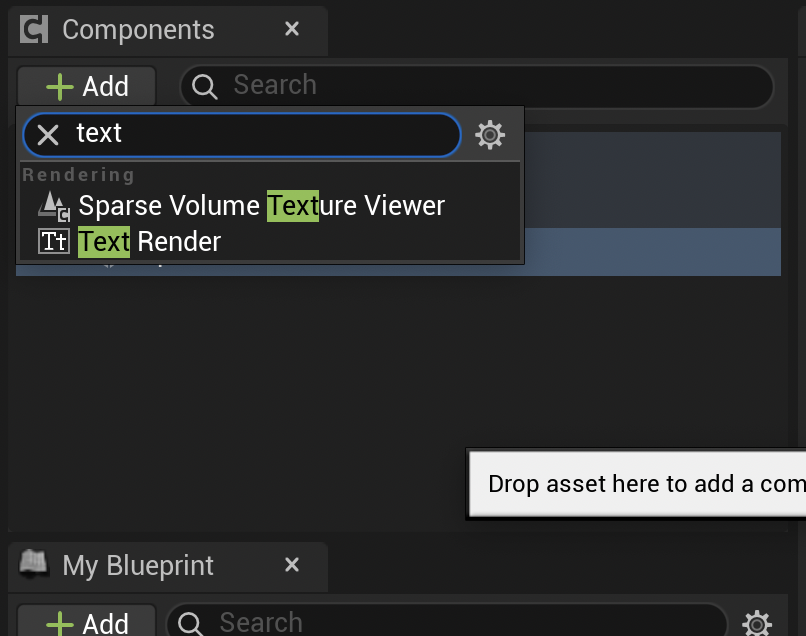
「TextRender」は「Sphere」内に配置します。
「TextRender」の位置を調整します。
「Details」の「Text」項目を「Next」に変更します。
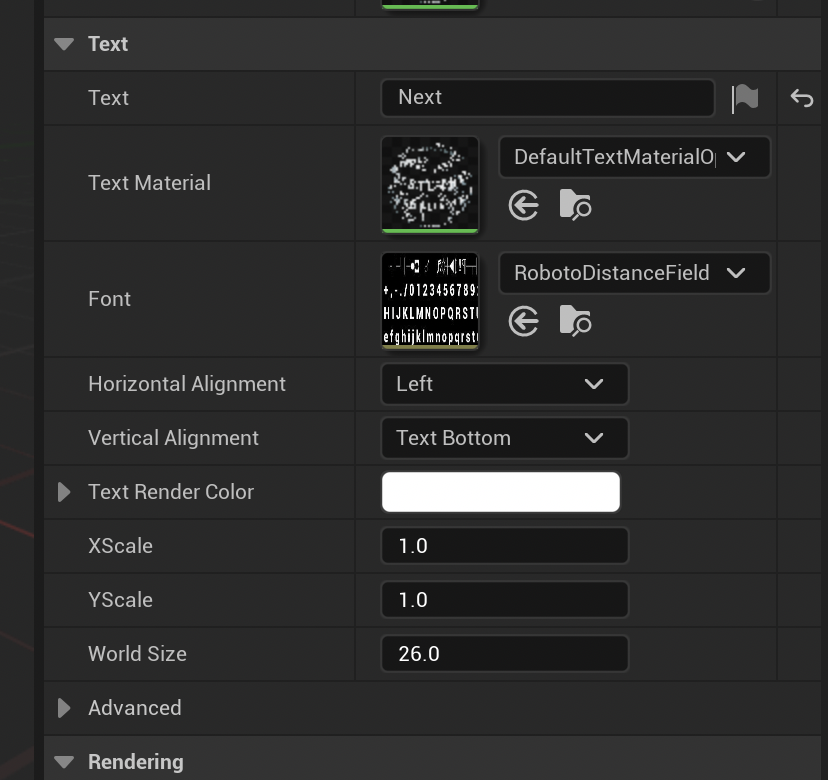
文字の大きさなども変更し、こんな感じにしました。
レベルに配置する
アクタが出来たので、「FirstStage」サブレベルに配置していきます。
レベルを「FirstStage」に切り替えます。
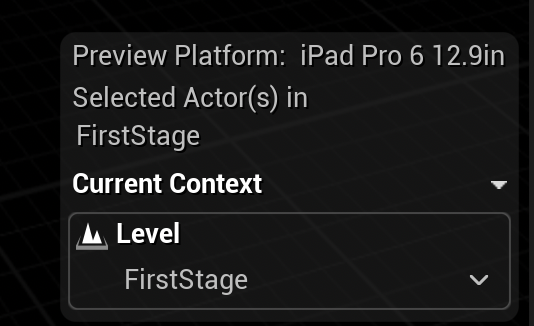
ステージの目標地点に、作成した転送装置を配置します。

配置は出来ましたが、まだステージ切替の処理を実装していないため、ただの障害物になっています。
ステージ切替機能を実装する
転送装置とプレイヤーが重なったときに、ステージを切り替えるよう機能を実装していきます。
「BP_Teleport」を開き、「Details」の「Collision」の「Collision Presets」を確認します。
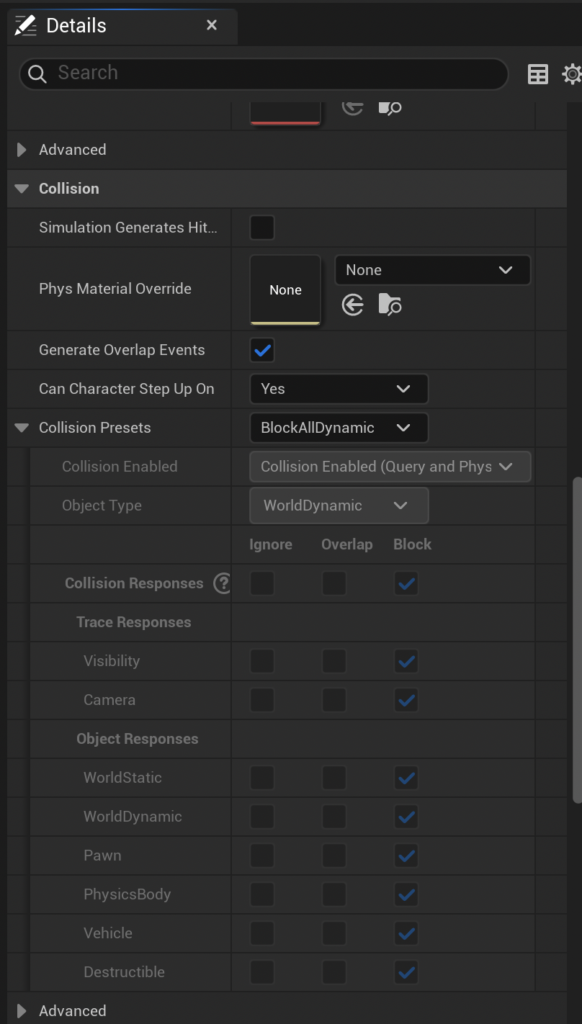
「BlockAllDynamic」になっていると、プレイヤーが転送装置を通り抜けできません。

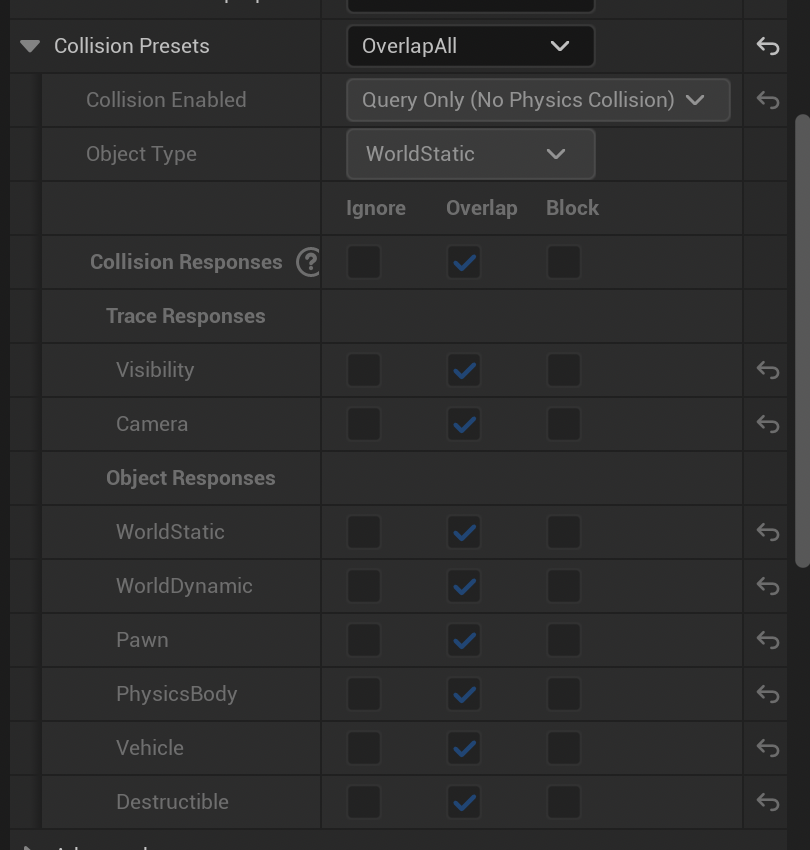
「OverlapAll」に変更し、通り抜けが出来、何かが重なっていることを通知出来るようにします。
次に重なったときの処理を追加していきます。
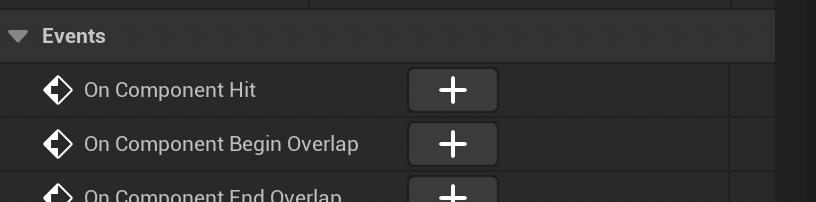
「Components」の「Sphere」を選択します。
「Details」の「Events」を確認します。
「On Component Begin Overlap」の横の「+」をクリックします。
「On Component Begin Overlap」ノードが作成されます。
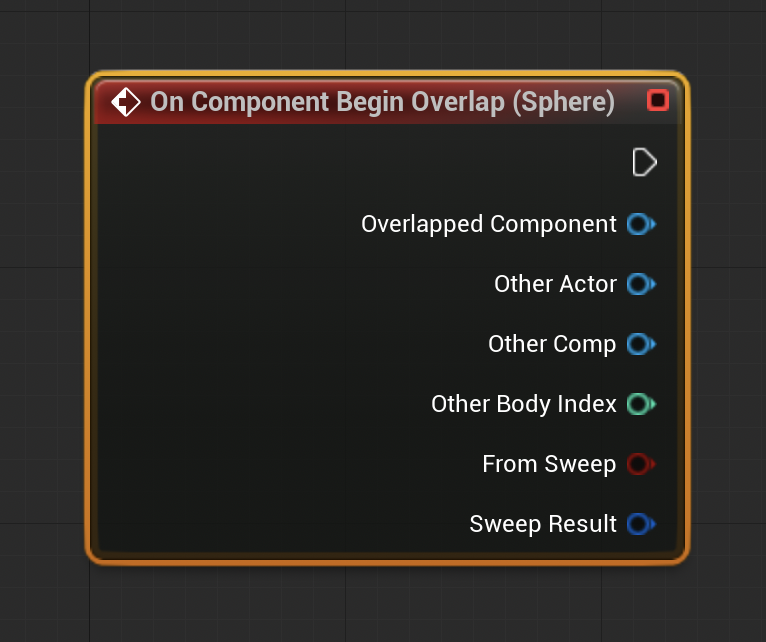
自動的に「Event Graph」に移動しているので、先ほどの画面に戻りたいときは、「Viewport」に切り替えてください。

処理を追加していきます。
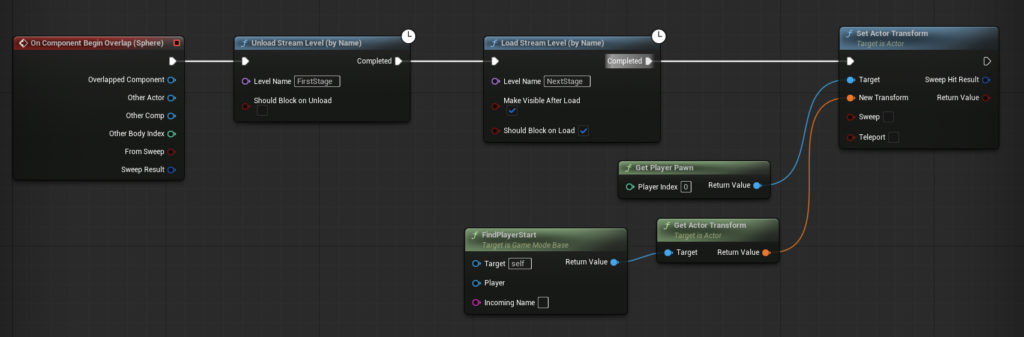
「On Component Begin Overlap」ノードから「Unload Stream Level (by Name)」ノードを呼び出します。
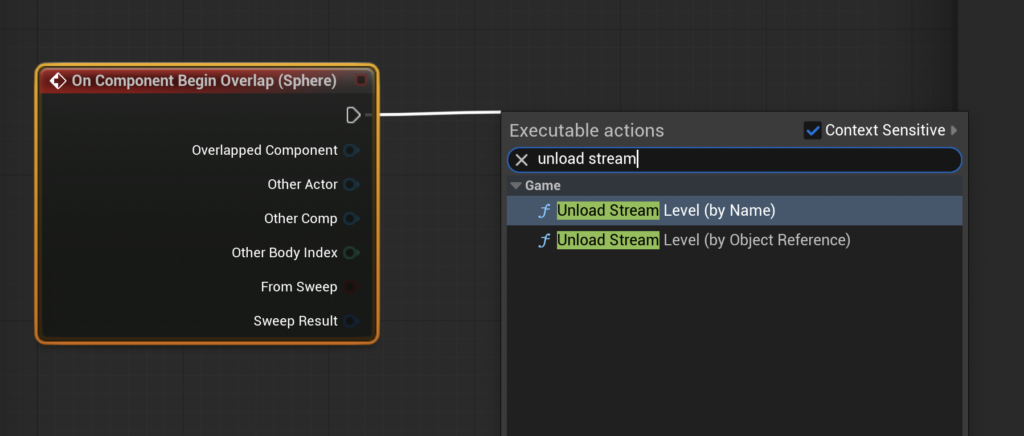
「Unload Stream Level (by Name)」ノードが配置できました。
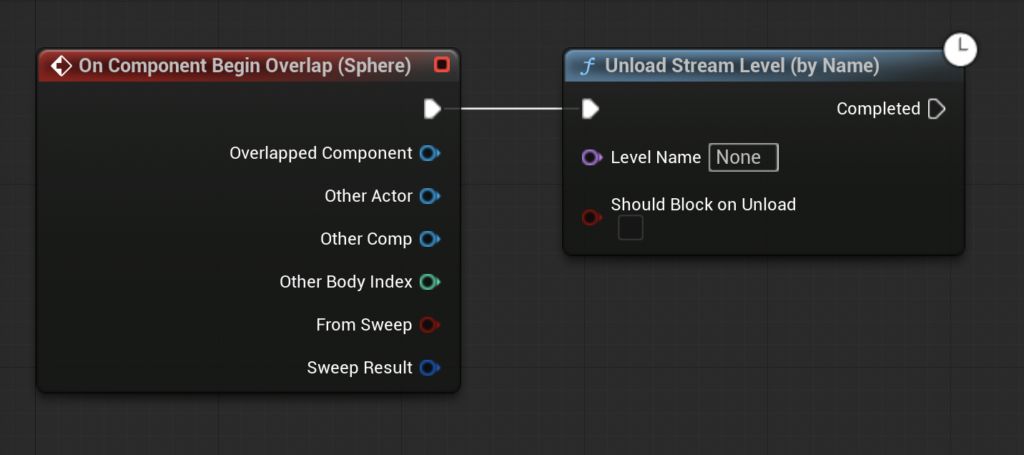
「Unload Stream Level (by Name)」ノードの「Level Name」を「FirstStage」にします。

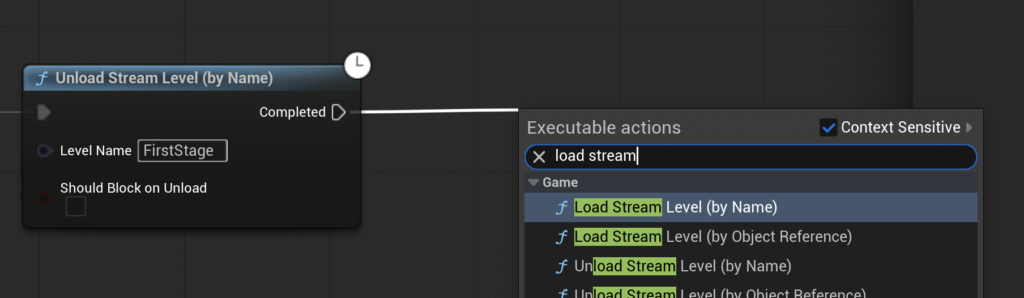
これで1つ目のステージが削除できたので、続いて次のステージをロードします。
「Unload Stream Level (by Name)」ノードから「Load Stream Level (by Name)」ノードを呼び出します。
「Load Stream Level (by Name)」ノードが配置できました。
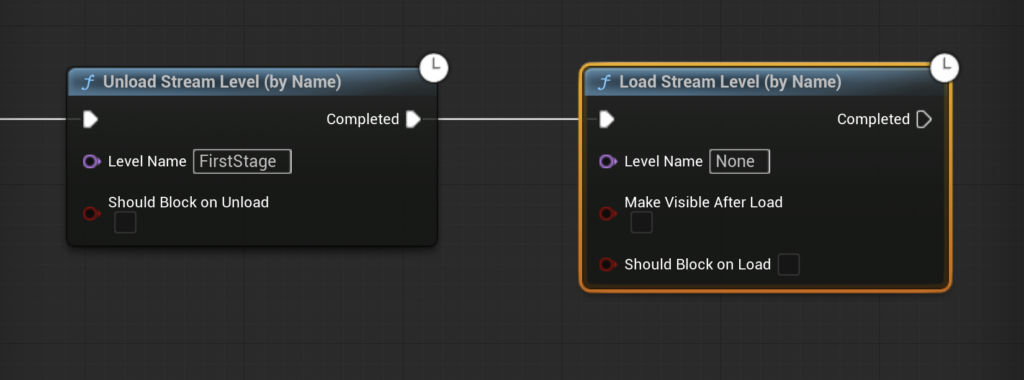
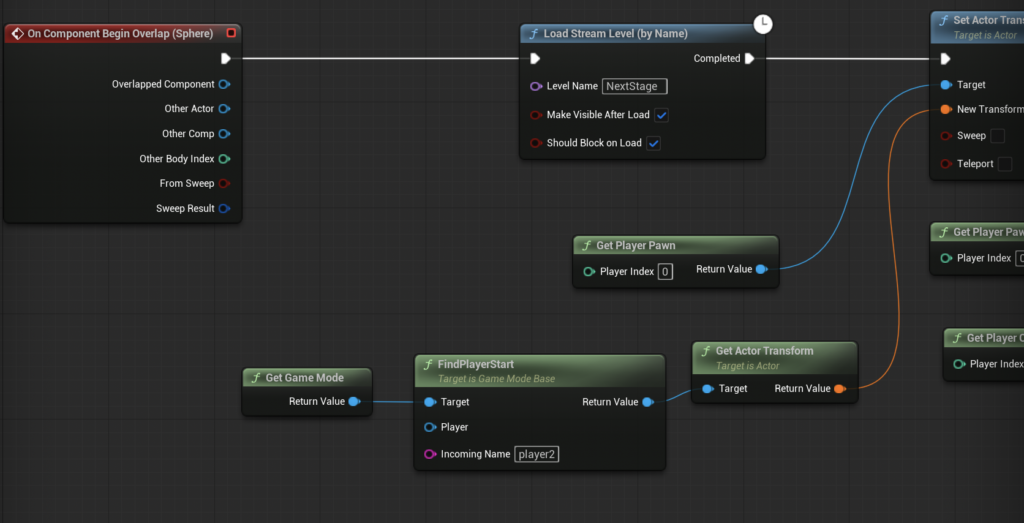
「Load Stream Level (by Name)」ノードの設定を、下の写真のように変更します。
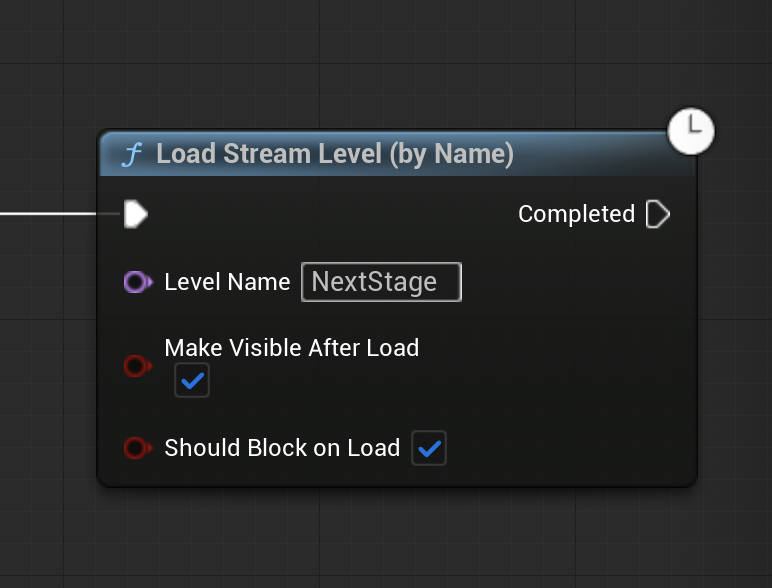
これで「NextStage」が表示されるので、次にプレイヤーをスタート位置に移動させます。
下の写真のようにノードを追加します。
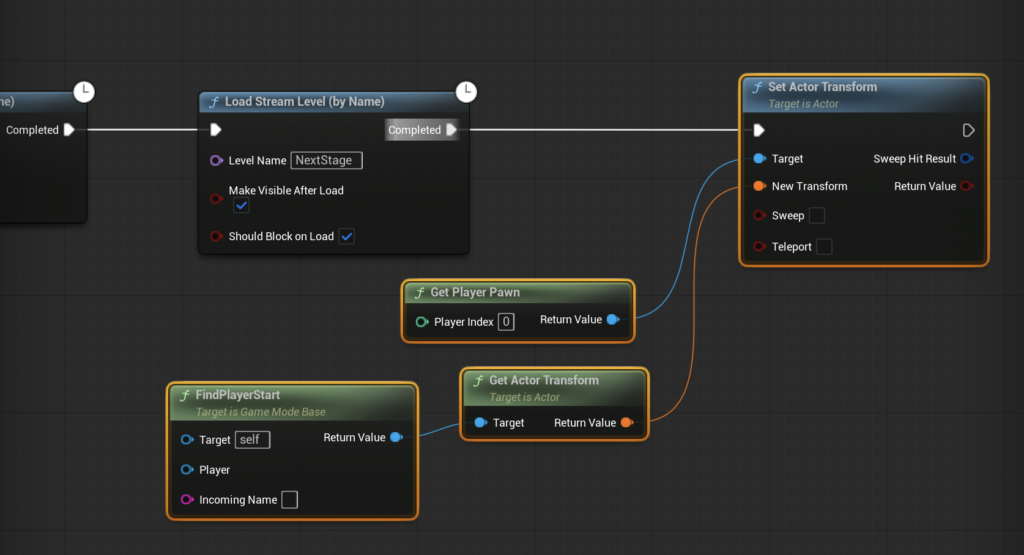
ここは以下の記事と同じ内容なので説明を省略します。
ノード処理全体はこんな感じになります。
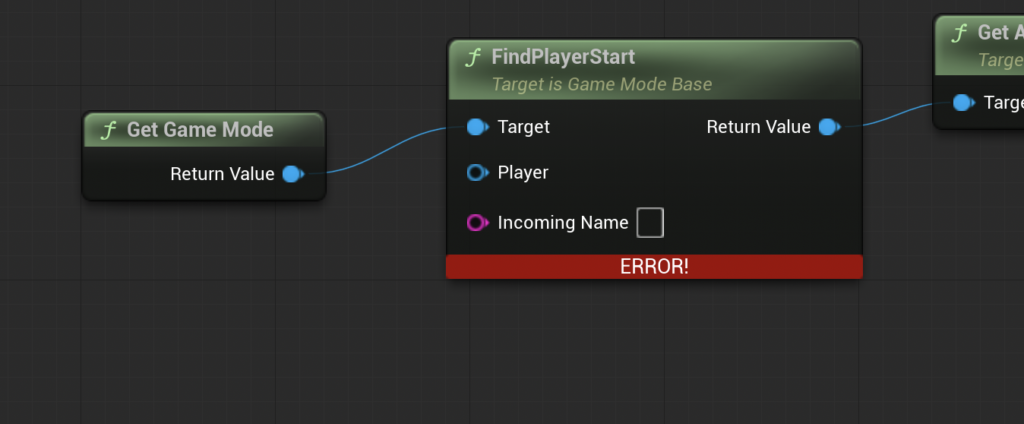
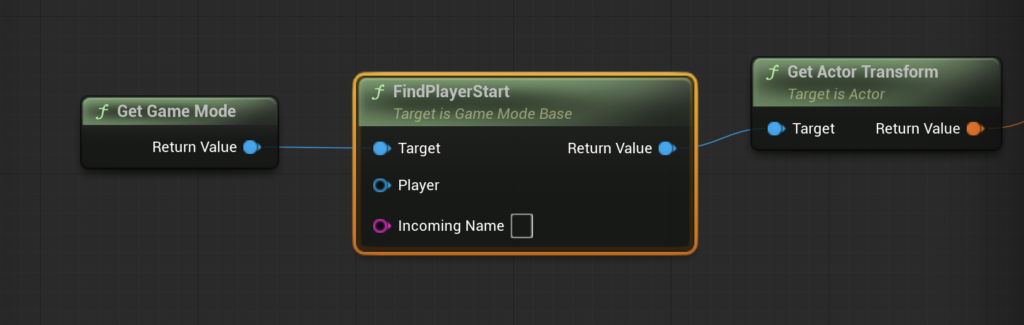
これで「Compile」すると「FindPlayerStart」ノードに警告が出ます。
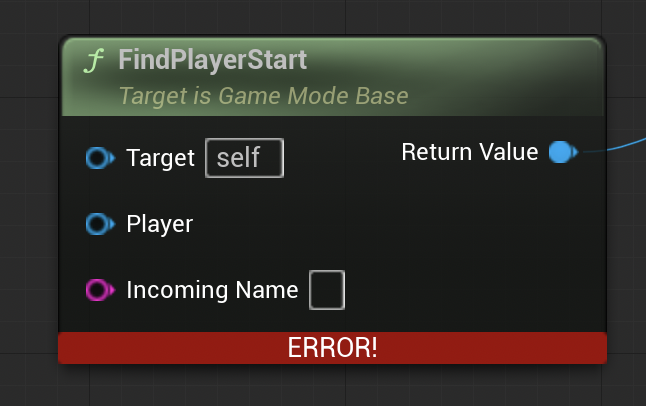
「Target」に「Game Mode Base」が指定されていないので、「Get Game Mode」ノードを追加します。
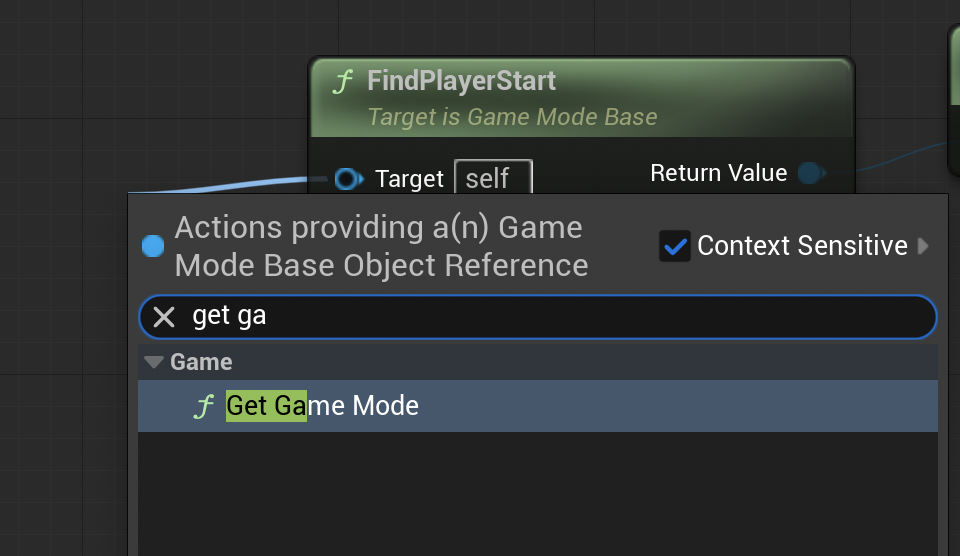
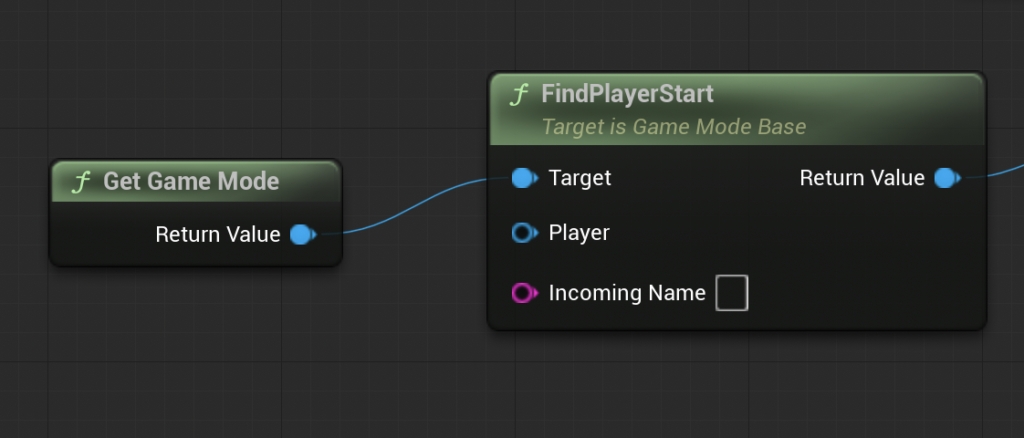
「Get Game Mode」ノードが配置できました。
これで「Compile」しなおすと警告は消えます。
ここまででテストプレイしてみると、ステージ切替時のプレイヤースタート位置への移動がうまくいかないことがあります。
この問題を解決していきます。
処理を改善する
おそらく「PlayerStart」が複数存在するのが問題の原因と考え、改善を進めます。
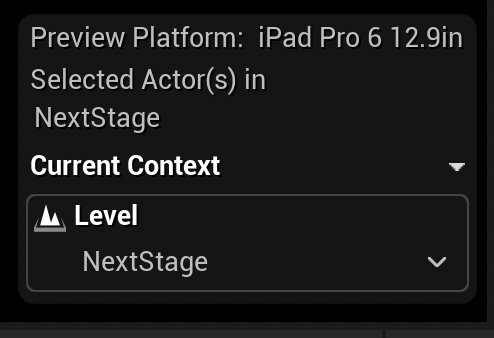
レベルを「NextStage」に切り替えます。
「Outliner」の「PlayerStart」を選択します。
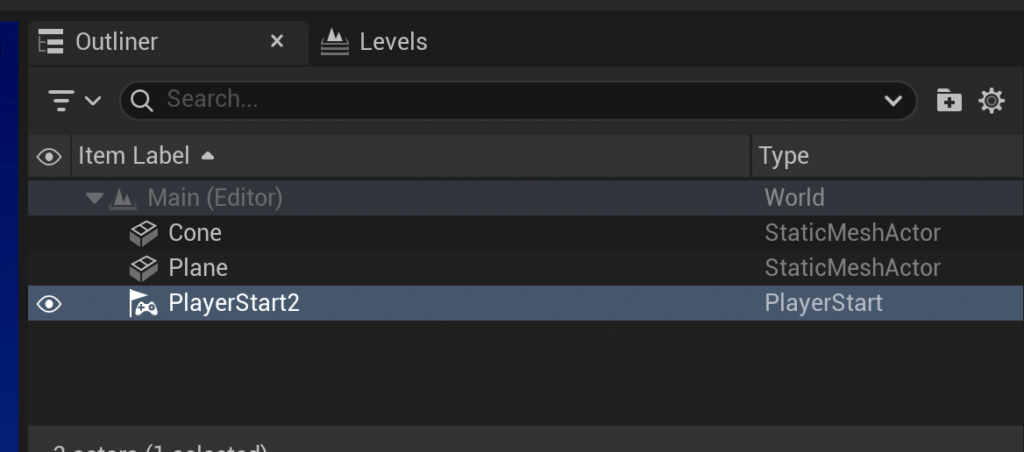
「Details」の「Object」の「Player Start Tag」を「player2」に変更します。

こんな感じです。

「BP_Teleport」を開きます。
既に配置されている「FindPlayerStart」ノードを見つけます。
「Incoming Name」を、先ほど設定した「player2」と指定します。
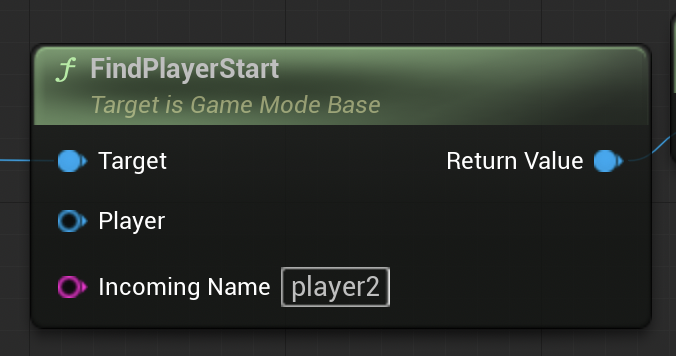
これで、どの「PlayerStart」か判別できるようになりました。
ついでにステージ移動した瞬間、すこしだけプレイヤーの操作を無効にしたいと思います。
「Unload Stream Level (by Name)」ノードを一旦取り除きます。
「Set Actor Transform」ノードの処理の続きに、下の写真の処理を追加します。

- 「Get Player Pawn」ノードと「Get Player Controller」ノードを配置します。
- 「Disable Input」ノードを呼び出して、「Get Player Pawn」ノードと「Get Player Controller」ノードを繋げます。
- 「Set Actor Transform」ノードと「Disable Input」ノードを繋げます。
- 「Disable Input」ノードから「Delay」ノードを呼び出します。
- 「Delay」ノードの「Duration」は「1.0」にしておきます。
ここは操作を無効にしたい間隔を指定すれば良いです。
「Delay」ノードの続きに処理を追加します。
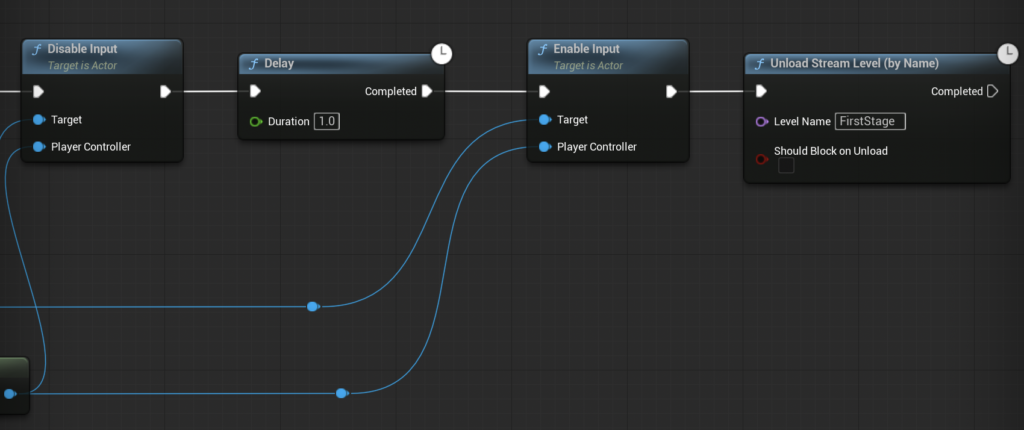
- 「Delay」ノードから「Enable Input」ノードを呼び出します。
- 「Get Player Pawn」ノードと「Get Player Controller」ノードを「Enable Input」ノードに繋げます。
- 取り除いていた「Unload Stream Level (by Name)」ノードを「Enable Input」ノードに繋げます。
「Unload Stream Level (by Name)」ノードの設定は、以前のものと同じです。
ノード処理全体はこんな感じになります。
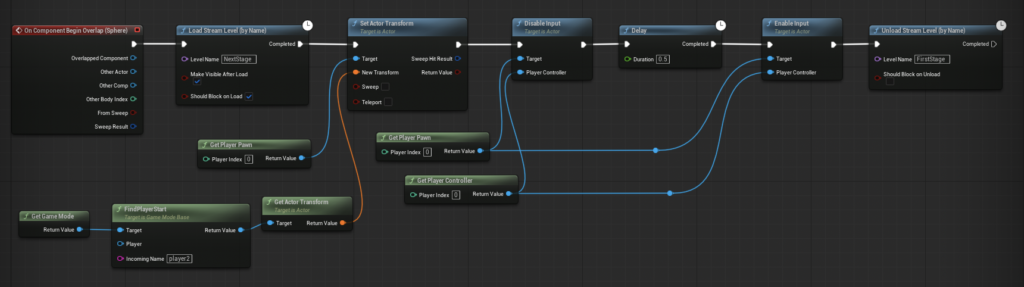
テストプレイして確認します。
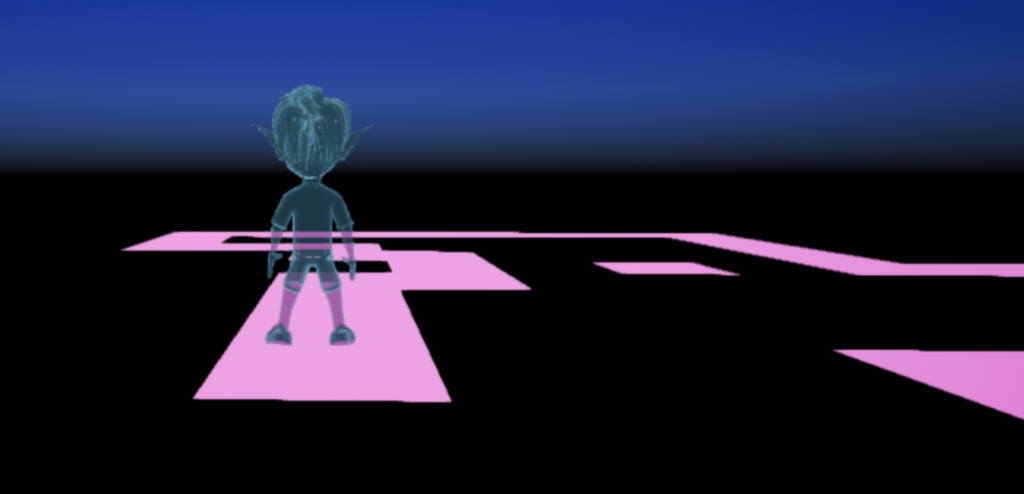
1つ目のステージの転送装置に触れると2つ目のステージに移動し、1秒ほど待てばプレイヤーを操作できるようになると思います。
ステージ切替完了
今回はここまでです。
次回は「リスポーン設定する」です。
前後記事
他の記事を探す
他の記事も気になる方は、以下の記事の目次を確認ください。
