


プレイヤーと重なった建物を透かせる
今回は、プレイヤーと重なった建物を透かせる方法を備忘録にします。
※作業環境:UEバージョン5.3.2
備忘録
カメラ固定型のゲーム制作するときに、プレイヤーが建物の陰に隠れて見えなくなることがあります。
今回は、プレイヤーと重なった建物を透過させて、プレイヤーが見えるようにしていきます。
透過させたい建物のマテリアル設定を確認する
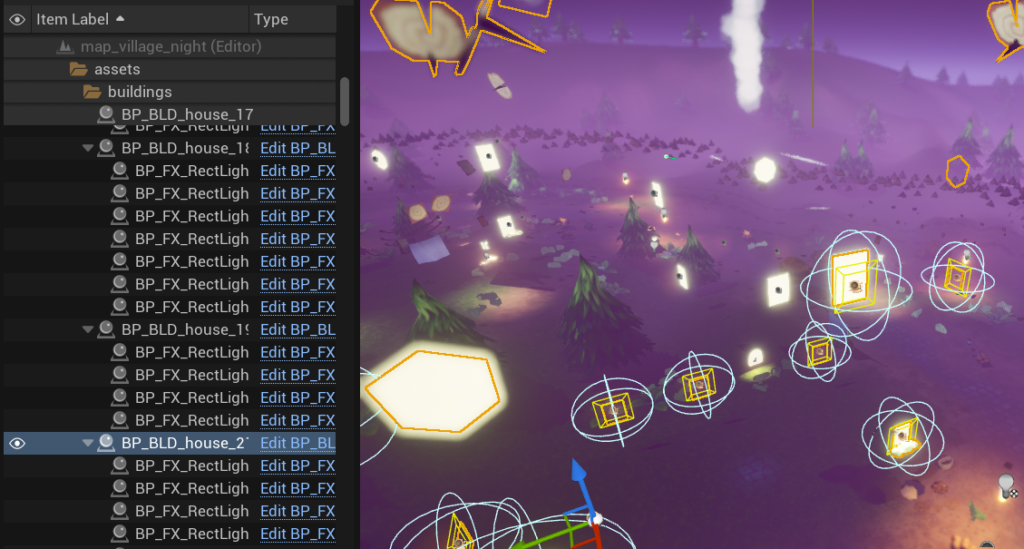
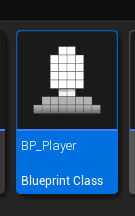
プレイヤーと重なったときに、透過させたい建物をレベルから選択します。
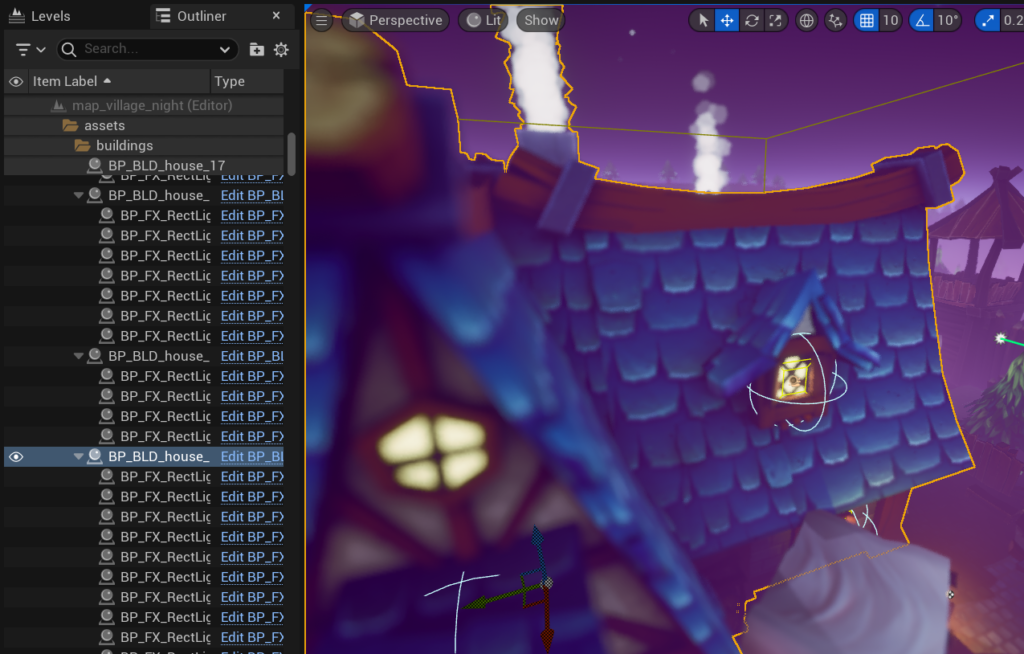
上の写真のように建物を選択して、そのブループリントを開きます。
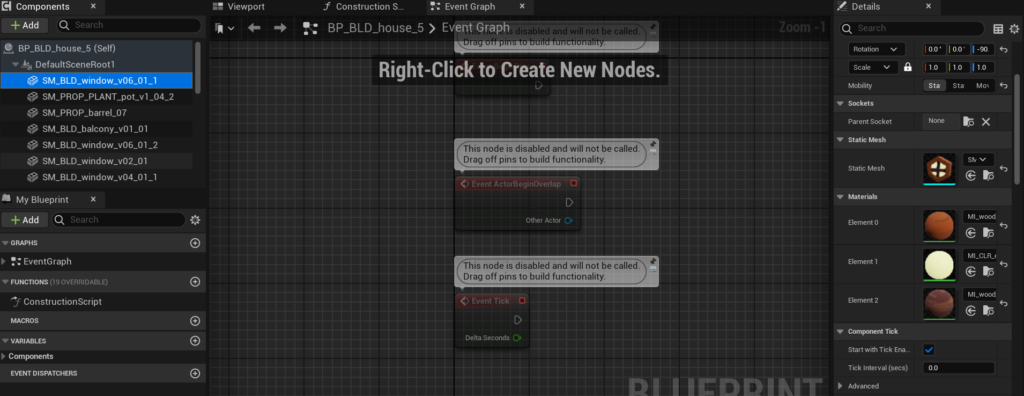
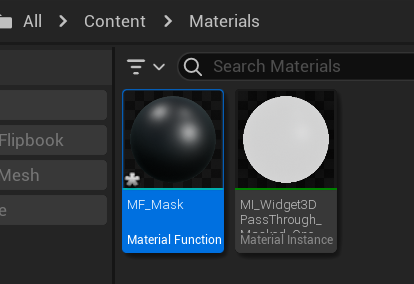
任意のスタティックメッシュを選択して、「Materials」項目を確認します。
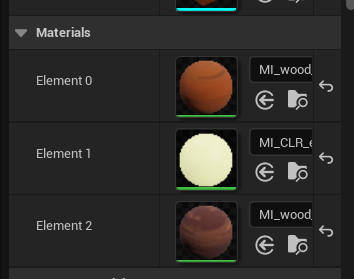
透過させたいマテリアルの保管先に移動します。
「📁🔎」マークをクリックすれば、マテリアル保管場所を表示してくれます。
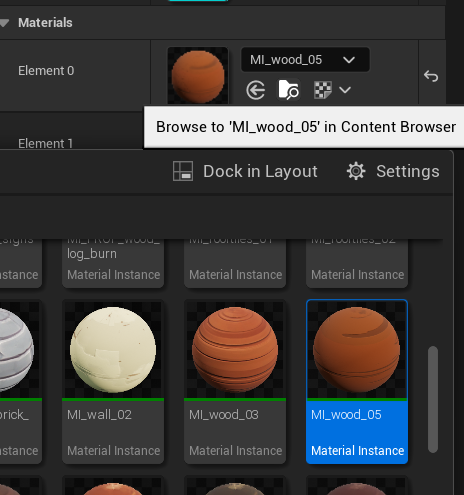
マテリアルを開きます。
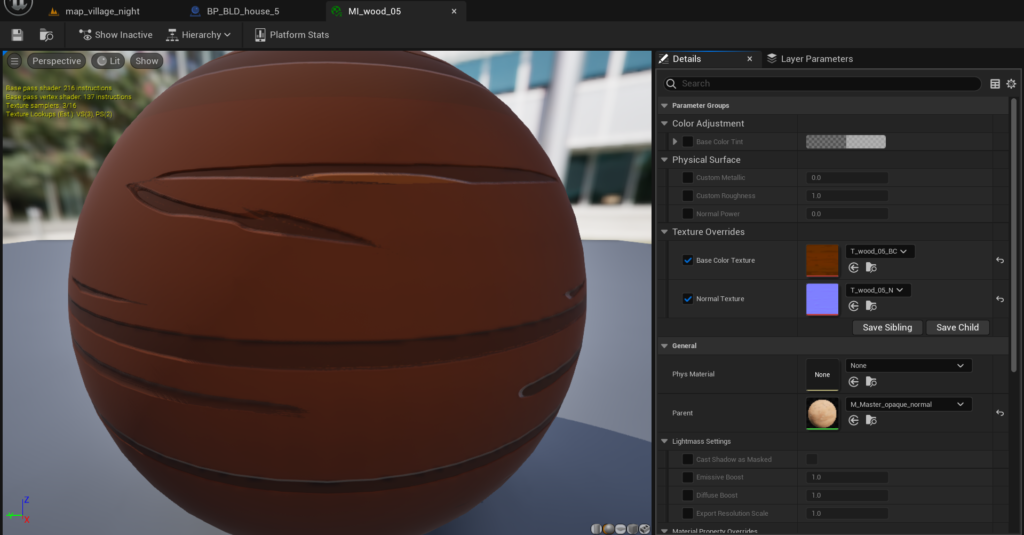
「Details」の「General」の「Parent」に親となるマテリアルが設定されています。
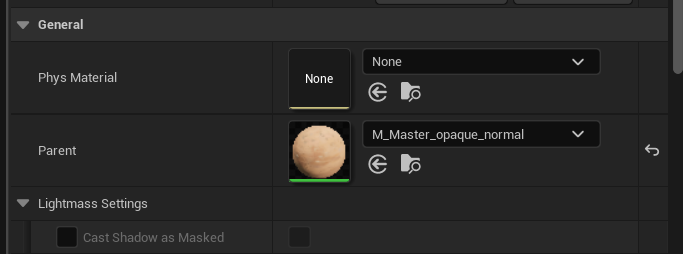
「📁🔎」で保管先を開いて、このマテリアルを開きます。
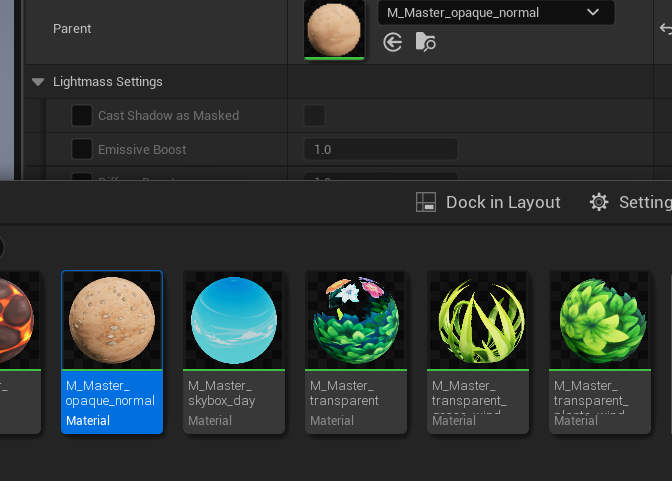
このマテリアルは親なので、子のマテリアルにも設定変更に影響を与えます。
なので親に透過設定すれば、子にも影響を与えます。
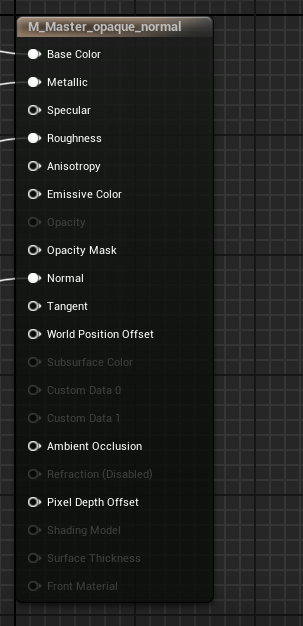
試しにマテリアルを透過してみます。

透過するのに「Opacity Mask」項目の設定が必要になりますが、上の写真のように使えない状態の場合があります。
「Opacity Mask」を使えるようにします。
「Material」の「Blend Mode」を「Masked」に変更します。
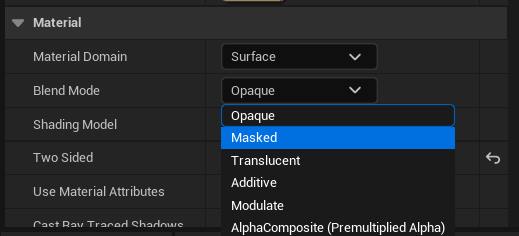
「Opacity Mask」が使えるようになりました。
「1」キーを押した状態でクリックすると、下の写真の「0」ノードは配置できます。(Constantノード)
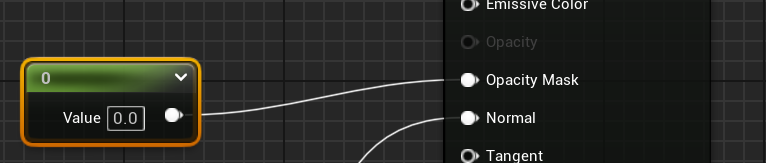
「Value」を「0.0」にして、「Opacity Mask」に繋げます。
保存して、マテリアルビュー画面を見てみると、マテリアルは透明になっています。
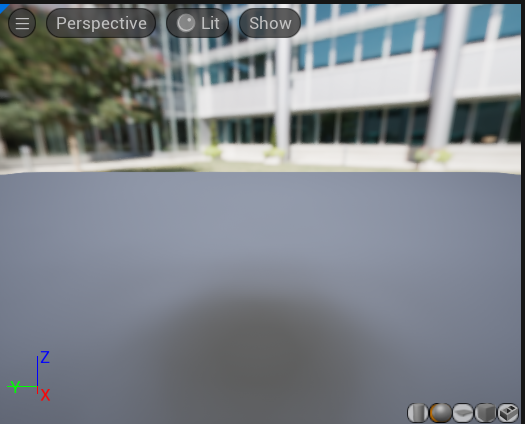
「0.0」が透明で「1.0」が不透明といった感じです。
レベル画面に戻り、ビューポート画面を確認すると該当するマテリアルが透明になっています。
この機能を活用して作業を進めていきます。
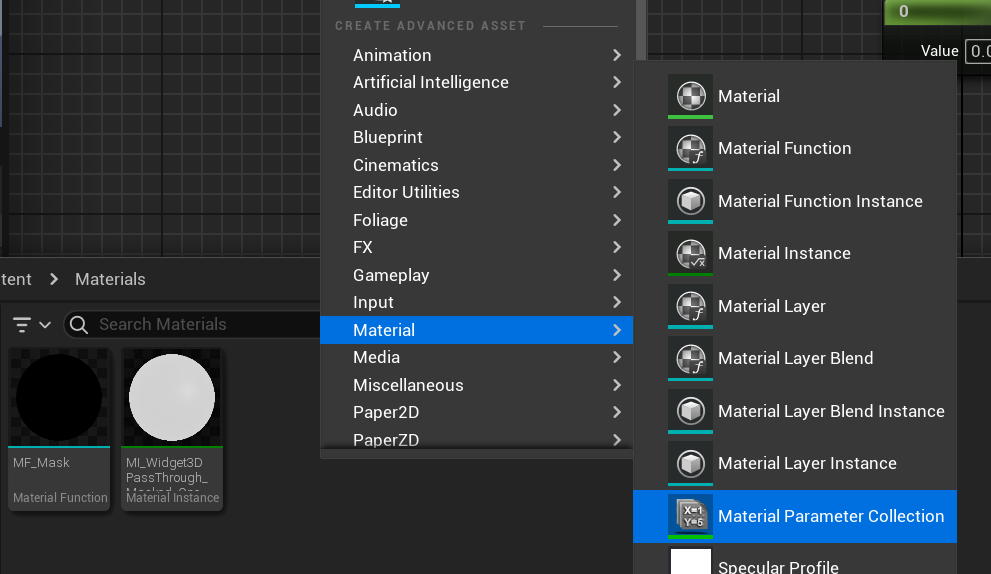
「Material Parameter Collection」を作成する
コンテンツで右クリックして、「Material」の「Material Parameter Collection」を選択します。
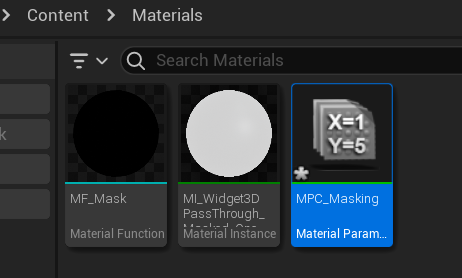
ファイル名は「MPC_Masking」にします。
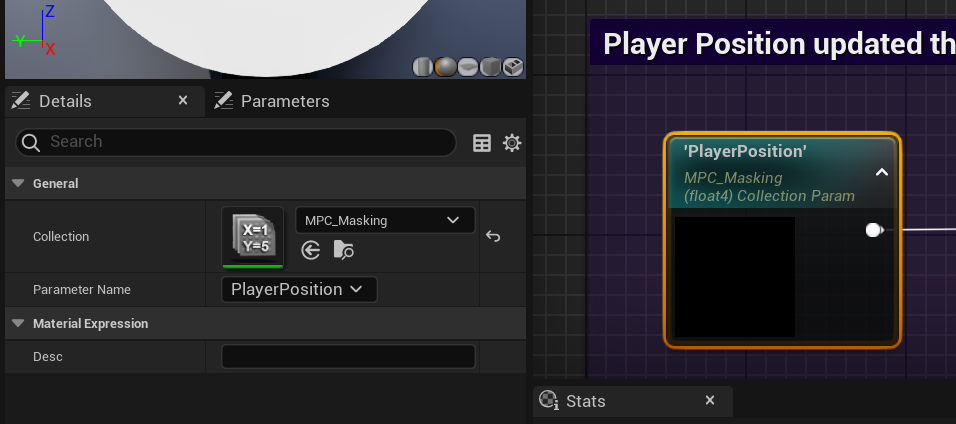
ファイルを開いて、「Vector Parameters」の「+」ボタンをクリックして項目を追加します。

上の写真のように設定します。
「Parameter Name」は「PlayerPosition」にします。
「Material Function」を作成する
コンテンツで右クリックして「Material」の「Material Function」を選択します。
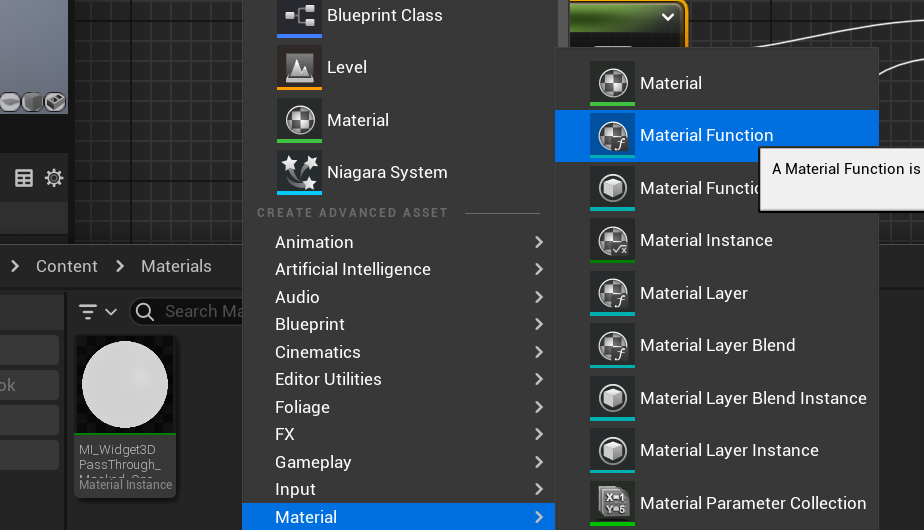
ファイル名は「MF_Mask」にしておきます。
ファイルを開きます。
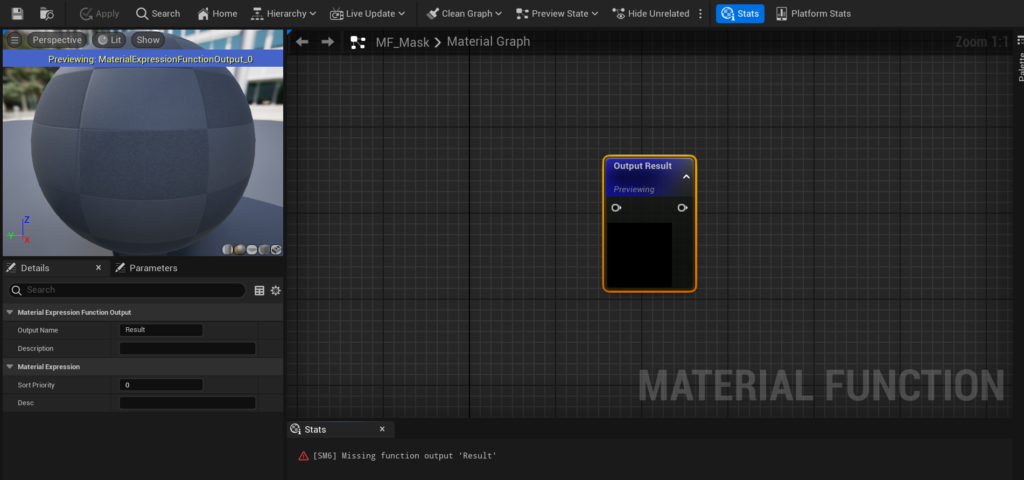
以下のリンク先から必要なノードをコピーします。
Mask out Environmental Assets blocking view to Player(公式リンク先こちら)

リンク先に、下の写真の「Copy full snippet(950 lines long)」ボタンがあるのでクリックします。
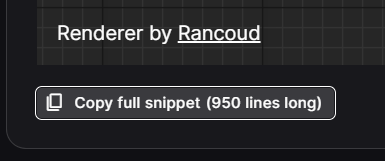
「MF_Mask」に貼り付けます。
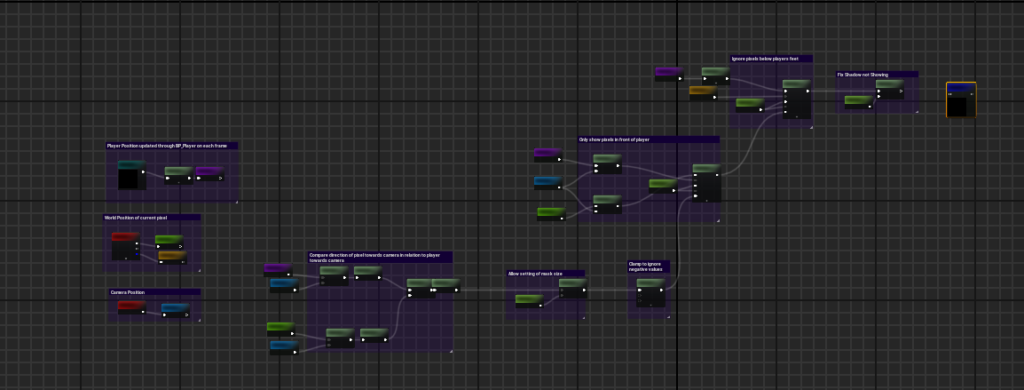
一番右側にある「Shadow Pass Switch」ノードと「Output Result」ノードを繋ぎます。

保存して「Material Function」設定完了です。
作成した「Material Parameter Collection」は、ここで使われています
透過するマテリアルに繋げる
透過させたい建物の親マテリアルファイルに戻ります。
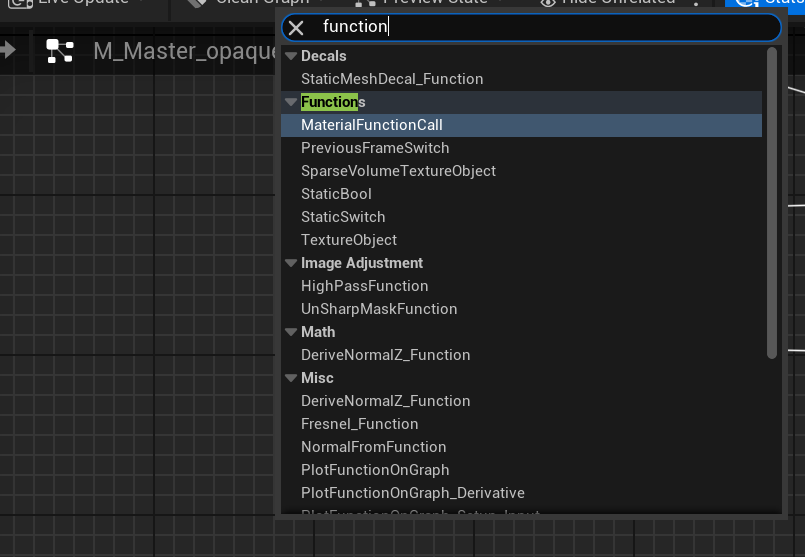
ノード検索で「Material FunctionCall」を選択します。
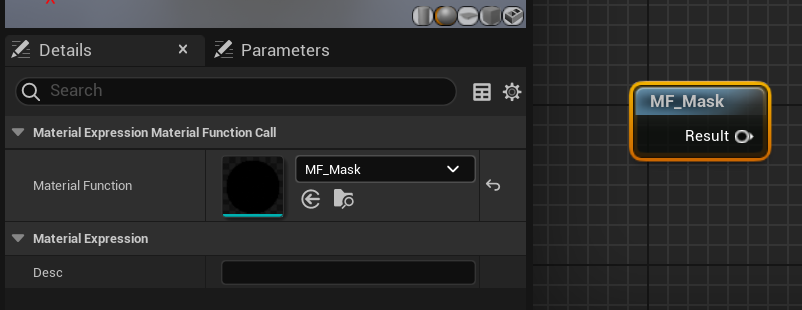
ノードを選択した状態で「Material Function」を「MF_Mask」に変更します。
すでに「MF_Mask」になっている場合はそのままでOKです。
試しで配置した「Constant」ノードを削除して、「MF_Mask」ノードを「Opacity Mask」に繋げます。
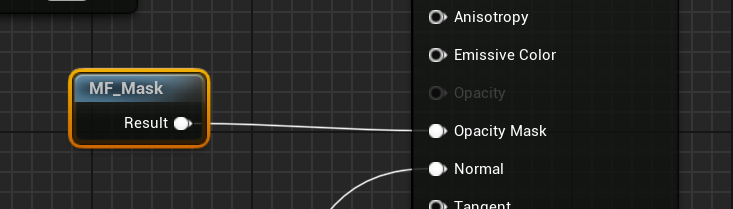
保存します。
プレイヤーのブループリントを設定する
プレイヤーの移動に合わせるように設定します。
プレイヤーのブループリントを開きます。
「Event Tick」に処理を繋げていきます。
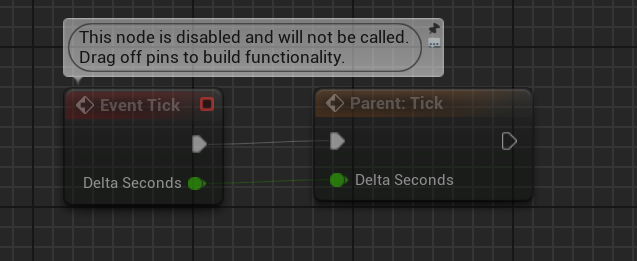
今回使用したプレイヤーブループリントは、子クラスなので「Parent:Tick」ノードが繋がれています。
下の写真のようにノードを繋げます。
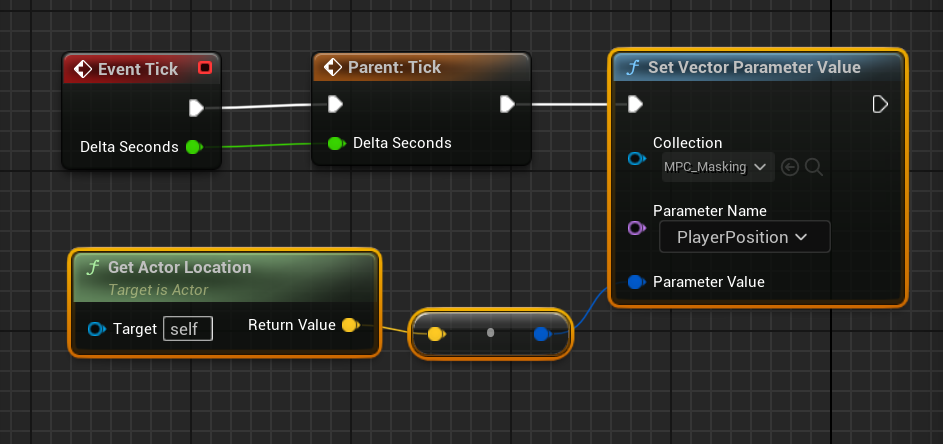
- 「Get Actor Location」ノードで、プレイヤーの取得します。
- 「Set Vector Parameter Value」ノードの「Parameter Value」に「Get Actor Location」ノードを繋げます。
- 「Set Vector Parameter Value」ノードの他の項目を設定します。
これで完成です。
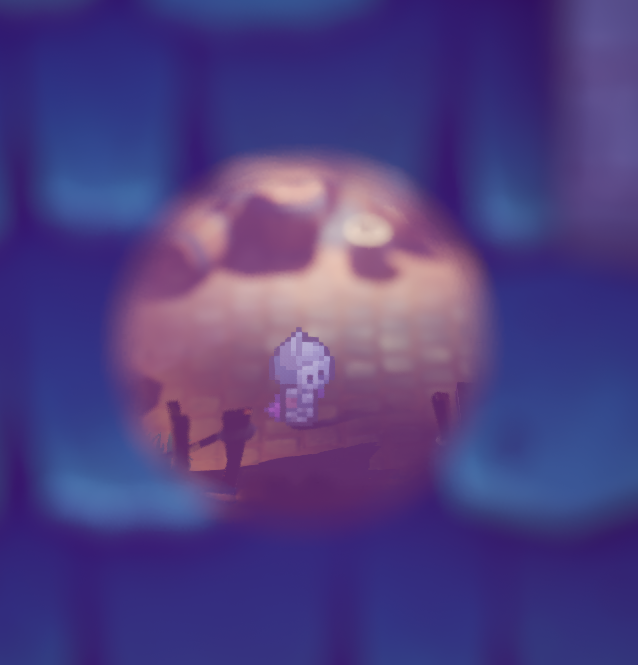
プレイして建物の裏にプレイヤーを移動させてみると、下の写真のような感じになります。
他の記事を探す
他の記事も気になる方は、以下の記事の目次を確認ください。
